But if you're a beginner, the thought of starting a garden can feel a bit overwhelming. Where do you even begin? What kind of garden is right for your space? What if your soil is terrible?
Don't worry, we've got you covered. Here at Casa, we believe that anyone can develop a green thumb with the right guidance. Think of us as your friendly expert, ready to walk you through the process. In this guide, we'll break down how to plant a new garden into simple, manageable steps. We’ll help you assess your space, choose the best type of garden for your needs, and get your first plants in the ground for a successful season.
Let’s get our hands dirty!
Step 1: Assess Your Gardening Area
Before you buy a single seed packet or seedling, the most crucial step is to become an expert on your own space. Understanding your environment is the foundation of a successful garden. You wouldn't build a house without checking the foundation, right? Same principle applies here.
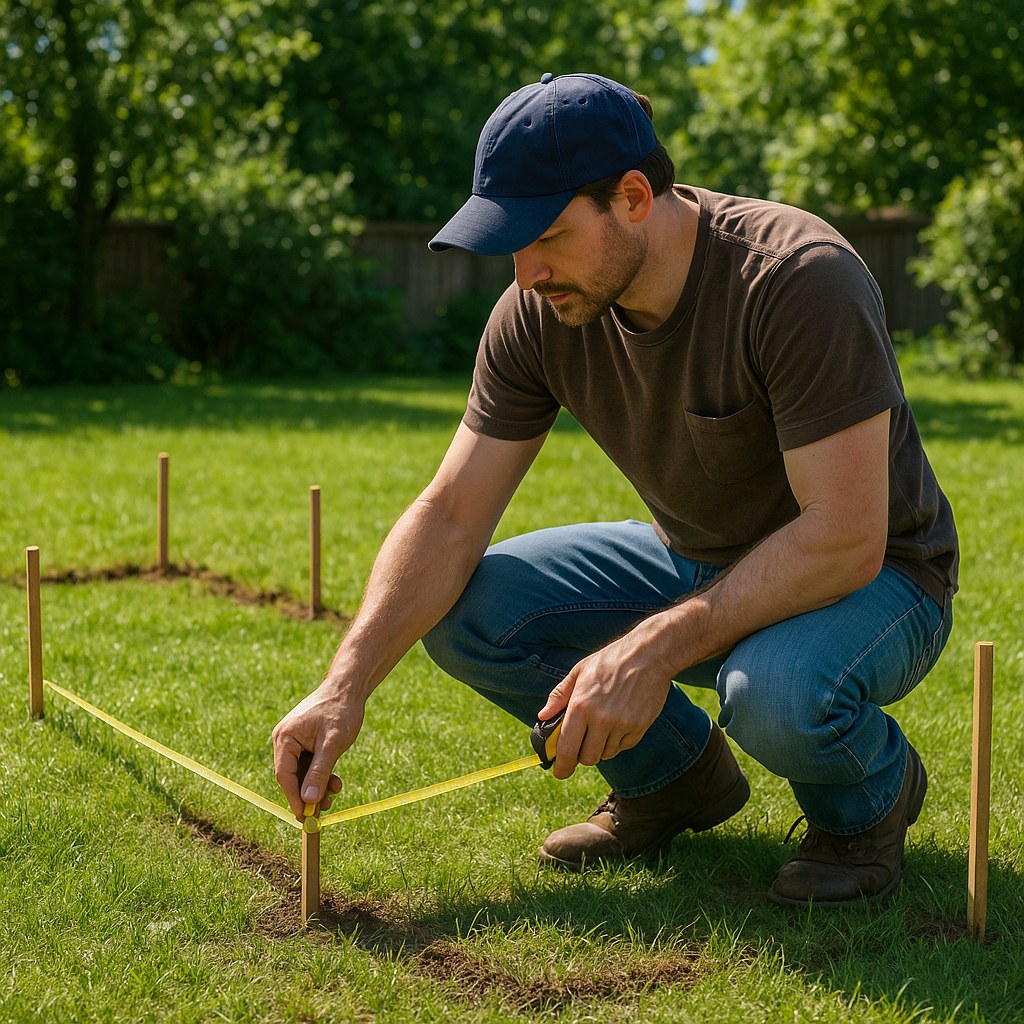
You'll need a few simple tools for this: work gloves, a tape measure, and a few stakes or flags.
-
Measure Your Space: First, figure out how much room you have to work with. A great starting size for a beginner vegetable or flower garden is a 4-foot by 4-foot square. This size is large enough to grow a decent amount of produce but small enough to manage easily without feeling overwhelmed. Use your tape measure to mark out your desired plot and place a stake at each corner. This gives you a clear visual of your future garden.
-
Become a Sun Detective: This is perhaps the most important part of your assessment. Most vegetables and flowering plants need plenty of sunlight to thrive. You need to track how much direct sunlight your chosen spot receives throughout the day.
- Go outside and check your staked-out square three times during the day: once in the morning, once around noon, and once in the late afternoon.
- Note whether the sun is shining directly on that spot during each check.
- Add up the total hours of direct sunlight. Here’s how to classify your spot:
- Full Sun: 6 or more hours of direct sunlight. This is ideal for most vegetables (tomatoes, peppers, cucumbers) and popular flowers (zinnias, marigolds, sunflowers).
- Partial Sun/Partial Shade: 3 to 5 hours of direct sunlight. This is suitable for many leafy greens (lettuce, spinach), root vegetables (carrots, radishes), and shade-tolerant flowers (coleus, impatiens).
- Shade: Less than 3 hours of direct sunlight. While challenging for vegetables, you can still grow certain herbs (mint, parsley) and many beautiful foliage plants like ferns and hostas.
Once you know your available space and sun exposure, you can make the first big decision. Do you have at least a 4x4 foot ground patch that gets six or more hours of sun? If yes, you're ready to decide between an in-ground or raised bed garden. If no, don't despair! A container garden is your perfect solution.
Step 2: For Sunny Spots – The Great Soil Debate
If you've been blessed with a sunny patch of ground, you have two excellent choices: a traditional in-ground garden or a raised bed garden. The deciding factor? Your native soil quality. Let's run a couple of simple tests to figure out what you're working with.
You’ll need a trowel or small shovel and a garden hose.
-
The Drainage Test: Good drainage is essential. Plants hate having "wet feet," which can lead to root rot.
- Dig a hole in the center of your plot that's about 12 inches deep and 12 inches wide.
- Fill the hole completely with water and let it drain entirely. This saturates the surrounding soil.
- Immediately refill the hole with water and start a timer.
- If the water drains within about a minute, you have excellent drainage! If it takes an hour or more, your soil is likely heavy in clay and holds too much water.
-
The Squeeze Test: This test tells you about your soil's texture.
- Grab a handful of moist soil from the hole you dug.
- Squeeze it firmly in your hand to form a ball.
- Open your hand and observe:
- If the ball is dark, crumbly, and falls apart easily with a gentle poke, congratulations! You have loamy soil, the gold standard for gardening.
- If the ball stays in a tight, slick, solid clump, you have heavy clay soil.
- If the ball crumbles apart the moment you open your hand, you have sandy soil.
So, what’s the verdict? If your soil is dark, crumbly (loamy), and drains well, an in-ground garden is a fantastic and cost-effective choice. If your soil is heavy clay, super sandy, or drains poorly, a raised bed garden will save you a lot of frustration and set you up for success.
Option A: How to Plant an In-Ground Sunny Garden
Your soil is ready to go! With a bit of prep work, you can create a beautiful and productive in-ground garden.
- Clear the Area: Remove all visible weeds, grass, and rocks from your 4x4 plot. Be sure to pull weeds out by the roots so they don’t grow back.
- Loosen the Soil: Use a spading fork or shovel to turn over and loosen the top 8 inches of soil across the entire bed. This aerates the soil and makes it easier for plant roots to grow.
- Amend with Compost: Spread a 2-inch layer of compost over the entire surface. Compost is the single best thing you can add to your garden. It adds vital nutrients, improves soil structure, and helps retain moisture.
- Mix it In: Use your spading fork to gently mix the compost into the top 6 inches of your native soil.
- Rake it Smooth: Use a garden rake to level the surface of your new bed.
- Plant Your Seedlings: Choose 6-8 young plants labeled for "full sun." Great options include tomatoes, basil, peppers, zucchini, or marigolds. Dig a hole for each plant that's about twice as wide as its root ball, place the plant in the hole, and gently back-fill with soil.
- Water Well: Give your new garden a deep, thorough watering until the soil is evenly moist but not waterlogged.
- Add Mulch: Spread a 2-inch layer of mulch (like shredded bark or straw) around your plants. Mulch is a gardener's best friend—it helps suppress weeds, conserve soil moisture, and regulate soil temperature.
Option B: How to Build and Plant a Raised Bed Garden
If your soil isn't ideal, a raised bed is the perfect workaround. You get to control the soil environment completely, leading to better drainage, fewer weeds, and less soil compaction. As experts from the University of New Hampshire Extension note, raised beds offer a multitude of advantages for the home gardener.

- Build the Frame: Assemble a 4x4 foot frame, at least 10-12 inches deep. Untreated cedar or pine boards are excellent, long-lasting choices.
- Position and Prep: Place your frame in its sunny, level spot. Lay down a layer of plain cardboard at the bottom to smother any grass or weeds underneath.
- Fill it Up: This is the best part! Fill the frame to the top with a high-quality bagged soil mix specifically designed for raised beds. This mix is perfectly balanced with everything your plants need to thrive.
- Plant Your Seedlings: Select 6-8 "full sun" plants. Dig holes slightly wider than each root ball, place your plants, and gently press the soil around them.
- Install Irrigation (Optional but Recommended): Lay a soaker hose in a spiral pattern on top of the soil. This delivers water directly to the roots and is incredibly efficient.
- Water and Mulch: Water the bed thoroughly until you see water dripping from the bottom of the frame. Finish by adding a 2-inch layer of mulch around your plants.
No Yard? No Problem! How to Create a Thriving Container Garden
For those with balconies, patios, or shady yards, container gardening is the answer. You can grow an amazing amount of food and flowers in pots!
First, a quick assessment of your small space:
- Measure your area to see how many pots you can comfortably fit.
- Check weight limits, especially on balconies. A large pot filled with wet soil can weigh 40 pounds or more.
- Locate your water source. Will you use a hose or carry a watering can? Plan accordingly.
- Confirm your sun exposure. Does the spot get three or more hours of sun (sunny container) or less than three (shade container)?
For Sun-Drenched Patios: Your Sunny Container Garden
- Choose Your Pots: Gather a few 5-gallon (or larger) pots with drainage holes. Plastic pots are lightweight and affordable.
- Use Potting Mix: Fill each pot with a high-quality potting mix, not garden soil. Potting mix is lighter and designed for container drainage.
- Add Fertilizer: Mix a scoop of slow-release fertilizer into the top few inches of soil in each pot. Container plants need regular feeding as nutrients wash out with watering.
- Select Plants: Choose sun-loving plants that do well in containers, like cherry tomatoes, peppers, rosemary, basil, or dwarf marigolds.
- Plant and Water: Plant one main plant per pot. Water thoroughly until it runs out of the drainage holes. If you're planting a vining plant like a tomato, add a stake or small cage for support.
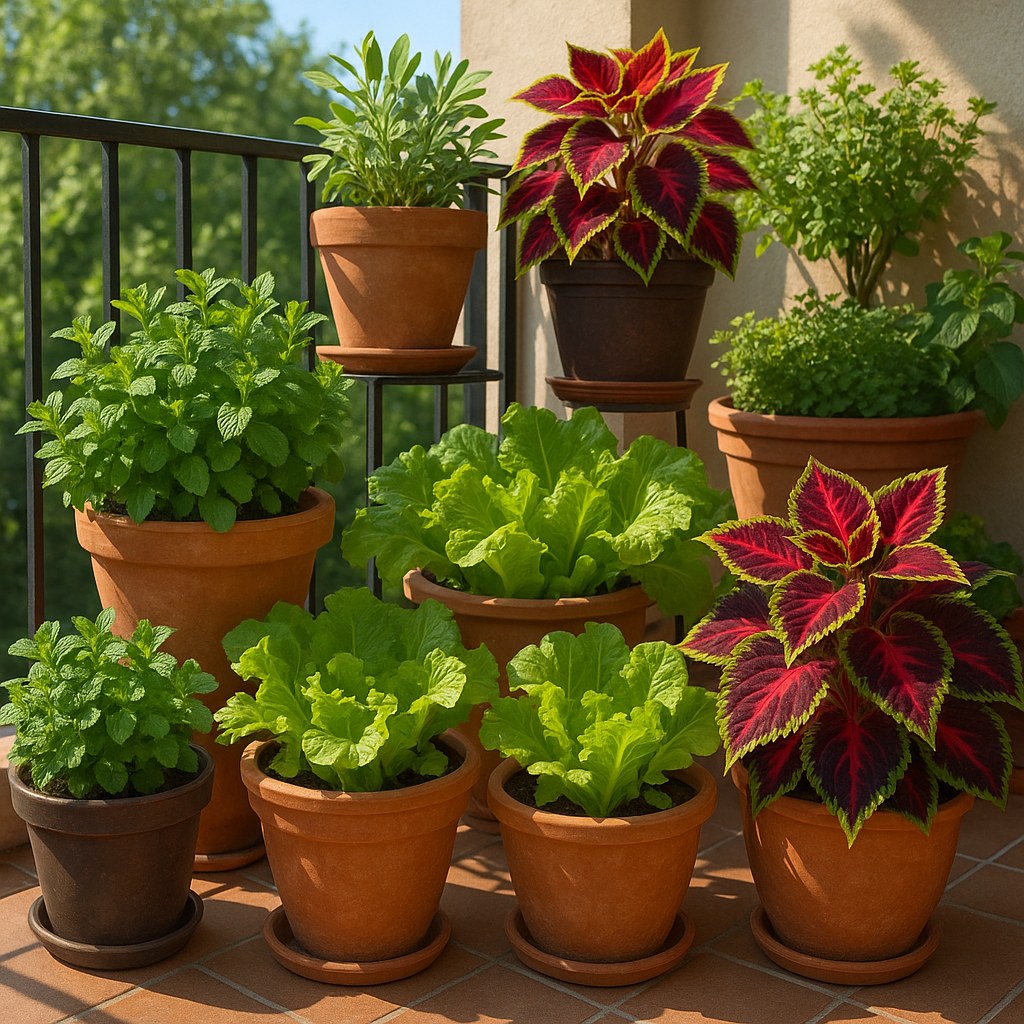
For Shadier Spots: Your Lush Shade Container Garden
- Gather Pots: Medium-sized pots (12-inch diameter) with drainage holes are perfect.
- Use Potting Mix & Fertilizer: Just like with the sunny containers, use a good potting mix and add a slow-release fertilizer.
- Select Plants: Look for shade-tolerant varieties. Leafy greens like lettuce, spinach, and kale do wonderfully. Herbs like mint and parsley thrive, and flowers like coleus, impatiens, and begonias will provide beautiful color.
- Plant and Water: Plant your selections and water well.
- Extra Tips: Rotate your pots a quarter-turn each week to ensure all sides get some light. Pinch back the tops of plants like mint and coleus to encourage them to grow bushier.
Your Gardening Journey Begins Now
Starting a new garden is a rewarding project that pays dividends all season long. By taking the time to understand your space and choose the right method—in-ground, raised bed, or container—you're setting yourself up for a bountiful and beautiful harvest.
Remember, every great gardener started with a single plant. Embrace the process, learn as you go, and don't be afraid to make mistakes.
For more home maintenance projects and step-by-step guides for everything from your garden to your garage, download the Casa app today. Casa empowers you with the knowledge to tackle DIY projects with confidence and connects you with trusted professionals when you need a helping hand. Happy planting
Related Reading


