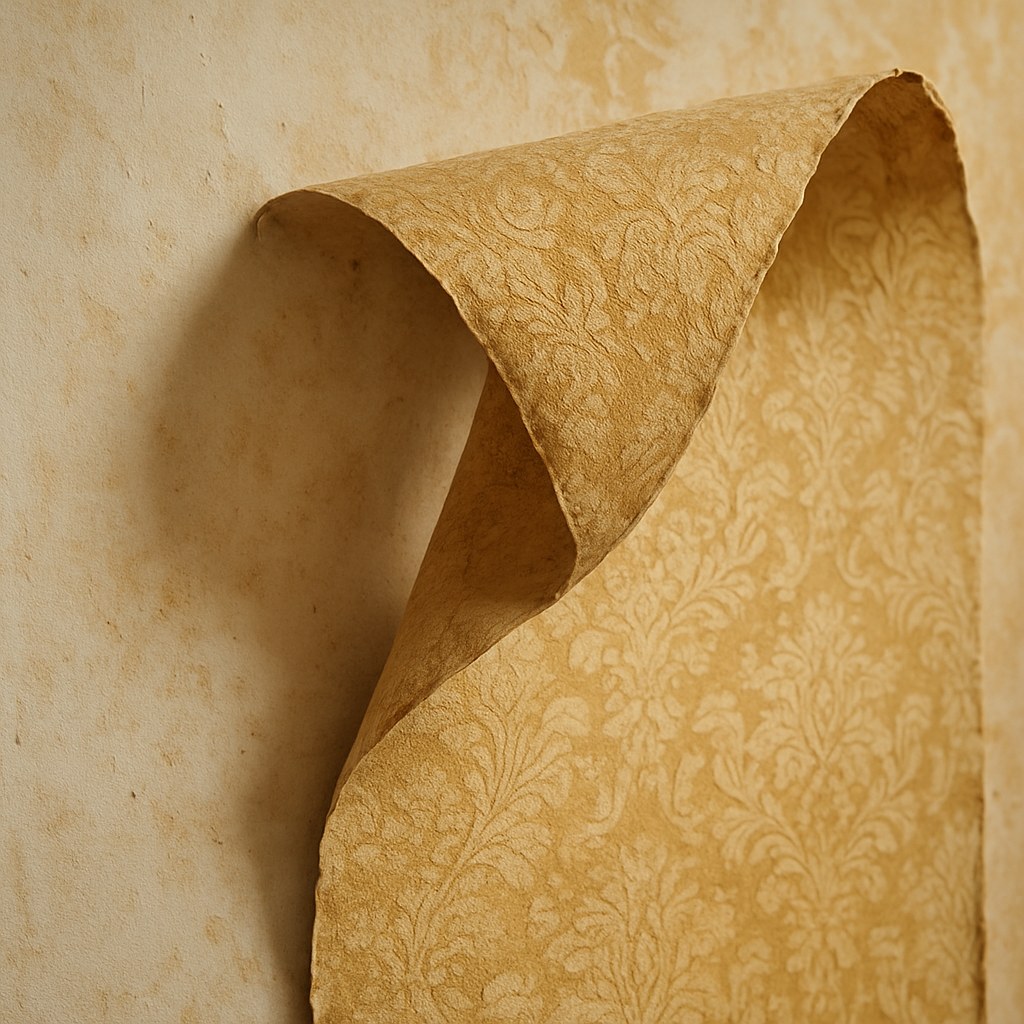
If the thought of stripping old wallpaper fills you with dread, you’re not alone. It’s a job that has a reputation for being tedious and messy. But what if I told you that with the right approach and a little bit of patience, you can absolutely tackle this project yourself? Think of me as your guide on the phone, walking you through it step-by-step.
We’ll break down the process, from figuring out what kind of wallpaper you’re dealing with to cleaning up the last bits of stubborn adhesive. Let’s get that wall back to a clean slate.
Why DIY Wallpaper Removal is Worth It
Besides the immense satisfaction of peeling off a long sheet of old paper, taking on this project yourself can save you a significant amount of money. Hiring a professional to remove wallpaper can cost anywhere from $1 to $4 per square foot, according to Forbes Home. For an average-sized room, that can add up to several hundred dollars. By investing a bit of your time, you can put that money toward the fun part: redecorating!
Step 1: Identify Your Wallpaper Type
Before you grab a scraper and start going at the walls, we need to do a little detective work. The method you use for removal depends entirely on the type of wallpaper you have. Most residential wallpapers fall into two main categories: those with a moisture-resistant surface (like vinyl or foil) and those that are porous (like paper or fabric).
Here’s how to figure out what you’re working with:
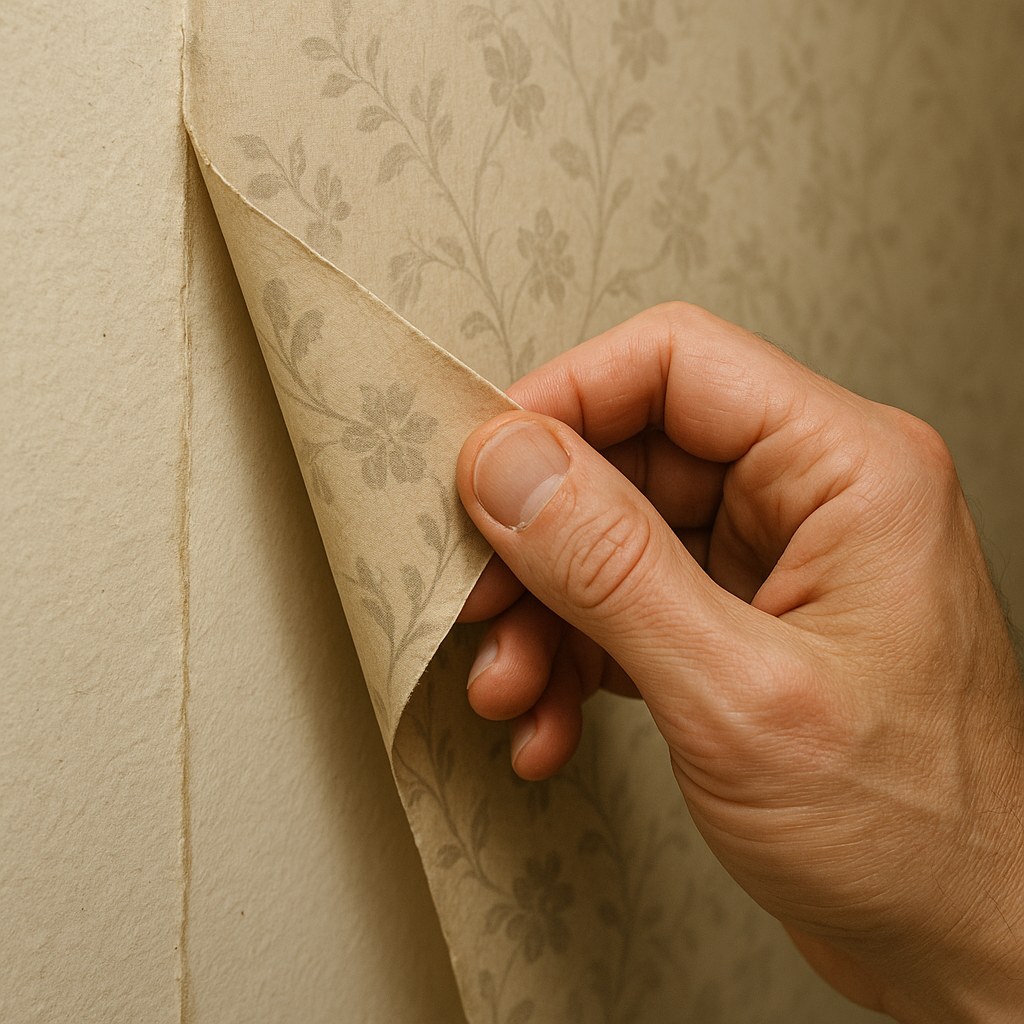
- Find a Seam: Locate a loose edge or a seam. Try to peel back a small corner with your fingernail or a utility knife.
- The Feel Test: Does the top layer peel off, leaving a paper backing behind? Does the surface feel slick, smooth, or almost plasticky? If so, you’re likely dealing with vinyl wallpaper.
- The Water Test: Drip a little water onto the surface. If the water beads up and rolls off, you have a moisture-resistant wallpaper (vinyl or foil). If it soaks in and darkens the paper, it’s likely a porous paper or fabric wallpaper.
- Count the Layers: While you have a corner peeled back, check to see if there’s more wallpaper or layers of paint underneath. Multiple layers will require more time and effort, so it’s good to know what you’re up against from the start.
Knowing your wallpaper type is the single most important step. Trying to soak a vinyl wallpaper without scoring it first is like trying to water a plant in a plastic bag—it just won’t work!
Step 2: Prepare Your Room and Gather Your Tools
A little prep work goes a long way in making cleanup easier. Wallpaper removal is a wet and sometimes messy job, so let’s protect your space.
What You’ll Need:
- Drop cloths or plastic sheeting
- Painter's tape
- Phillips screwdriver
- Safety goggles and rubber gloves
- Wallpaper scorer (essential for vinyl/foil types)
- Pump sprayer or spray bottle
- Wallpaper removal solution (store-bought or a DIY mix of warm water and a little fabric softener or vinegar)
- Putty knife or wallpaper scraper (a plastic one is less likely to gouge your walls)
- Wallpaper steamer (optional, but highly recommended for stubborn paper)
- Sponges, buckets, and old towels
Setting Up Your Workspace:
- Clear the Area: Move furniture away from the walls or to the center of the room and cover it.
- Protect the Floors: Lay down drop cloths along the base of the walls you’ll be working on.
- Power Down: This is a crucial safety step! Go to your home’s circuit breaker and turn off the power to the room you’re working in.
- Remove Covers: Use your screwdriver to remove all outlet covers and light switch plates. Cover the openings with painter’s tape to keep water and debris out of the electrical boxes.
- Gear Up: Put on your safety goggles and gloves. You’re ready to begin!
Step 3: How to Remove Vinyl or Foil Wallpaper
Because these wallpapers are designed to resist moisture, you need to create a way for your removal solution to get through to the adhesive underneath. This is where scoring and steaming come in.
- Score the Surface: Take your wallpaper scorer and roll it over the entire surface of the wallpaper with light but firm pressure. The tool’s small wheels will create hundreds of tiny perforations, breaking the moisture-proof seal. Be careful not to press so hard that you damage the drywall beneath.
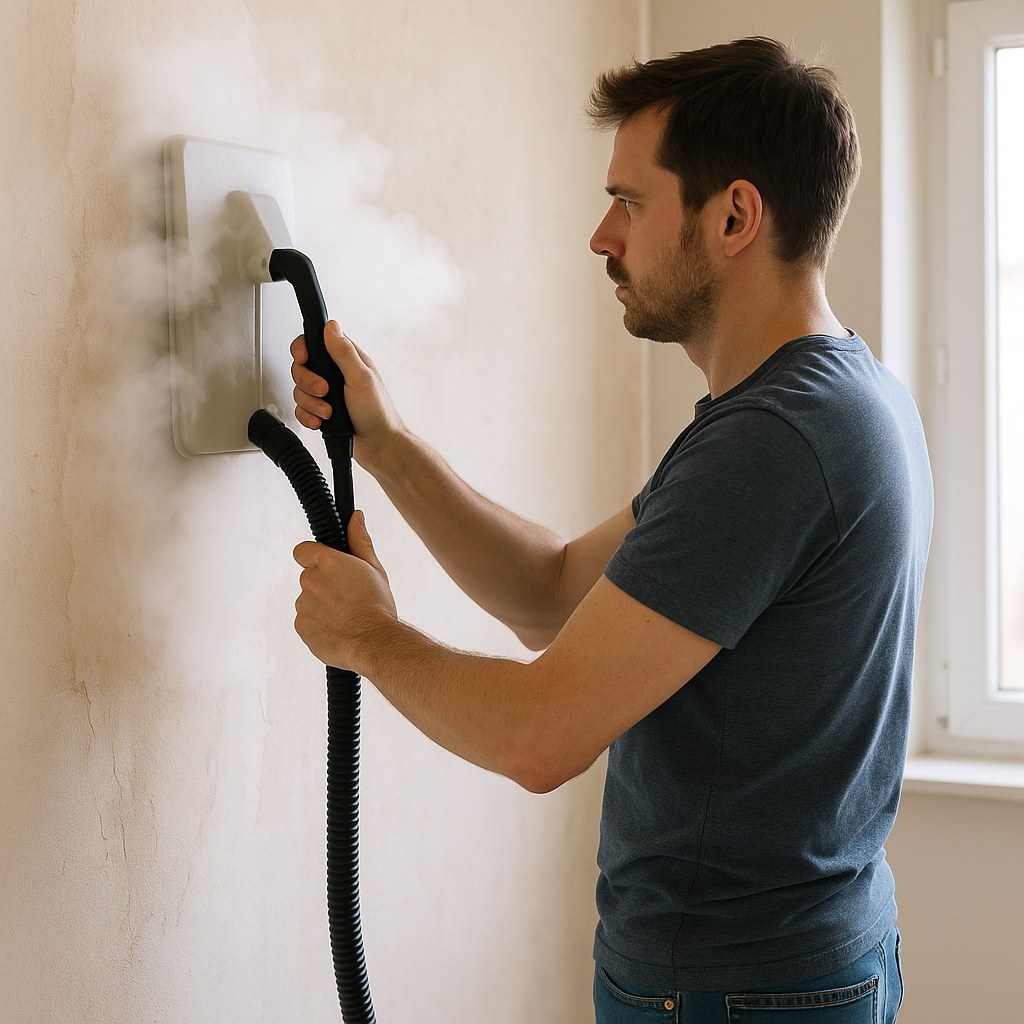
- Steam and Scrape: A wallpaper steamer is your best friend here. Fill it with water, let it heat up, and then press the steamer plate against a small section of the wall for about 20-30 seconds. The hot steam will penetrate the holes you made and soften the old glue.
- Work in Sections: Move the steamer to an adjacent spot and immediately start scraping the section you just steamed. The wallpaper should come off much more easily. Use your putty knife at a low angle to get under the paper without gouging the wall.
- Peel and Repeat: Continue this process—steam one section, scrape the last—around the room. If you only have a single layer of vinyl, the top layer might peel off easily after steaming, leaving a paper backing. You can then soak this backing with your sprayer and scrape it off. For multiple layers, you’ll need to repeat the steam-and-scrape process for each layer.
Step 4: How to Remove Paper or Fabric Wallpaper
Good news! This type of wallpaper is much more porous, so you can often skip the steamer and use a simple soak-and-scrape method.
- Mix Your Solution: Fill your pump sprayer or spray bottle with warm water and your chosen wallpaper removal solution.
- Saturate the Wall: Working in a manageable 4-foot section, thoroughly spray the wallpaper until it’s fully damp. Don’t be shy—you want the water to soak through the paper and dissolve the glue.
- Let it Soak: Wait about 10-15 minutes. You should see the paper start to bubble or pull away from the wall. This is a sign the adhesive is loosening.
- Scrape and Peel: Start at a seam and use your putty knife to lift an edge. You should be able to peel away large strips. If you hit a dry, stubborn patch, just give it another spray and wait a few more minutes.
- For Multiple Layers: If you have multiple layers of paper wallpaper, you may want to lightly score the top layer (as you would with vinyl) to help the solution penetrate all the way through. You’ll need to soak and scrape each layer off individually.
Step 5: The Final Cleanup—Don’t Skip This!
Once all the wallpaper is gone, you might think you’re done. But there’s one final, crucial step: removing the leftover adhesive. If you skip this, your new paint will have a strange texture, and new wallpaper won’t stick properly.
- Wash the Walls: Mix a fresh bucket of warm water with a little wallpaper removal solution or a few drops of dish soap.
- Scrub Gently: Use a large sponge to scrub the walls, working from top to bottom. You’ll feel the slimy, sticky residue coming off.
- Rinse Thoroughly: Go over the walls again with a clean sponge and fresh water to rinse away any remaining soap and glue.
- Dry and Inspect: Dry the walls with old towels. Once they’re fully dry (give them at least 24 hours), run your hand over the surface. It should feel smooth and clean. If you find any sticky spots, give them one more wash.
When to Call a Professional
While most wallpaper removal projects are perfectly suited for DIY, there are times when it’s best to call in a pro. If you start scraping and find the drywall paper is peeling off with the wallpaper, or if the wall underneath is crumbling plaster, stop what you’re doing. Continuing could cause significant damage that’s expensive to repair. A professional has the experience to handle these delicate situations without wrecking your walls.
A Fresh Start for Your Walls
You did it! The old wallpaper is gone, the walls are clean, and you have a beautiful blank canvas. Take a moment to appreciate your hard work before you jump into priming and painting.
Ready for your next home project? For more expert tips, step-by-step guides, and a direct line to trusted professionals when you need them, download the Casa app today. We’re here to help you manage and maintain your home with confidence.


