While it might seem like a minor cosmetic issue, missing grout is a problem you should address promptly. Those small gaps can allow water to seep under your tiles, which can loosen them and potentially damage the subfloor—the structural layer beneath your tile.
The good news is that repairing small sections of missing grout is a very manageable project for most homeowners. This guide will walk you through how to inspect the damage, determine what kind of grout you have, and make the repair yourself. We’ll also be very clear about when it’s best to call a professional.
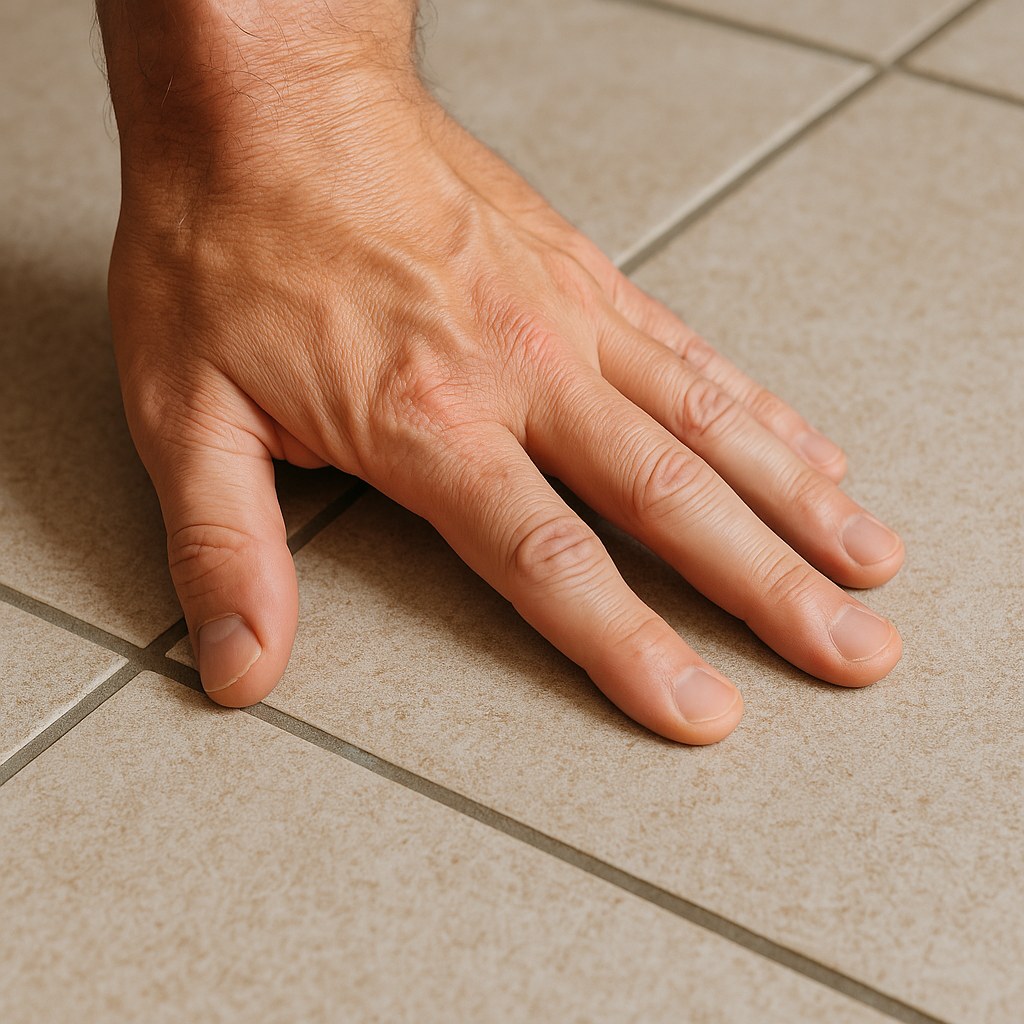 Image Alt: A hand pressing down on the corner of a floor tile to test for any movement.
What to Look For
The signs of failing grout are usually easy to spot. Keep an eye out for:
- Visible gaps or cracks: Obvious empty spaces where grout used to be.
- Crumbling or dusty grout lines: Grout that looks sandy or powders when you touch it.
- Loose tiles: If a tile moves or wiggles when you press on it, the grout and adhesive beneath are likely failing.
- Hollow sounds: Tapping a tile with the plastic handle of a screwdriver might produce a hollow sound, which often means the tile has detached from the subfloor.
Step 1: Inspect the Tile Floor
Before you begin any repair, you need to understand the extent of the problem. A few small cracks are very different from widespread issues.
- Clean the Area: Start by sweeping and mopping the floor to remove any dirt and debris. This will give you a clear view of all the grout lines.
- Inspect and Mark: Look closely at every grout line. Use a pencil or a piece of painter's tape to mark any areas that are cracked, crumbling, or missing.
- Check for Movement: Firmly press down on the corners and edges of every tile, especially those near the damaged grout. Make a note of any tile that feels loose or shifts under pressure.
- Listen for Hollow Sounds: Gently tap the center of each tile with the plastic handle of a screwdriver. A solid, sharp sound is normal. A hollow or dull thud can indicate that the tile is no longer bonded to the floor underneath.
When to Stop and Call a Professional
This initial inspection is the most important step. If you find any of the following, it’s time to stop and call a flooring professional:
- Multiple loose tiles: If more than one or two tiles move when you press on them, a simple grout repair won't solve the underlying problem.
- Widespread crumbling grout: If the grout is failing in many different spots across the floor, this could signal a larger issue with the installation or subfloor.
- Several hollow-sounding tiles: This is a strong indicator that the tiles are detaching. Regrouting without re-securing the tiles will not last.
These symptoms often point to moisture damage or movement in the subfloor. A professional can assess the situation properly and prevent you from making a repair that only masks a deeper issue.
Step 2: Identify Your Grout Type
If you’ve determined the problem is limited to a few small areas and the tiles are secure, you can proceed with the repair. First, you need to know what kind of grout you’re working with, as this determines the materials you'll need. The two main types are cement-based and epoxy.
- Cement-based grout is the most common. It's a powder that you mix with water and is porous, meaning it needs to be sealed after it cures.
- Epoxy grout is a two-part resin system that is highly durable and naturally waterproof. It’s less common in residential settings and can be more difficult to work with.
To figure out which one you have, find a clean, intact section of grout near the damaged area. Try scraping the surface very lightly with the tip of a utility knife or a flathead screwdriver.
- If it scrapes into a dusty powder, you have cement-based grout.
- If it’s extremely hard to scratch and flakes off like hard plastic, you likely have epoxy grout. Because epoxy is less forgiving to work with, we recommend calling a professional for these repairs to ensure a clean, durable result.
Step 3: How to Repair Cement-Based Grout
For small repairs with cement-based grout, you’ll need a few tools: a grout saw, a shop vacuum, a grout float, a sponge, a small bucket, and a couple of microfiber cloths.
Safety First: Always wear safety glasses and gloves when removing old grout and mixing new material.
- Remove the Old Grout: Use a grout saw—a small, serrated tool—to carefully scrape out all the old, damaged grout from the joints you're repairing. You want to remove at least 1/8 inch of depth to give the new grout something to bond to. Be careful not to chip the edges of the tiles.
- Vacuum the Debris: Once the old grout is removed, use a vacuum with a hose attachment to thoroughly clean out all the dust and debris from the empty joints.
- Mix the Grout: Following the manufacturer’s instructions, mix a small amount of grout powder with water in your bucket. Stir it with a margin trowel until it reaches a smooth, consistent texture, similar to peanut butter. Let the mixture sit for about 10 minutes—a process called slaking—then give it one final stir.
- Apply the New Grout: Scoop a small amount of grout onto your grout float—a tool with a rubber pad. Holding the float at a 45-degree angle, press the grout firmly into the empty joints, swiping diagonally across the tiles. Make sure the joints are completely filled.
- Remove the Excess: Scrape the float across the tile surface to remove the majority of the excess grout.
- Clean the Haze: Wait about 15-20 minutes. Then, use a clean, damp (not wet) sponge to gently wipe the haze of grout residue off the tile surfaces. Rinse your sponge frequently in a separate bucket of clean water.
- Let It Cure: The most important step is patience. Grout needs time to harden. Follow the manufacturer's directions, but most cement-based grouts require about 72 hours to cure fully. Keep the area dry and avoid walking on it during this time.
- Seal the New Grout: Once cured, cement-based grout is still porous and needs to be sealed to protect it from moisture and stains. Apply a penetrating grout sealer with a small brush, wiping any excess off the tile face immediately. The sealer also needs time to cure, typically 24 hours.
Typical Time and Cost
- DIY Cost: For a small repair, you can expect to spend between $30 and $75 on materials, including a small box of grout, a grout saw, a float, and sealer.
- Professional Cost: If you need to hire a professional, a minor repair could range from $200 to $500. A full floor regrouting project would be significantly more, depending on the size of the room.
- Time Commitment: The hands-on work for a small repair takes about 1-2 hours. However, you'll need to account for about 3-4 days of total time for the grout and sealer to fully cure.
A Solid Foundation
Fixing cracked or missing grout is a straightforward and satisfying home maintenance task. By addressing it early, you protect your tile floor from more serious damage and keep it looking its best. Keeping a log of these small but important repairs can help you stay on top of your home’s health over the long run.
For more guidance on home repairs and a simple way to track your maintenance tasks, download the Casa app. We’re here to help you feel prepared and confident in caring for your home.


