Water is relentless, and your gutters are the first line of defense, directing thousands of gallons of rainwater away from your roof, siding, and foundation each year. When they fail, you’re looking at potential issues like basement flooding, rotting fascia boards, soil erosion, and even costly foundation damage.
The good news is that replacing your gutters is a manageable DIY project that can save you a significant amount of money and protect your biggest investment. It might seem daunting, but we're here to walk you through it, step-by-step. Let's get your home protected and looking sharp again.
Why You Can't Ignore Failing Gutters
Before we grab the ladder, let’s talk about why this job is so important. Sagging, cracked, or clogged gutters can lead to a cascade of problems:
- Foundation Damage: When water overflows and pools around your home, it saturates the soil and can exert immense pressure on your foundation, leading to cracks and leaks.
- Rotting Wood: The fascia boards that your gutters are attached to are prime targets for water damage. Rot can spread from the fascia to the roof rafters, leading to extensive and expensive repairs.
- Basement Flooding: Poor drainage is a leading cause of wet basements. Properly functioning gutters and downspouts are essential to keep your basement dry.
- Siding and Paint Damage: Overflowing water can stain and damage your siding, causing paint to peel and wood to deteriorate.
- Landscape Erosion: Uncontrolled runoff can wash away topsoil, mulch, and plants, destroying your carefully maintained landscaping.
DIY vs Hiring a Pro: A Cost Breakdown
One of the biggest questions is whether to tackle gutter replacement yourself or call a professional. The primary factor for most homeowners is cost.
According to Forbes Home, professional gutter installation can cost anywhere from $1,500 to over $7,000, depending on the size of your home, the material you choose (vinyl, aluminum, steel), and whether you opt for seamless gutters.
In contrast, a DIY gutter replacement can be much more budget-friendly. The material costs for sectional gutters from a home improvement store typically range from $500 to $1,500. While you’ll save on labor, remember to factor in the cost of tools you may need to buy or rent. This project is moderately difficult and requires comfort working on a ladder, so safety should be your top priority.
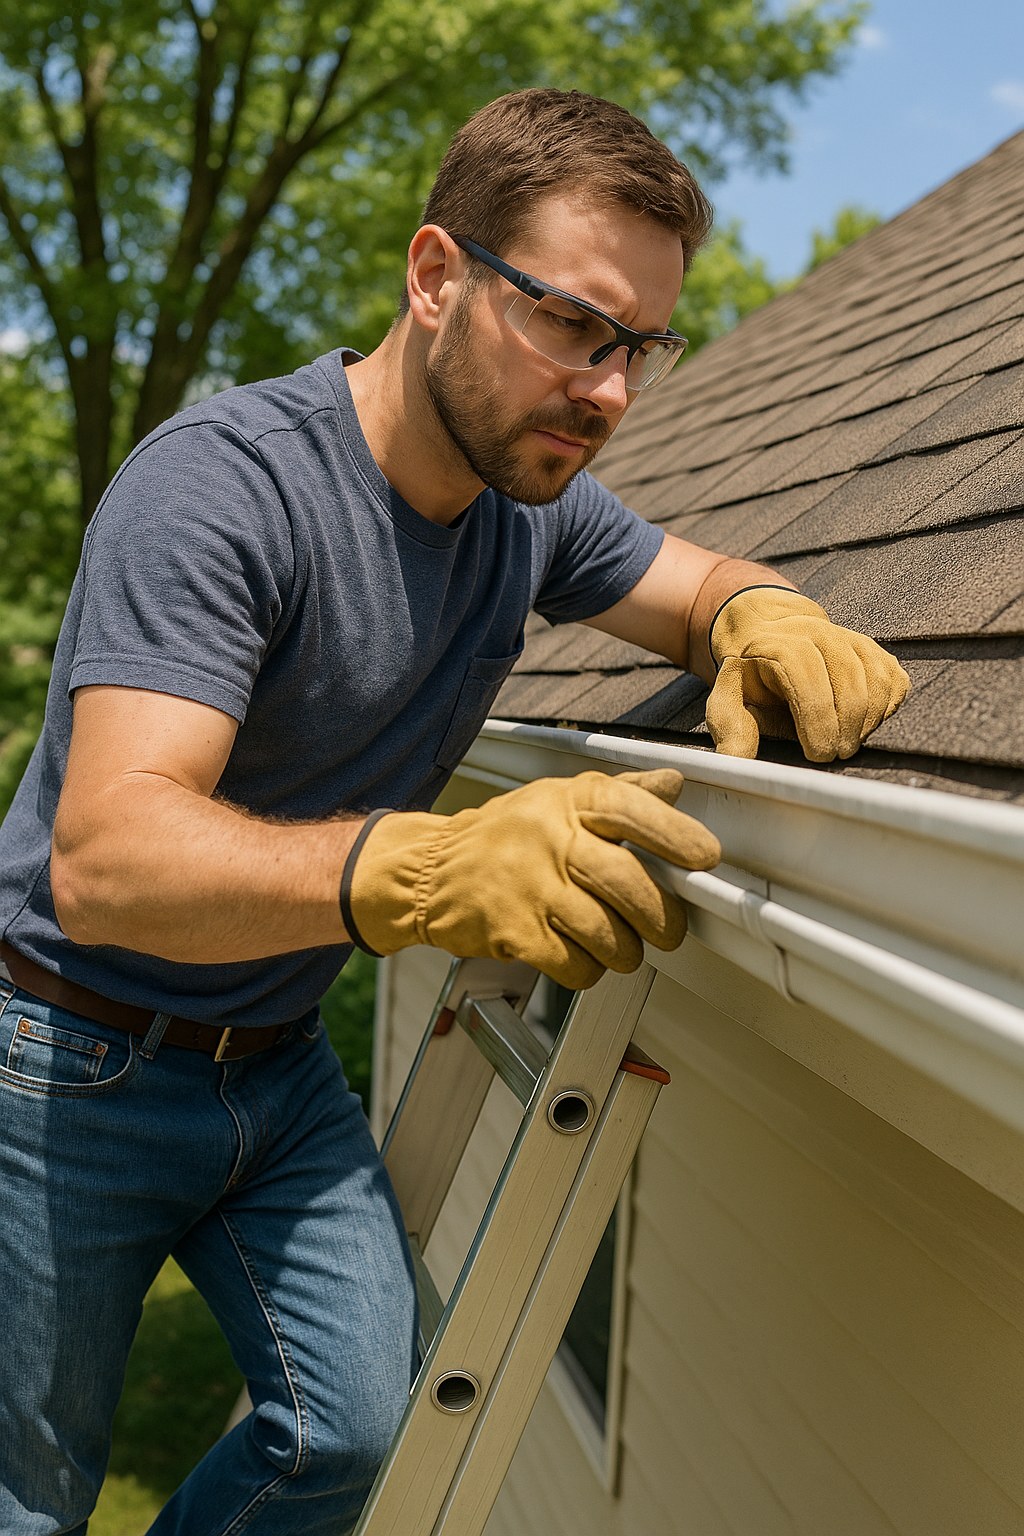
Step 1: A Thorough Gutter Inspection
First things first, let’s get a clear picture of what we’re dealing with. Grab a sturdy ladder, a pair of work gloves, and your safety glasses. Place the ladder on stable, level ground and have a friend hold it steady for you.
Here’s your inspection checklist:
- Look for Sags and Pulling: Visually inspect the gutter runs. Do you see any sections that are sagging, bowing, or pulling away from the house? This is a clear sign that the hangers have failed or the fascia board is damaged.
- Check for Cracks, Holes, and Rust: Examine the gutters themselves for any visible damage. Small cracks can sometimes be sealed, but widespread corrosion or large breaks mean it's time for a replacement. Note the material—most gutters are aluminum, vinyl, or steel.
- Inspect the Fascia Boards: This is critical. The fascia is the long, straight board that runs along the lower edge of the roof, and it’s what your gutters are mounted to. Gently press on the fascia with your thumb, especially in areas that look discolored. If it feels soft, spongy, or crumbles, you have wood rot. You cannot mount new gutters on rotten fascia, so this will need to be repaired first.
- Examine the Downspouts: Check your downspouts for dents, rust, or blockages. Make sure they are securely attached to the house and are effectively channeling water away from your foundation.
- Check the Roof Flashing: Gently lift the edge of the shingles above the gutter. You should see a metal strip called roof flashing (or a drip edge) that directs water from the roof directly into the gutter. If it's bent, missing, or installed incorrectly, water can get behind the gutter and rot the fascia.
Step 2: Repair Damaged Fascia Boards
If your inspection revealed soft or rotten fascia, you must replace it before proceeding.
- Remove Old Gutters: First, you'll need to remove the section of the old gutter attached to the damaged board. Use a drill or screwdriver to remove the screws from the brackets or hangers.
- Pry Off the Damaged Board: Use a pry bar or the claw end of a hammer to carefully remove the rotten fascia board.
- Cut the New Board: Measure the length of the removed section and cut a new piece of primed pine board to match using a circular saw.
- Paint and Seal: For maximum protection against future moisture, apply a coat of quality exterior paint to all sides and ends of the new board. Let it dry completely.
- Install the New Fascia: Position the new board and secure it to the rafter tails with exterior-grade screws.
- Caulk the Seam: Apply a bead of exterior caulk along the top edge where the fascia meets the roof flashing to create a watertight seal.
Step 3: Choose Your New Gutters Seamless vs Sectional
Before you buy materials, you need to decide what type of gutter system is best for you.
- Sectional Gutters: These are the most common choice for DIYers. They come in 10-foot sections (usually vinyl or aluminum) and are joined together with connectors. They are affordable and readily available at home improvement stores. The downside is that every seam is a potential point for future leaks.
- Seamless Gutters: As the name implies, these gutters are formed from a single piece of metal, custom-cut to the length of your roofline. This eliminates the risk of leaks at seams. However, they require special machinery to fabricate and are almost always installed by professionals. If you're replacing existing seamless gutters, you may be able to order a custom length for DIY installation, but it can be challenging to source and transport.
For this guide, we'll focus primarily on installing sectional gutters, as it's the most accessible DIY path.
Step 4: Removing the Old and Installing the New
With your fascia boards in good shape, it’s time for the main event.
Removing the Old Gutters
- Start at one end of a gutter run. Use your drill to unscrew the hangers or brackets holding the gutter in place.
- If you have sectional gutters, disconnect the sections at the joint connectors.
- Carefully lift the gutter sections off the fascia and lower them to the ground. It's much safer to do this with a helper.
Installing New Sectional Gutters
- Plan Your Slope: Gutters need a slight downward slope toward the downspout to ensure water flows correctly. A good rule of thumb is a slope of about 1/4 inch for every 10 feet of gutter.
- Mark the Slope: Start at the high point (farthest from the downspout). Make a mark on the fascia about 1 inch below the roof sheathing. Then, go to the downspout end and make another mark that is lower, according to your calculated slope. Snap a chalk line between these two points to guide your installation.
- Install the Hangers: Using your drill, fasten a gutter hanger to the fascia every 24 inches, following the chalk line you created.
- Cut Sections to Length: On the ground, measure and cut your gutter sections to the required lengths using a hacksaw. Remember to account for the location of your downspout outlet.
- Hang the Gutters: Place the first gutter section (the one with the downspout outlet) onto the hangers. Then, work your way down the line, connecting the sections.
- Connect and Seal the Seams: Slide a joint connector over the end of the hanging section, then insert the next section. Secure the connector with exterior screws. Crucially, apply a generous bead of silicone gutter sealant to the inside of each seam to make it waterproof.
Step 5: Installing the Downspouts
Your system isn't complete without downspouts to carry the water safely away.
- Attach the Elbow: An elbow is a bent piece that connects the downspout to the outlet on the gutter. Slide it onto the gutter outlet and secure it with short, self-tapping screws.
- Measure and Cut: Measure the distance from the elbow to about 6 inches above the ground. Cut your downspout section to this length with a hacksaw.
- Attach the Downspout: Fit the downspout onto the elbow. Use a level to make sure it's perfectly vertical (plumb).
- Secure with Straps: Use downspout straps to fasten the downspout securely to the wall of your house. You should use one strap every 6 feet or so.
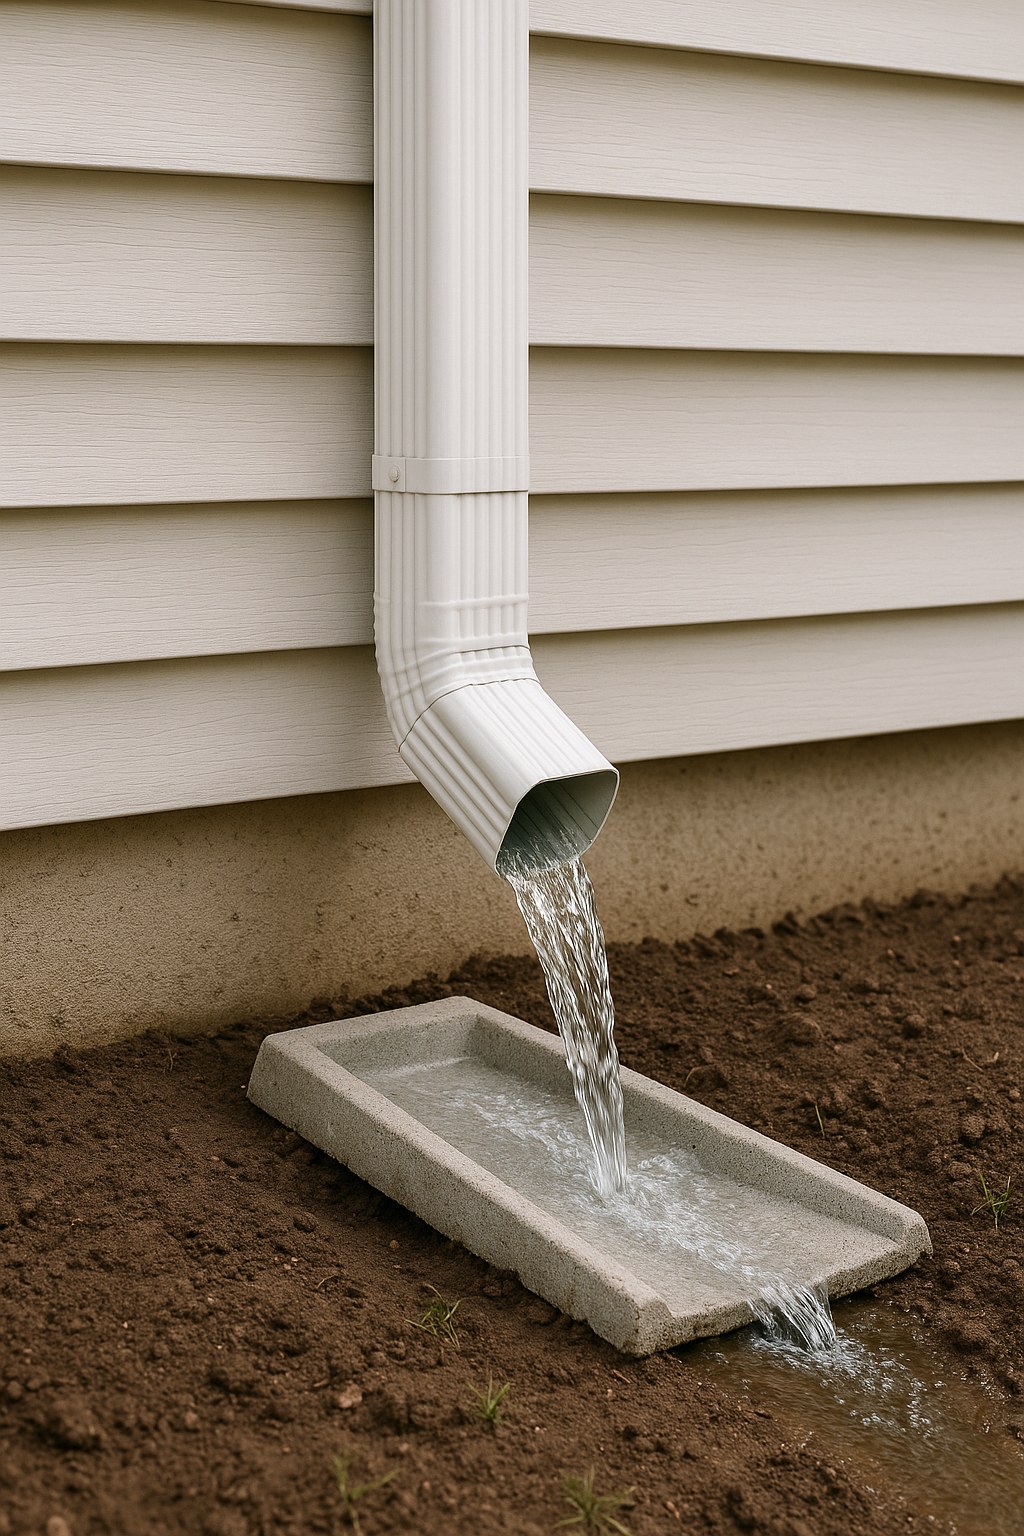
- Add a Splash Block: Place a splash block under the bottom opening of the downspout. This is a simple but essential piece that prevents the outflowing water from eroding the soil right next to your foundation.
Final Thoughts and Your Next Step
Congratulations! You’ve just completed a major home improvement project that will protect your home for years to come. Take a moment to admire your straight, secure, and highly functional new gutter system. Remember to keep them clean and free of debris to ensure they last as long as possible.
Feeling proud of your work but also thinking there has to be an easier way to manage home maintenance? There is.
Download the Casa app today! Casa is your trusted partner for every home project, big or small. Our app provides clear, step-by-step guides just like this one, helps you create a personalized maintenance schedule, and keeps track of all your home's important details. And if you ever decide a project is better left to the pros, Casa can connect you with vetted, trusted professionals in your area. Take the guesswork out of homeownership and let Casa help you keep your home safe and beautiful.


