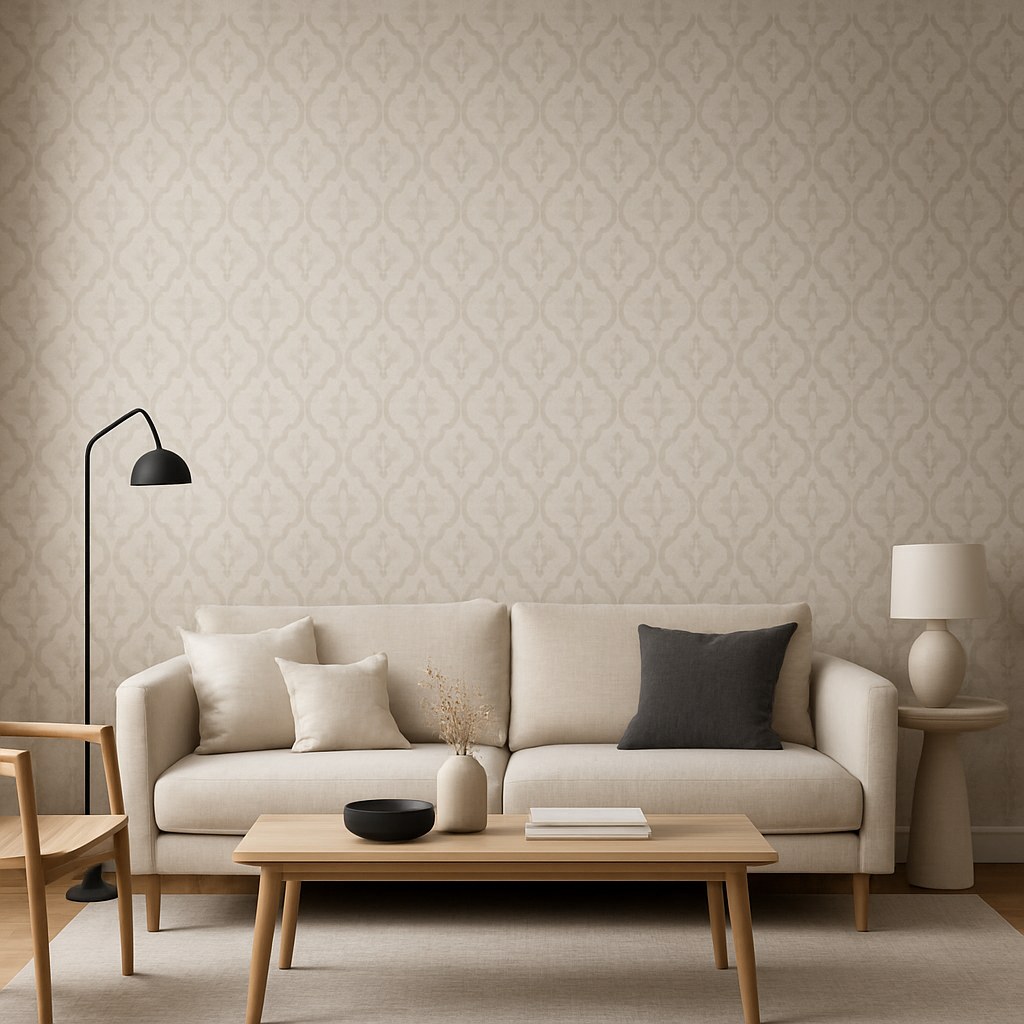
But let’s be honest—the thought of hanging wallpaper can be a little intimidating. We’ve all heard stories of bubbling paper, mismatched seams, and sticky messes. The good news? With the right preparation and technique, wallpapering is a totally achievable DIY project. It’s all about taking your time, following the steps, and knowing which type of paper is right for you.
Think of me as your friendly expert on the other end of the line. I’m going to walk you through everything, from assessing your wall to making those final, perfect cuts. Let’s get that wall looking fabulous!
Before You Begin: The All-Important Preparation
I can’t stress this enough: a perfect wallpaper finish is 90% preparation. Rushing this stage is the number one cause of wallpaper woes. Before you even think about unrolling that beautiful paper, you need to give your wall some serious TLC.
Step 1: Assess Your Wall and Clear Your Workspace
First things first, let's get a clear look at what you're working with.
- Clear the Area: Move all furniture away from the wall. You'll need plenty of space to work, set up a table, and move around without tripping.
- Protect Your Floors: Lay a drop cloth along the base of the wall. Whether you're dealing with water, paste, or just dust, you’ll be glad you did.
- Inspect the Surface: Take a close look at the wall. Is there old wallpaper on it already? Do you see any cracks, holes, or stains? Are there any suspicious damp spots or signs of mold? Make a mental note of everything you see.
A Critical Warning About Moisture: If you spot any damp areas, water stains, or mold, stop right there. Wallpapering over these issues will only trap the moisture, leading to peeling paper and potentially causing more significant damage to your wall. This is a sign of an underlying problem that needs to be addressed first. In this case, it's best to call a professional to diagnose and fix the source of the moisture before you proceed.
Step 2: Preparing the Wall Surface
How you prep your wall depends on its current condition.
Option A: If You’re Removing Existing Wallpaper
Taking down old wallpaper can be a chore, but it's essential for a smooth new application.
- Protect and Prepare: Put on some gloves and grab a spray bottle. Fill it with warm water and a few drops of dish soap.
- Soak the Paper: Work in manageable 3-foot sections. Generously spray the old wallpaper until it's saturated. Let the solution soak in for about 5-10 minutes to dissolve the old adhesive.
- Scrape It Off: Use a putty knife or a dedicated wallpaper scraper to get under a loose edge and gently peel the paper away. If it resists, give it another spray and a little more time. Patience is key!
- Wash the Wall: Once all the paper is gone, you'll likely have some sticky adhesive residue left behind. Use a sponge and clean, warm water to scrub it off.
- Patch and Repair: Let the wall dry completely. Now, inspect it for any dings, cracks, or holes. Fill these imperfections with a small amount of joint compound, using your putty knife to create a smooth surface.
- Sand Smooth: Once the compound is dry (check the package directions), sand the patched areas with fine-grit sandpaper until they’re flush with the rest of the wall.
- Prime Time: Wipe away all the sanding dust with a damp cloth. The final, crucial step is to apply a coat of stain-blocking, wallpaper-specific primer. Primer seals the wall, prevents the new adhesive from soaking into the drywall, and makes future removal much easier.
Option B: If You’re Working with a Bare or Painted Wall
This is a bit more straightforward, but don't skip these steps!
- Clean the Surface: Even if it looks clean, wash the wall with a sponge and a mild detergent to remove any grease, dust, or grime. Rinse with a clean, damp sponge and let it dry completely.
- Fill and Sand: Just like with a previously wallpapered wall, fill any nail holes or cracks with joint compound. Let it dry, then sand it smooth.
- Prime the Wall: Wipe away the dust and apply a coat of wallpaper primer. For painted walls, this is especially important. It ensures the wallpaper adheres properly and doesn't damage the paint when it's eventually removed.
Choosing Your Weapon: Understanding Wallpaper Types
Not all wallpapers are created equal. The type you choose will determine the installation method. Here are the three main players:
- Peel-and-Stick: The beginner's best friend. This wallpaper acts like a giant, high-quality sticker. It has a backing that you peel away to expose the adhesive. It's repositionable, making it great for first-timers and perfect for renters since it typically removes without damaging the wall.
- Pre-Pasted: This traditional type has a layer of dried adhesive on the back. To activate it, you need to soak the paper in a water tray for a specific amount of time before hanging it.
- Paste-the-Wall: This modern innovation is often the professional's choice. With this type, the paper itself is dry. You apply a special wallpaper adhesive directly to the wall with a roller, then hang the dry paper onto the pasted section.
Now that your wall is prepped and you know your wallpaper type, it’s time for the main event!
How to Hang Your Wallpaper: A Step-by-Step Guide
No matter which type you're using, the initial setup is the same.
General Setup:
- Power Down: Turn off the power to the room at the circuit breaker.
- Remove Plates: Use a screwdriver to remove all electrical outlet and light switch covers on the wall you're papering.
- Measure and Cut: Measure the height of your wall from the ceiling to the top of the baseboard. Add at least 2 extra inches to this measurement—this gives you a little wiggle room for trimming. Cut your first strip of wallpaper to this length.
Guide 1: Hanging Peel-and-Stick Wallpaper
- Draw Your Plumb Line: Never assume your corners are perfectly straight. Use a 4-foot level to draw a perfectly vertical (plumb) line about 20 inches from the corner you're starting in (or about 1 inch less than the width of your wallpaper). This line is your guide for hanging the first strip perfectly straight.
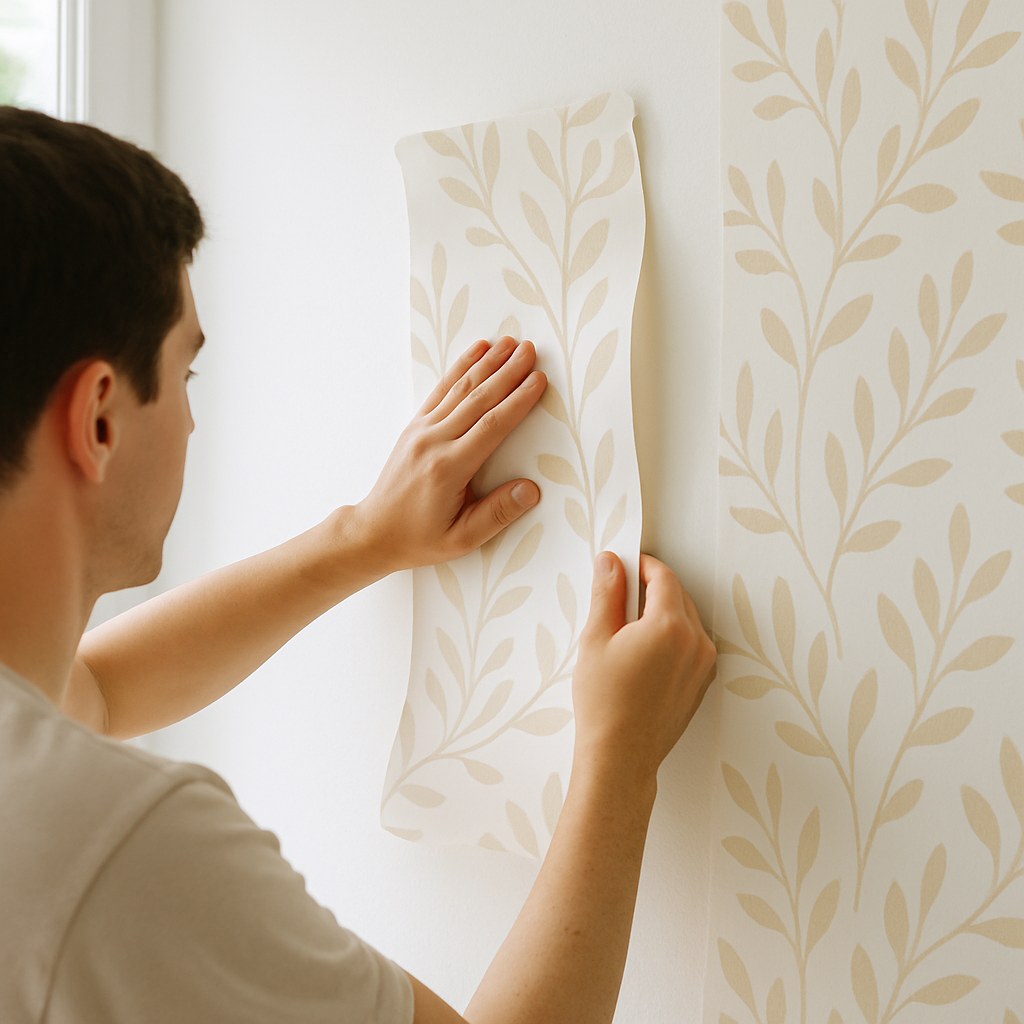
- Peel and Align: Peel about 12 inches of the backing from the top of your first strip. Align the edge of the wallpaper with the plumb line you drew, letting the extra 2 inches overlap at the ceiling.
- Smooth It Down: Press the top of the strip to the wall. Slowly and carefully, continue peeling the backing away while using a wallpaper smoothing tool to press the paper to the wall. Work from the center out to the edges to push out any air bubbles.
- Match and Repeat: For the second strip, align it next to the first. If you have a pattern, slide the new strip up or down until the pattern matches perfectly. Overlap the seam by a tiny fraction (about 1/16th of an inch) and smooth it down.
- Trim the Excess: Once a strip is secure, use a sharp utility knife and a straight edge (like your putty knife) to trim the excess paper at the ceiling and baseboard.
- Cut for Outlets: When you get to an outlet, let the paper hang over it. You'll feel the opening underneath. Carefully cut an 'X' from corner to corner over the opening, fold the flaps back, and trim them away.
Guide 2: Hanging Pre-Pasted Wallpaper
- Get Soaking: Fill a water tray with lukewarm water. Roll your first cut strip with the pattern side in, and submerge it in the water for about 30 seconds (or as directed by the manufacturer).
- "Book" the Paper: Gently remove the strip from the water. Lay it on a clean, flat surface and gently fold the pasted ends toward the middle (paste to paste), without creasing the folds. This is called "booking," and it allows the paste to activate evenly. Let it rest for about 5 minutes.
- Hang and Smooth: Draw your plumb line as described above. Unfold the top half of your booked paper and align the edge with your plumb line, pressing it onto the wall. Unfold the bottom half and use your smoothing tool to work out bubbles from the center to the edges.
- Butt the Seams: For the next strip, repeat the process. When hanging, butt the edge of the new strip snugly against the edge of the previous one. Do not overlap pre-pasted paper.
- Trim and Finish: Trim the excess at the top and bottom and cut around outlets as previously described.
Guide 3: Hanging Paste-the-Wall Wallpaper
- Apply the Paste: Pour some ready-mixed wallpaper adhesive into a paint tray. Use a paint roller to apply a thin, even coat of paste directly onto the wall. Only apply paste to an area slightly wider than one strip of wallpaper at a time.
- Hang the Dry Paper: Draw your plumb line. Take your first (dry) strip of wallpaper and press it onto the pasted section of the wall, aligning its edge with the plumb line.
- Smooth and Position: Use your smoothing tool to secure the paper and remove bubbles. Because the paste is on the wall, you have a bit more ability to slide the paper slightly to get the perfect position and match patterns.
- Repeat and Butt Seams: Paste the next section of the wall and hang the next strip, butting the seams tightly together. Use a damp sponge to gently wipe away any excess paste that squeezes out of the seams.
- Trim and Finish: Complete the job by trimming the excess and cutting around any obstacles.
Cost and Time: DIY vs. Hiring a Pro
Doing it yourself can save you a significant amount of money.
- DIY Cost: You're mainly paying for materials. Wallpaper can range from $30 to over $200 per roll. Tools and supplies like primer and adhesive might cost an additional $50-$75.
- Professional Cost: According to Forbes Home, hiring a professional to hang wallpaper can cost anywhere from $400 to $1,000 for an average-sized room, depending on your location and the complexity of the job.
As for time, plan for a full weekend. Day one is for removing old paper, prepping the wall, and priming. Day two is for the fun part—hanging the new wallpaper.
You’ve Got This!
Wallpapering a room is a project that delivers a huge visual reward. By taking your time with preparation and following these steps carefully, you can achieve a professional-looking finish that you’ll be proud of. Say goodbye to that boring, plain wall and hello to a space that’s bursting with style.

Feeling empowered? We hope so! For more step-by-step home improvement projects, maintenance reminders, and a direct connection to vetted professionals for those jobs you’d rather not tackle, download the Casa app today. We're here to help you love your home, one project at a time.


