The goal isn't just to catch the mouse you saw, but to understand if it was a lone visitor or a sign of a larger problem. By taking a few careful steps, you can determine the extent of the issue, take effective action, and prevent future visitors.
This guide will walk you through how to investigate, seal up your home, and decide whether this is a situation you can handle yourself or if it’s time to call a professional.
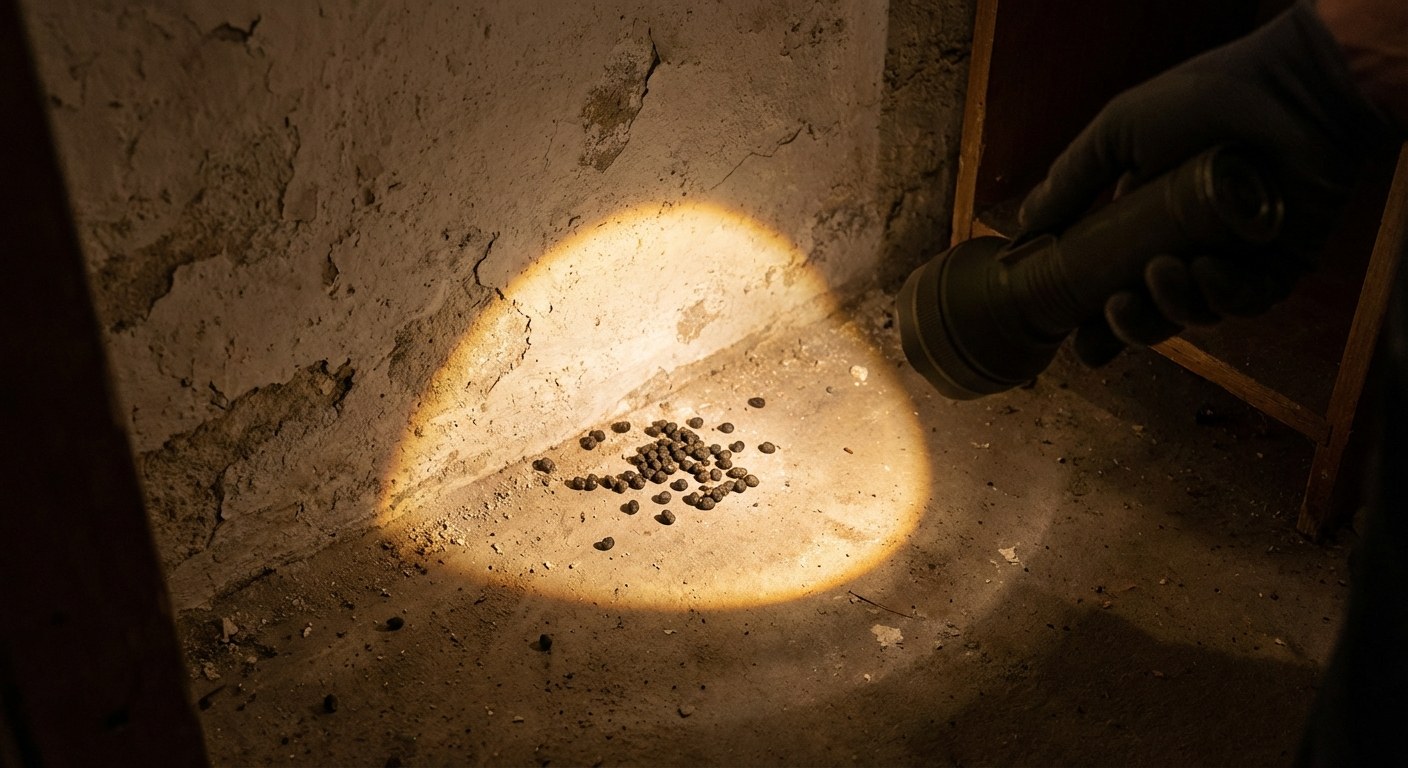 Image Alt: A close-up of small, dark mouse droppings on a floor next to a white baseboard.
Step 1: Investigate for More Signs
Before you do anything else, you need to determine the scope of the problem. A single mouse might have wandered in by mistake, but finding evidence in multiple places suggests you may have a more established issue.
You will need a flashlight and a pair of disposable gloves for this part.
- Return to the spot where you saw the mouse. Look closely for droppings (small, dark, rice-shaped pellets), signs of chewing on baseboards or packaging, or shredded material like paper or insulation that could be used for nesting.
- Inspect the surrounding area. Check along the walls in that room, behind appliances, and inside low cabinets or pantries. Mice tend to travel along walls, so this is where you are most likely to find evidence.
- Look for entry points. Search for any gaps or holes in the walls, floors, or around pipes. A mouse can squeeze through an opening as small as a dime (about 1/4 inch), so look carefully.
- Expand your search. If you find evidence, check other key areas like the kitchen, basement, attic, and laundry room.
Once you’re done investigating, you’ll have a clearer picture. Did you find signs of mice in just one isolated area, or are there droppings and chew marks in several rooms?
If You Found Signs in Multiple Rooms (Possible Infestation)
Finding evidence in more than one part of your home means you need to act thoroughly to address a likely infestation. The focus is on cutting off their access and food sources before setting traps.
What to Do First: Seal and Clean
- Seal all entry points. Using your findings from the investigation, fill every gap or hole you found that is 1/4 inch or wider. Stuff the holes tightly with steel wool (mice cannot chew through it), then cover the area with silicone sealant to hold it in place. Be methodical and check every room.
- Secure all food sources. Move all food from bags or cardboard boxes—like cereal, pasta, and pet food—into rigid, sealed containers made of plastic, glass, or metal. Store them in the pantry or refrigerator.
- Eliminate crumbs and scent trails. Sweep and mop all hard floors, and vacuum carpets thoroughly. Wipe down kitchen counters and pantry shelves with a disinfectant cleaner to remove any scent trails that mice use to navigate.
Keeping track of the areas you've sealed can be useful. A home management tool like the Casa app is a simple place to keep notes on repairs and monitor areas for future issues.
Next: Set Traps
After sealing entry points and cleaning up, it’s time to set traps. The type of trap you use depends on whether you have children or pets in the home. Always wear gloves when handling traps to avoid leaving your scent on them.
For Homes with Children or Pets:
It's best to use covered or enclosed snap traps. These are designed to prevent children and pets from coming into contact with the trigger mechanism.
- Bait the trap with a pea-sized amount of peanut butter or hazelnut spread.
- Place the traps flush against the wall where you found droppings. Mice have poor eyesight and hug walls to travel. The trap's entrance should be parallel to the wall.
- Set traps every 6 feet along these pathways.
- Check the traps every morning.
For Homes Without Children or Pets:
Traditional wooden snap traps are effective and inexpensive.
- Bait the trap by smearing a small amount of peanut butter on the trigger plate.
- Carefully set the trap by pulling back the snap bar and locking it in place. Keep your fingers clear.
- Place the trap perpendicular to the wall, with the baited end touching the baseboard.
- Set traps every 6 feet along walls where you’ve seen activity.
- Check the traps every morning.
After setting traps, monitor the situation for one week. If you catch one or more mice and see no new signs of activity (like fresh droppings), you have likely handled the problem. Continue to monitor weekly for a month.
If You Found Signs in Only One Room (Likely a Single Mouse)
If your investigation only turned up evidence in a single, isolated area, you may be dealing with a lone mouse. The approach is more targeted.
- Seal and clean the area. Follow the sealing and cleaning steps described above, but focus your efforts on the room where you saw the mouse. Find and seal all potential entry points in that room and remove any accessible food sources.
- Wait and watch. After sealing and cleaning, wait for 48 hours. Sometimes, blocking the entrance is enough to solve the problem, as the mouse may have been passing through or may leave to find an easier source of food. If you see no new signs of activity after two days, your work may be done.
- Set traps if needed. If you see fresh droppings or other signs of activity after 48 hours, it's time to set traps. Follow the appropriate trapping instructions above based on whether you have children or pets.
Check the traps for three days. If you catch the mouse, the problem is likely solved. Continue monitoring the area for a month to be sure.
When to Stop and Call a Professional
DIY methods are very effective for minor mouse problems, but some situations are best left to a licensed pest control professional. It’s time to call for help if:
- You’ve been trapping for a week (for a larger infestation) and are still seeing new signs of activity.
- You’ve been trapping for three days (for a single mouse) and haven't caught it.
- The signs of infestation are overwhelming (e.g., you see mice during the day, find droppings in many locations, or notice a strong odor).
- You are not comfortable handling traps or disposing of captured mice.
A professional can identify entry points you might have missed and have access to methods and materials not available to the public.
Typical Time and Cost
- DIY: You can typically resolve a minor mouse issue yourself for under $50. This includes the cost of traps ($5-$20), steel wool ($5-$10), and sealant ($5-$10). The time investment is usually one to two hours for investigation and setup, plus a few minutes each day to check traps.
- Professional: Hiring a pest control service for mice can range from $150 to $400 for an initial visit and treatment, depending on your location and the severity of the problem. Comprehensive plans with follow-up visits will cost more.
Staying Prepared for Anything
Dealing with a mouse is a classic homeowner challenge. By assessing the situation first, you can apply the right solution and avoid unnecessary stress. Taking the time to seal entry points not only helps with the current problem but also prevents it from happening again.
Homeownership is full of these small, solvable moments. With a clear plan, you can handle them with confidence. For help staying on top of all your home maintenance tasks, from pest prevention to filter changes, download the Casa app. It's your always-on advisor for a well-maintained home.


