The key is to approach the situation calmly and methodically. This guide will walk you through the steps to identify what kind of boiler you have, perform a critical safety check, and restore your heat.
The First and Most Important Step: Check for Gas
Before you touch anything on your boiler, your first action should always be to check for the smell of natural gas. It has a distinct odor, often compared to rotten eggs or sulfur.
If you smell gas, do not proceed. Do not turn any lights or appliances on or off. Leave your home immediately, and from a safe distance, call your gas utility's emergency line. This is a serious safety situation that requires an immediate professional response.
If you do not smell any gas, you can move on to the next steps.
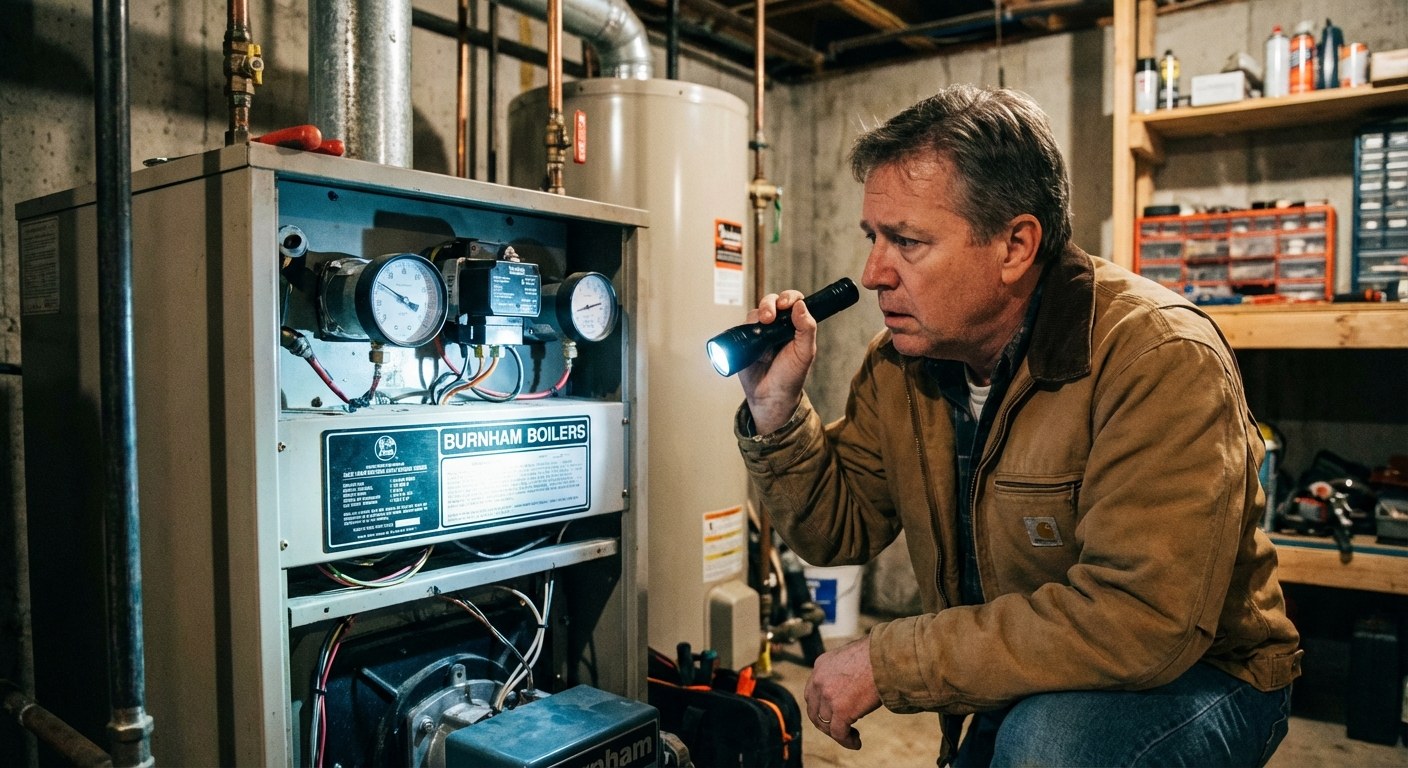
Step 1: Identify Your Boiler's Ignition Type
Not all boilers are the same. Modern systems have replaced the traditional, always-on pilot light with electronic systems. You need to know which one you have.
- Standing Pilot Ignition: This is the traditional system. A small, constant flame (the pilot light) burns continuously. When your thermostat calls for heat, this pilot flame ignites the main burners. If you can look through a small window or opening and see a tiny blue flame, you have a standing pilot.
- Electronic Ignition: These boilers do not have a constant flame. Instead, they use an electronic igniter to create a spark and light the gas only when heat is needed. If you don't see a continuous flame, your boiler likely has an electronic ignition.
Once you know your system type, you can follow the correct set of instructions below.
For Boilers with a Standing Pilot Light
If your pilot light has gone out, you’ll need to relight it manually.
Prepare to Relight the Pilot
- Turn the thermostat to its lowest setting. This ensures the main burners won’t try to light while you're working.
- Locate the gas control knob on your boiler. It’s usually a prominent knob with “ON,” “OFF,” and “PILOT” settings.
- Turn the knob to the “OFF” position. This stops the flow of all gas.
- Wait at least five minutes. This allows any residual gas in the system to dissipate completely.
How to Relight the Pilot
- Turn the gas control knob from “OFF” to the “PILOT” position.
- Press and hold the knob down. This manually starts the flow of gas to just the pilot orifice.
- While holding the knob, use a long-nosed lighter or a match on a holder to bring a flame to the pilot light opening. The pilot should light immediately.
- Continue holding the knob down for a full 60 seconds after the flame is lit. This is crucial. It gives the thermocouple, a safety sensor, time to heat up.
- After 60 seconds, slowly release the knob. The pilot flame should stay lit.
- Turn the knob to the “ON” position and turn your thermostat back up to a normal setting. The main burners should ignite within a minute or two.
What to Do If the Pilot Won’t Stay Lit
This is a very common issue. You successfully light the pilot, but as soon as you release the knob, it goes out. This almost always points to a problem with the thermocouple.
The thermocouple is a small metal sensor that sits in the pilot flame. Its job is to confirm a flame is present before allowing the main gas valve to open. If it’s dirty or has shifted out of position, it can’t sense the flame properly and will shut the gas off as a safety measure.
Safe to Try Yourself: Cleaning the Thermocouple
If you're comfortable, you can try cleaning the thermocouple.
- Turn the gas control knob to “OFF” and wait five minutes.
- Locate the thermocouple. It’s a thin copper tube that ends with a small sensor tip right next to where the pilot flame burns.
- Gently rub the tip of the thermocouple with a piece of fine-grit sandpaper or an emery board until it is clean and shiny.
- Make sure the tip is positioned so it will be fully engulfed by the pilot flame.
- Attempt the relighting process again.
When to Stop: If the pilot still will not stay lit after you've cleaned the thermocouple, the sensor itself has likely failed and needs to be replaced. This is a job for a professional HVAC technician.
For Boilers with an Electronic Ignition
These systems are simpler to troubleshoot. Since there is no pilot to relight, the issue is usually solved with a system reset.
How to Reset Your Boiler
- Find the power switch for your boiler. It might be a standard light switch on or near the unit, or you may need to turn it off at the circuit breaker.
- Turn the power off.
- Wait about 30-60 seconds.
- Turn the power back on.
- Many boilers have a reset button on the control panel. Press it once.
- Listen and watch. The boiler should begin its ignition sequence, and you should hear and see the burners ignite.
What to Do If the Boiler Won’t Ignite After a Reset
If a reset doesn't work, there are two common culprits.
- Check the Gas Valve: Make sure the manual gas shut-off valve on the pipe leading to the boiler is fully open. The handle should be parallel to the pipe. If it's perpendicular, it's closed.
- Clean the Flame Sensor: Similar to a thermocouple, an electronic ignition system uses a flame sensor to confirm the burners have lit. If this sensor gets dirty, it can't detect the flame and will shut the system down.
Safe to Try Yourself: Cleaning the Flame Sensor
- Turn off all power to the boiler at the switch or breaker.
- Remove the boiler’s access panel to get to the burner assembly.
- Locate the flame sensor. It’s a thin metal rod, often bent at the tip, that sits in front of one of the burners. It will have a single wire attached to it.
- Remove the screw holding the sensor in place and gently pull it out.
- Lightly scrub the metal rod with fine-grit sandpaper or steel wool to remove any white or black residue.
- Wipe the rod with a dry cloth, then put it back in place and secure it.
- Replace the access panel, turn the power back on, and try the reset procedure again.
When to Stop: If you’ve confirmed the gas valve is open and have cleaned the flame sensor, but the boiler still won’t ignite, it's time to call a professional. The issue could be with the electronic igniter, the gas valve, or the main control board.
Typical Costs and Time
- DIY Fix: Your only cost is likely a few dollars for a long lighter or some sandpaper. The process can take anywhere from 10 minutes for a simple relight to 30-45 minutes if you need to clean a sensor.
- Professional Service Call: Hiring an HVAC technician to diagnose the issue typically involves a service fee, which can range from $75 to $200. If a part like a thermocouple or flame sensor needs replacement, the total cost could be between $150 and $400, depending on your location and the specific boiler model.
You’re Prepared to Handle It
A boiler that won’t light can be a major inconvenience, but it’s rarely a major catastrophe. By staying calm, performing the essential safety check, and following the right steps for your system, you can often restore your heat quickly and safely. Keeping track of annual boiler maintenance in an app like Casa can also help prevent sensor buildup and other common issues before they leave you in the cold.
If you’ve tried these steps and still don’t have heat, don’t hesitate to call a qualified professional. For guidance on this and any other home maintenance challenge, download the Casa app. We’re here to help you understand your home and make confident decisions.
Related Reading


