A dishwasher that won't dry properly isn't just an inconvenience; it can also be a sign of an underlying issue that could get worse over time. Whether your dishes are just a little damp or completely drenched, we're here to walk you through the troubleshooting process. Think of us as your friendly expert on the other end of the line, ready to help you get your appliance back in top shape.
Let’s dive into why your dishwasher might be leaving you with a puddle and what you can do about it.
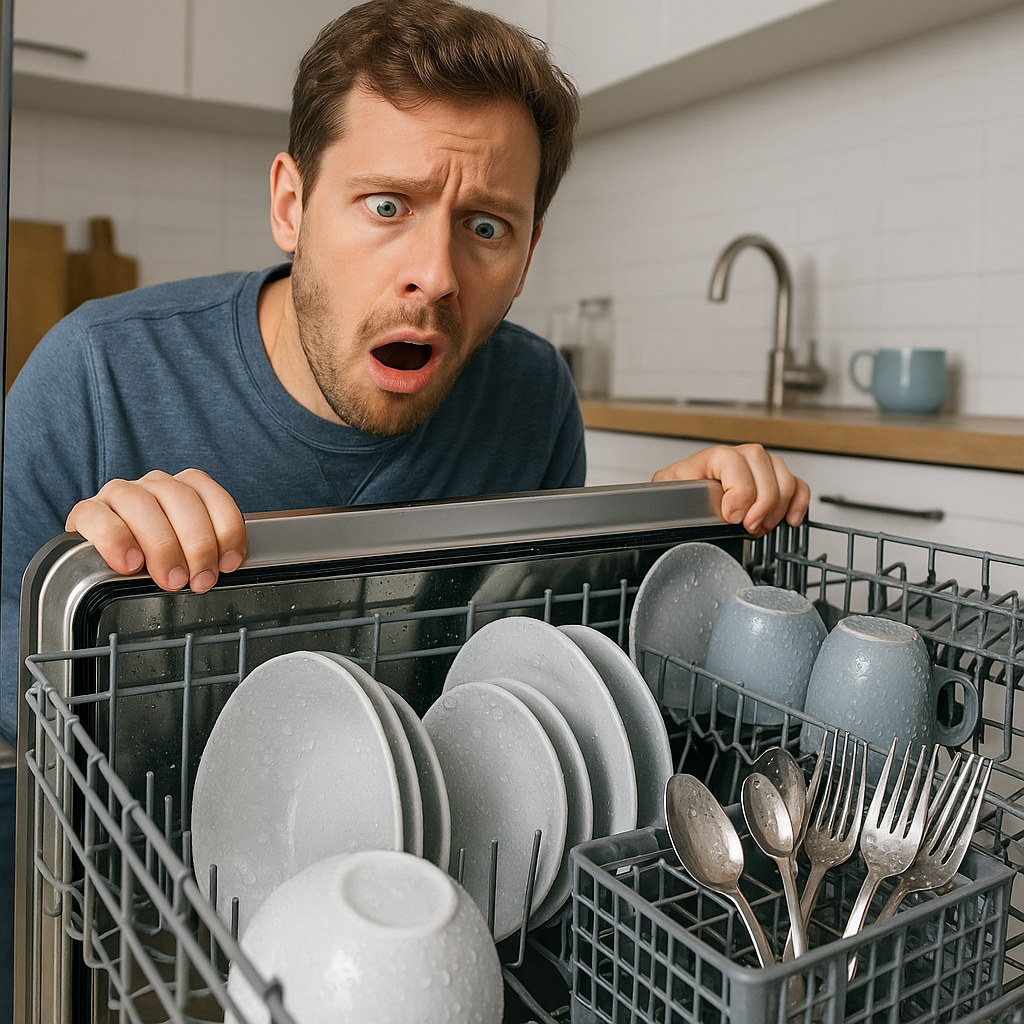
Why Are My Dishes Still Wet? Common Causes for Poor Drying
Before we start tinkering, it’s helpful to understand what might be going wrong. A dishwasher's drying performance depends on a combination of heat, airflow, and a little bit of science. Here are the most common culprits behind wet dishes:
- Improper Loading: This is the number one cause of wet dishes. If items are overcrowded, nested together, or flipped upside down, water pools inside them and prevents air from circulating effectively.
- No Rinse Aid: This magic liquid is essential for modern dishwashers. Rinse aid works by breaking the surface tension of water, causing it to sheet off dishes rather than forming droplets. Without it, those droplets are left behind to air-dry, leaving spots and moisture.
- Wrong Cycle Selection: If you’re using a "Quick Wash" or "Eco" cycle, it may skip the heated dry phase to save energy. These cycles often rely on residual heat from the wash, which isn't always enough to get everything completely dry, especially plastics.
- Unloading the Wrong Rack First: Heat rises. When you open the door and pull out the bottom rack first, the water that has collected on the top rack can drip down onto your otherwise dry dishes below. Always unload the bottom rack last.
- A Faulty Heating Element: Many dishwashers use an exposed heating element at the bottom of the tub (like the ones in an oven) to heat the water and then dry the dishes. If this element is broken or burned out, your dishwasher won't be able to generate the heat needed for proper drying.
- A Malfunctioning Vent or Fan System: Other dishwashers, particularly European brands, use a condensation drying system. They use a final hot rinse to heat the dishes, and then a fan pulls the moist, hot air out through a vent, causing the water to condense and drain away. If the fan or vent is broken or blocked, that humid air gets trapped inside.
Now that you have an idea of what could be wrong, let's get our hands dirty and figure out how to fix it.
A Step-by-Step Guide to Fixing a Dishwasher That Won't Dry
We'll start with the easiest and most common solutions first before moving on to the more technical diagnostics.
Part 1: The Basic Checks for Better Drying
These simple steps resolve the issue for most people. Let's run a single, optimized cycle to see if we can fix the problem without any tools.
Difficulty: Easy
Time: About 2 hours (mostly waiting for the cycle to finish)
- Fill the Rinse Aid Dispenser: Open your dishwasher door and locate the rinse aid dispenser. It’s usually a small, circular cap next to the detergent compartment. If it’s empty, fill it up with a quality rinse aid until it reaches the full line. This is the single most effective thing you can do for better drying.
- Select a Heated Dry Cycle: Choose a "Normal" or "Heavy" wash cycle and make sure to select the "Heated Dry," "Max Dry," or "Extra Dry" option. Check that the corresponding light on the control panel is illuminated.
- Load the Dishwasher for Airflow: This is crucial. Place larger plates and pans along the sides and back of the bottom rack, facing inward. Angle bowls downward so water can't pool in them. Keep plastics on the top rack, as the heating element at the bottom can warp them. Most importantly, leave space between items so hot air can circulate freely.
- Check the Vent: Make sure no tall plates or cutting boards are blocking the vent, which is usually located on the inside of the door.
- Run Hot Water at the Sink: Before you press start, turn on the hot water at your kitchen sink and let it run for a minute until it's hot. This ensures your dishwasher starts its cycle with hot water right away, which improves both cleaning and drying performance.
- Wait Before Opening: Once the cycle is completely finished, wait at least 10-15 minutes before opening the door. This allows the residual steam to dissipate and the dishes to cool, preventing condensation from reforming.
After following these steps, check your dishes. If they are now dry, congratulations! You’ve solved the problem. If they're still noticeably wet, it's time to investigate the dishwasher's hardware.
Part 2: What's Your Dishwasher's Drying System?
To diagnose the problem further, you first need to know what kind of drying system your dishwasher uses. There are two main types.
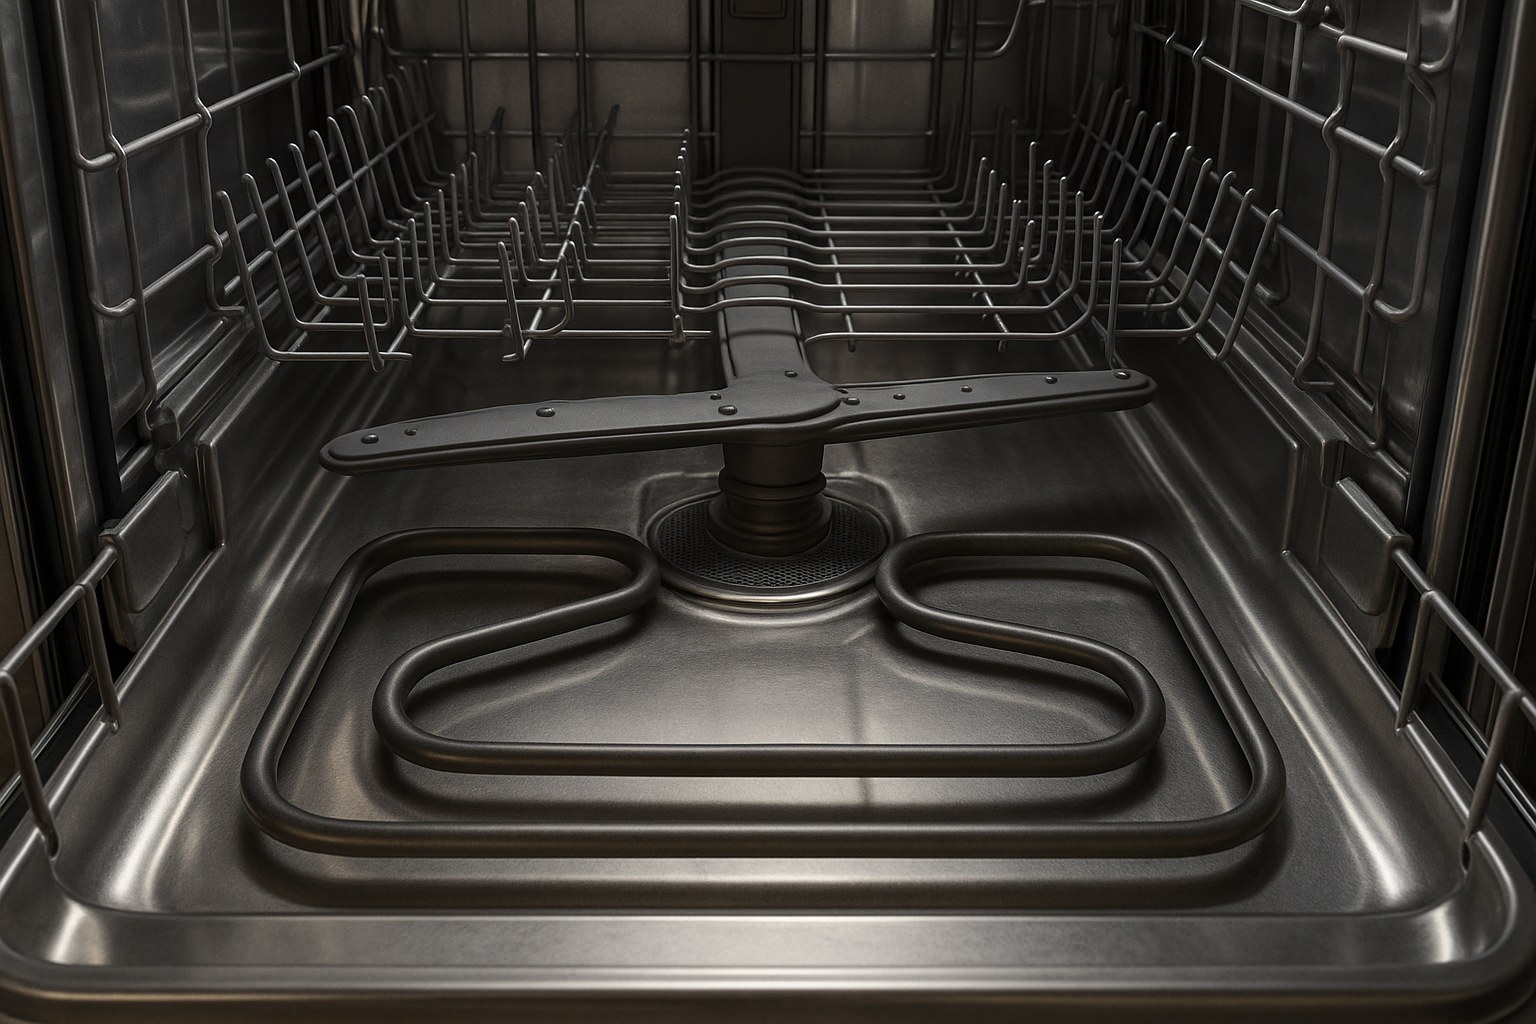
- Open the dishwasher door and pull out the lower dish rack completely.
- Look at the bottom of the dishwasher's tub.
- Do you see a thick, curved metal rod? That's an exposed heating element. If you have this, your dishwasher uses heat to actively dry the dishes.
- If you don't see one, your dishwasher likely uses a condensation or fan-assisted system, which relies on a vent and fan to pull moist air out.
Part 3: How to Diagnose a Faulty Heating Element
If you have a heating element and your dishes aren't drying, the element itself may have failed. We can test this with a simple tool called a multimeter.
Warning: This involves working with electrical components. For your safety, you must turn off the power to the dishwasher at the circuit breaker before you begin.
Difficulty: Moderate
Time: 20 minutes
- Turn Off the Power: Go to your home's electrical panel and flip the circuit breaker for your dishwasher to the "OFF" position.
- Access the Element Terminals: The heating element connects to the dishwasher's wiring at the front, behind the bottom kick plate. Use a Phillips screwdriver to remove the screws holding the kick plate in place and set it aside. You should see two wires connected to the terminals of the heating element.
- Inspect the Element: Before testing, look closely at the heating element inside the tub. Do you see any visible cracks, breaks, or blisters? If so, it has definitely failed and needs to be replaced.
- Test with a Multimeter: If the element looks fine, it could still be faulty internally. Set your multimeter to the resistance (ohms, or Ω) setting. Disconnect the wires from the element's terminals and touch one multimeter probe to each terminal.
- Read the Results: A functional heating element should have a resistance reading somewhere between 10 and 30 ohms.
- If the reading is 0 or the multimeter shows "OL" (Open Line), the element's internal circuit is broken. It has failed and needs to be replaced.
- If the reading is within the 10-30 Ω range, the element is likely working correctly. The problem might be with the thermostat or the main control board.
Part 4: How to Diagnose a Faulty Vent or Fan System
If you have a condensation-style dishwasher, the problem likely lies with the vent or the fan that circulates the air.
Difficulty: Moderate
Time: 15 minutes
- Turn Off the Power (Temporarily): Go to the circuit breaker and turn off the power to the dishwasher.
- Clean the Vent: Open the door and locate the vent assembly, usually near the top edge of the inner door panel. It may have small slots. Use a damp cloth to wipe away any grime, food particles, or mineral buildup that could be blocking airflow.
- Restore Power and Test: Turn the circuit breaker back on. Start a "Heated Dry" only cycle (some models have a "Rinse and Dry" option).
- Listen and Feel: Stand near the dishwasher's vent. During the dry phase, you should hear a low humming sound from the fan motor and feel warm, moist air being pushed out.
- If you hear and feel nothing, the fan motor or the mechanism that opens the vent door has likely failed.
- If the fan is running and air is moving, the issue might be with a sensor or the main control board that tells the fan when to run.
When It's Time to Call a Professional
DIY is great, but it's important to know your limits. If your troubleshooting leads you to one of these conclusions, it's best to call a qualified appliance repair technician:
- The heating element has failed and needs to be replaced.
- The heating element tests fine, suggesting a problem with the control board or thermostat.
- The vent fan or vent door assembly is not working.
- The fan works, but the dishes still aren't drying, pointing to a faulty sensor or control board.
These repairs involve more complex electrical work and disassembly. A professional can diagnose the issue accurately and replace the correct parts safely.
How Much Does It Cost to Fix a Dishwasher Drying Problem?
The cost can vary widely depending on the cause.
- DIY Fixes: A bottle of rinse aid costs between $5 - $10 and can last for months.
- DIY Parts Replacement: A new heating element typically costs $20 - $50.
- Professional Repair: According to HomeAdvisor, hiring an appliance technician for a dishwasher repair typically costs between $100 and $300, including parts and labor.

Get Back to Perfectly Dry Dishes
Dealing with a dishwasher that leaves your dishes wet is a hassle, but as you've seen, the solution is often straightforward. By starting with the basics—like using rinse aid and loading properly—you can solve the majority of drying issues. And if the problem is more technical, you now have the knowledge to diagnose whether it's the heating element or the vent system.
For more expert home maintenance guides, step-by-step DIY tutorials, and access to a network of trusted professionals for the jobs you can't tackle alone, download the Casa app today! We're here to help you keep your home running smoothly, one fix at a time.


