
Jan 13, 2026
How To Change Any Light Bulb Safely and Easily
A burnt-out light bulb is more than an inconvenience—it's a safety issue. Our complete guide walks you through how to change any light bulb, from standard ceiling fixtures to tricky outdoor sconces. Learn to identify bulb types, practice essential safety steps, and know when it's time to call a pro.
It’s a moment we all experience. You flip a switch, and instead of bright light, you get a flicker, a dim glow, or nothing at all. A burnt-out light bulb might seem like a small annoyance, but in a busy hallway or a dark stairwell, it can be a genuine safety hazard. You might also notice flickering lights, a dimming bulb that’s lost its spark, or even a faint burnt odor, all signs that it’s time for a change.
Looking for more guidance? Take a look at our Repairs overview.
The good news is that changing a light bulb is one of the most common and straightforward DIY tasks around the house. With just a few minutes and the right knowledge, you can safely swap out that old bulb and restore brightness to your space.
In this guide, we’ll walk you through everything you need to know, just like a friendly expert on the phone. We’ll cover essential safety precautions, how to identify different types of fixtures and bulbs, and provide step-by-step instructions for any situation, whether it's a simple desk lamp or a high-up ceiling fixture.
Safety First: Your Pre-Change Checklist
Before you even think about touching a light fixture, let's talk about safety. Working with electricity, even on a small scale, requires your full attention. Following these simple steps will ensure the job is done without any risks.
-
Turn Off the Power at the Switch: This is the most critical step. Find the wall switch that controls the light fixture and flip it to the "off" position. This stops the flow of electricity to the socket. Don’t just assume the light is off because the bulb is burnt out; always use the switch.
-
Let the Old Bulb Cool Down: If the light was on recently, the bulb could be extremely hot, especially if it’s an older incandescent or halogen model. Give it at least 5-10 minutes to cool down completely before you try to touch it.
-
Use a Sturdy Ladder (If Necessary): If you can't comfortably reach the fixture while standing flat on the floor, grab a stepladder. Make sure you place it on a solid, level surface and that the ladder’s locking braces are fully engaged. Never stand on a wobbly chair or a piece of furniture—it’s just not worth the risk of a fall.
-
For Extra Caution, Flip the Breaker: For fixtures in potentially damp areas like bathrooms or outdoors, or if you're at all unsure, it’s a wise move to turn off the power at the circuit breaker. This guarantees there is no current running to the fixture.
Know Your Bulb and Fixture
Not all light bulbs are created equal. Before you can replace a bulb, you need to know what you’re working with. Light fixtures and bulbs come in a few common varieties.
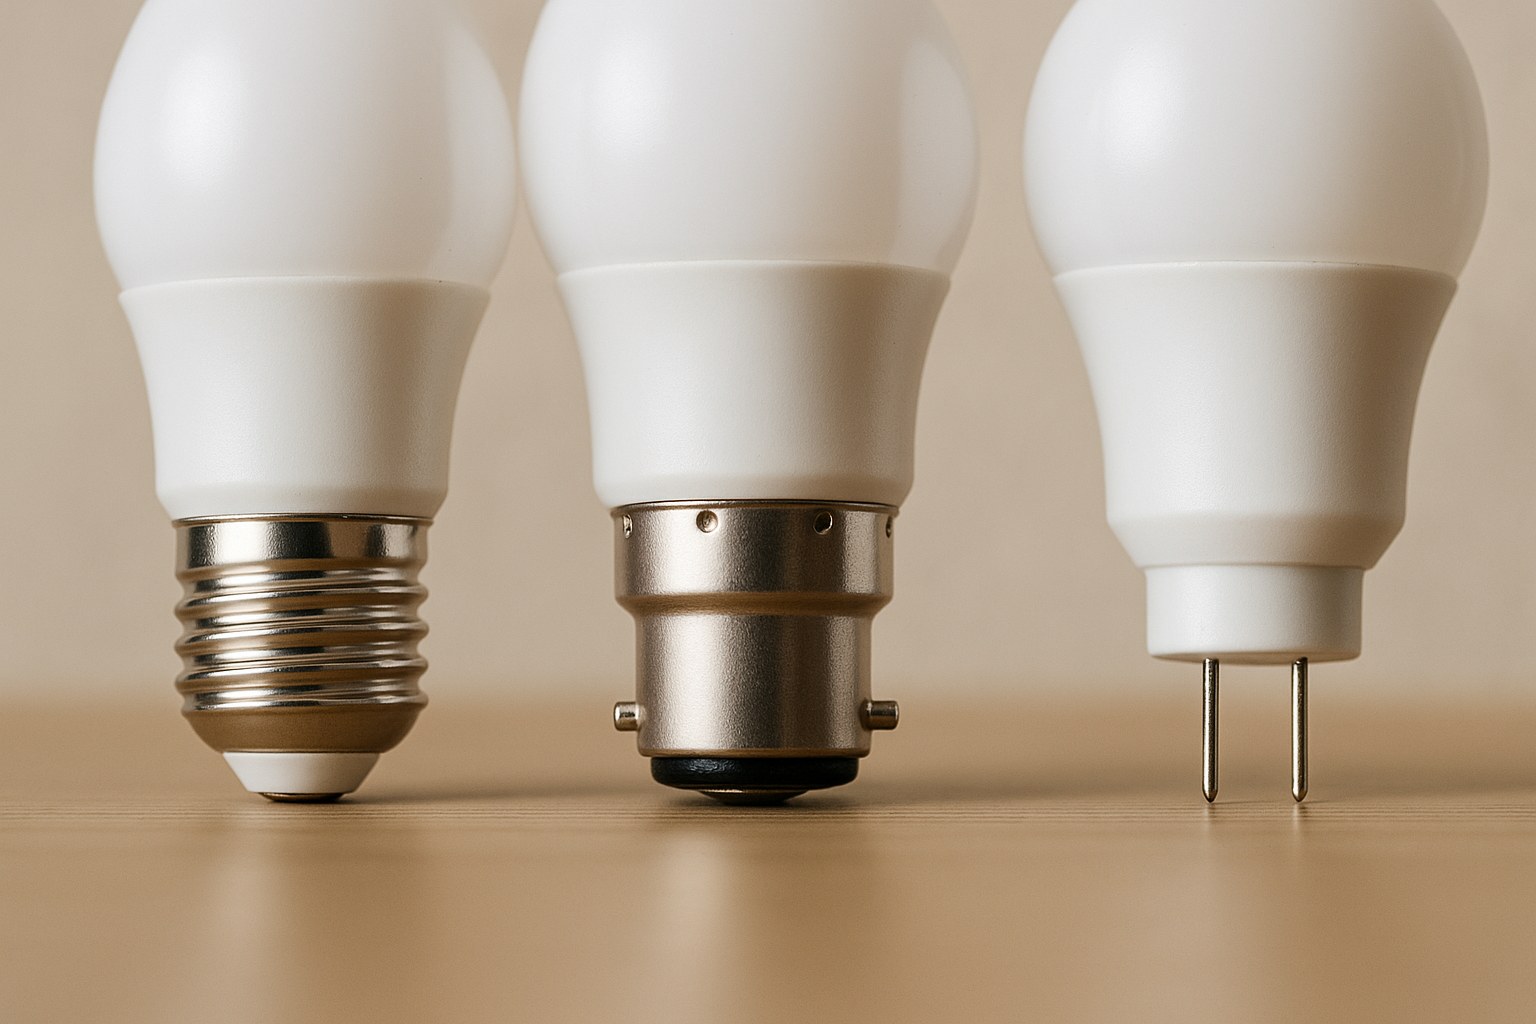
Common Bulb Base Types:
- Screw-In (Edison Base): This is the classic, most common type of bulb base you’ll find in North America (often labeled E26 or E27). As the name implies, you simply screw it in and out.
- Bayonet Base: This type has two small pins on the sides of the base. To install or remove it, you push the bulb into the socket gently and then twist it to lock or unlock it from the L-shaped slots.
- Pin-Based: Often used for fluorescent tubes or some smaller halogen and LED bulbs, these have two or more pins that slide directly into the socket. They are typically removed by rotating the bulb 90 degrees to release it.
A Note on Dimmers and Smart Switches
If your light fixture is controlled by a dimmer switch or a smart home system, you can't use just any bulb. You must use a bulb that is specifically marked as “dimmable.” Using a non-dimmable bulb on a dimmer circuit can cause flickering, buzzing, or lead to the bulb burning out very quickly. Always check the packaging of your new bulb to ensure it’s compatible.
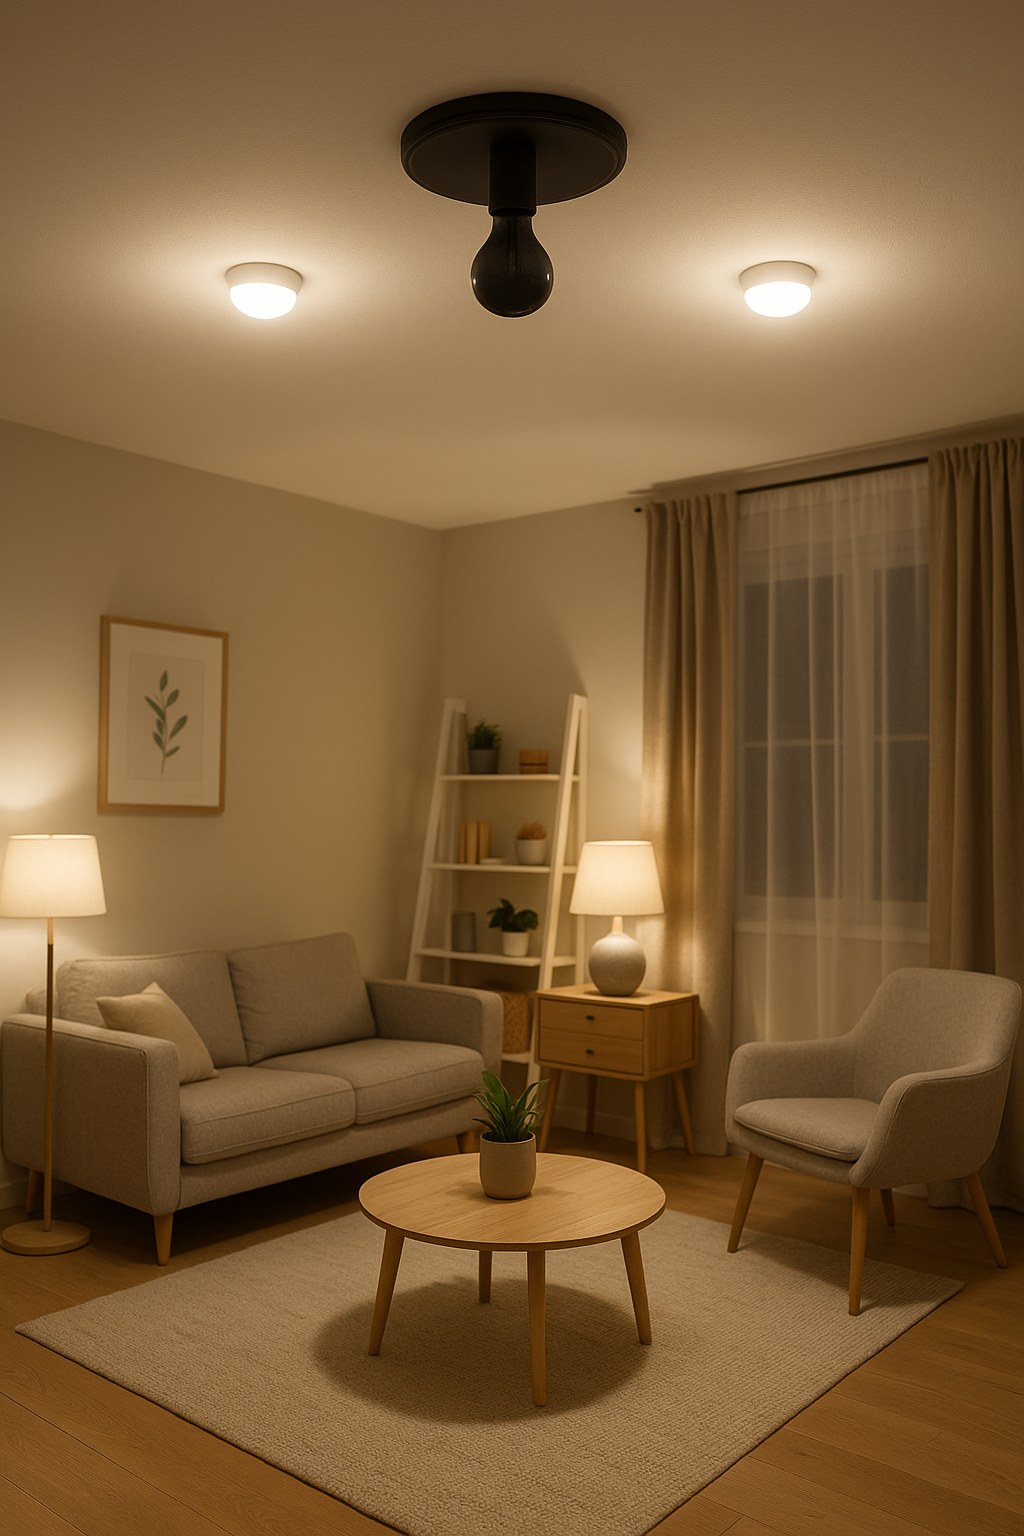
How to Change a Light Bulb in a Ceiling Fixture
Ceiling fixtures are the most common type of lighting, but they can sometimes feel tricky because they're overhead. Here’s how to handle it like a pro.
- Prepare Your Space: Make sure your ladder is securely in place directly underneath the fixture.
- Remove the Cover: Many ceiling lights have a glass or plastic globe or cover. These are usually held in place by small thumbscrews or a central decorative nut. Turn the screws counter-clockwise to loosen them, or unscrew the central nut. Carefully remove the cover and set it aside in a safe place.
- Remove the Old Bulb:
- For a screw-in bulb: Gently grip the bulb and turn it counter-clockwise until it comes free from the socket.
- For a bayonet bulb: Push the bulb gently up into the socket and twist it counter-clockwise until the pins are free from their slots. Then, pull it straight down.
- For a pin-based bulb (like a fluorescent tube): Hold the bulb at both ends and rotate it 90 degrees (a quarter turn). This will align the pins with the slots in the socket, allowing you to slide the bulb straight down and out.
- Install the New Bulb: Reverse the process. Screw in the new screw-in bulb until it’s snug (but don’t overtighten it). For a bayonet, push and twist clockwise. For a pin-based bulb, align the pins, push up, and rotate 90 degrees until it clicks into place.
- Test and Reassemble: Before putting the cover back on, flip the switch on to make sure the new bulb works. Once you confirm it lights up, turn the switch off again, re-attach the cover, and you’re done!
How to Change a Light Bulb in a Wall Sconce
Wall sconces are very similar to ceiling fixtures, just mounted vertically.
- Power Off: Flip the wall switch to the "off" position.
- Remove the Cover: Sconces often have decorative covers. You may need to loosen a few screws (a Phillips screwdriver might be needed) or unscrew a ring at the base of the socket to release the shade.
- Replace the Bulb: Following the same method for screw-in, bayonet, or pin-based bulbs described above, remove the old bulb and install the new one.
- Test and Reassemble: Flip the switch to test the bulb. Once it’s working, switch it off again and carefully re-attach the decorative cover.
How to Change a Light Bulb in a Desk or Floor Lamp
Lamps are the easiest of all, as they aren't hardwired into your home’s electrical system.
- Unplug the Lamp: This is your primary safety step. Unplug the lamp from the wall outlet before doing anything else.
- Access the Bulb: Remove the lampshade if necessary. It’s usually held on by a ring that unscrews from around the socket or a harp that can be squeezed and lifted off.
- Replace the Bulb: Unscrew the old bulb and screw in the new one.
- Test It: Put the lampshade back on, plug the lamp back into the wall, and turn it on to test your work.
Troubleshooting: What if the New Bulb Doesn’t Work?
So you've replaced the bulb, but the light still won't turn on. Don't panic! Here are a few things to check before calling for help.
- Is the bulb screwed in properly? Make sure it's snug in the socket.
- Is the wall switch on? It's a simple mistake we all make.
- Did you try another bulb? On rare occasions, a new bulb can be a dud right out of the box. Try it in a lamp you know works to be sure.
- Is the breaker tripped? Check your electrical panel to see if the circuit breaker has been tripped.
If you’ve checked all of these things and the light still isn’t working, there may be a more complex issue with the socket, the wiring in the fixture, or the switch itself. At this point, for your safety, it's time to stop and call in a professional.
Hiring a licensed electrician for a small job like fixing a light fixture is a smart investment in your home’s safety. The cost can vary, but according to Forbes Home, you can expect to pay between $50 and $150 per hour, often with a minimum service fee.
Let There Be Light!
Congratulations! You’ve successfully and safely changed your light bulb. It’s a small task, but mastering these basic home maintenance skills builds confidence and keeps your home running smoothly. By putting safety first and understanding the different types of bulbs and fixtures, you can tackle this job anytime, anywhere.
For more simple DIY guides, home maintenance reminders, and a direct line to trusted professionals when a job is too big to handle alone, download the Casa app today. We’re here to help you care for your home with confidence, one bright idea at a time.