
Dec 14, 2025
How to Fix a Vacuum That Keeps Shutting Off
It's frustrating when your vacuum suddenly stops mid-clean. This guide will walk you through the common causes—from overheating to clogs and power issues—and provide step-by-step instructions to fix both corded and cordless vacuums, getting you back to a clean home in no time.
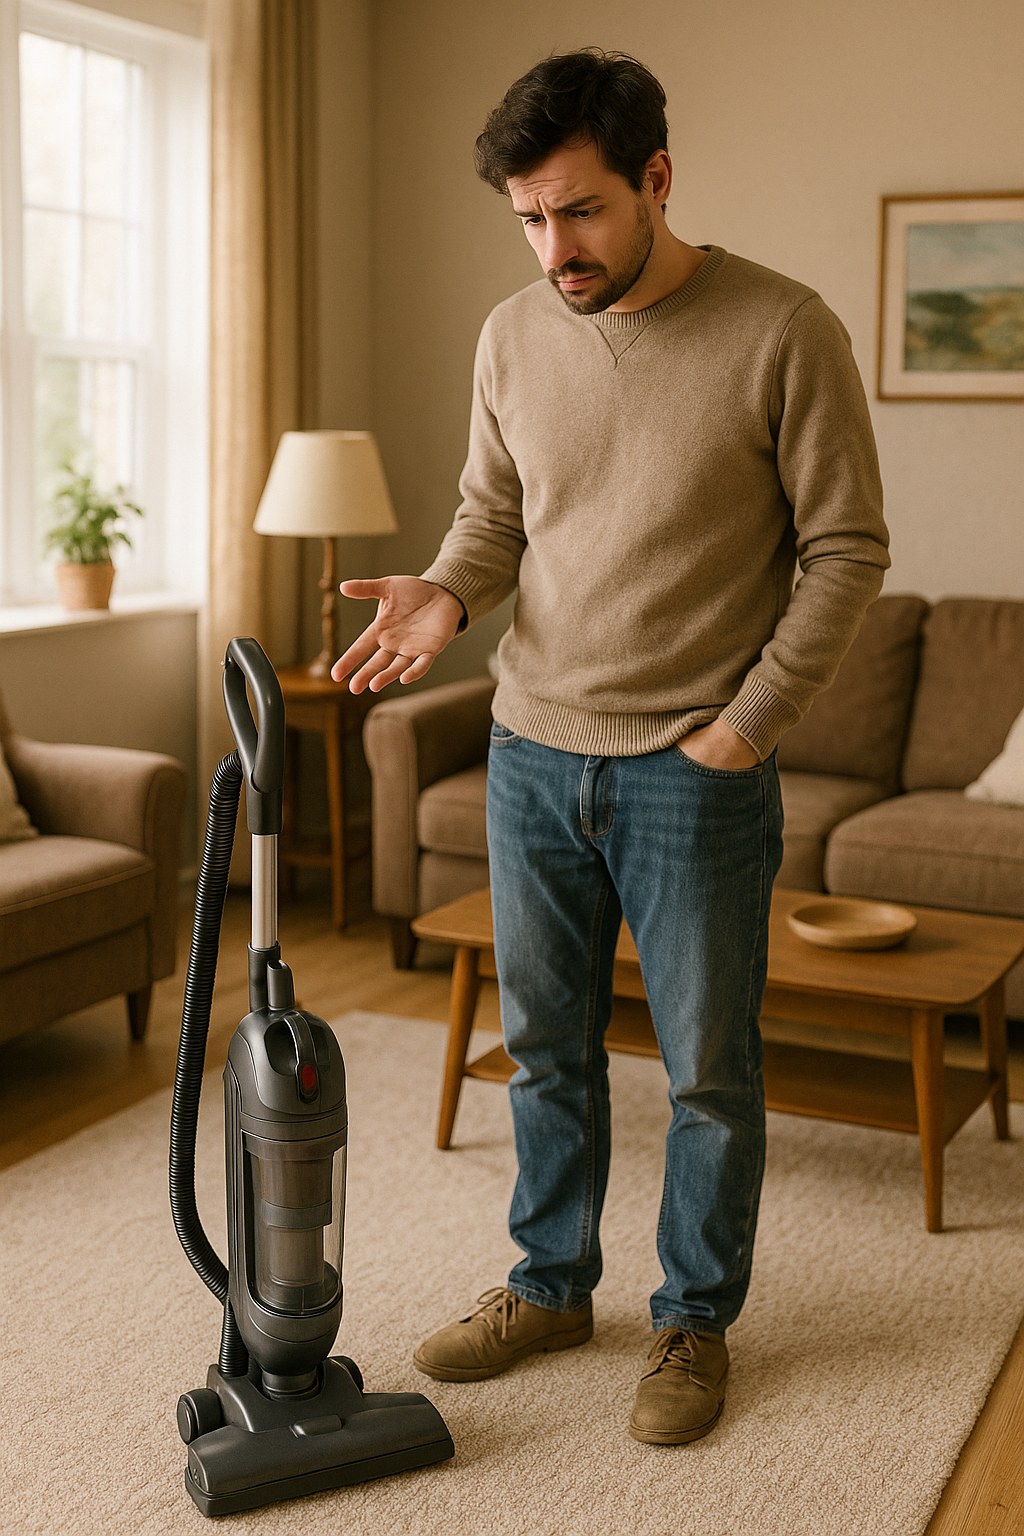
You’re in the zone, gliding across the floor, and suddenly… silence. Your vacuum cleaner has shut off without warning, leaving a trail of crumbs behind. It’s a frustrating moment that can bring your entire cleaning routine to a screeching halt.
Looking for more guidance? Take a look at our Repairs overview.
The good news is that a vacuum that keeps shutting off is a very common issue, and more often than not, it’s something you can fix yourself in under an hour. Most vacuums are designed with a safety feature that automatically shuts the motor off to prevent it from burning out. Your job is to figure out what’s triggering that safety mechanism.
Whether you have a powerful corded upright or a sleek cordless stick vacuum, we’re here to help. In this guide, we’ll walk you through the most common reasons your vacuum is shutting down and provide a step-by-step process to diagnose and solve the problem.
Why Does My Vacuum Keep Shutting Off? The Common Culprits
Before we roll up our sleeves, let’s understand what’s likely causing the shutdown. In most cases, it boils down to one of these four issues:
-
Overheating: This is the number one reason vacuums shut off unexpectedly. Modern vacuums have a thermal protector, which is a fancy term for a switch that cuts power when the motor gets too hot. Overheating is almost always a symptom of another problem—usually poor airflow.
-
Clogs and Blockages: When the hose, filter, or brush roll is clogged with dirt, pet hair, and debris, air can’t flow freely through the machine. This forces the motor to work much harder, causing it to overheat and shut down.
-
A Full Dust Bin or Bag: It sounds simple, but an overflowing dust canister or a full vacuum bag is a primary cause of restricted airflow. If there’s nowhere for the dirt to go, the air has nowhere to go either.
-
Power Supply Problems: For corded vacuums, a damaged power cord, a faulty wall outlet, or a tripped circuit breaker can cut the power. For cordless models, a low or failing battery is often the culprit.
Now, let’s figure out which one is affecting your machine and get it fixed.
Your Step-by-Step Guide to Fixing a Vacuum That Shuts Off
Before you begin any troubleshooting, let’s talk safety. For a corded vacuum, always unplug it from the wall outlet first. For a cordless vacuum, remove the battery pack. This prevents the machine from accidentally turning on while you’re working on it.
Step 1: Corded or Cordless? Identify Your Vacuum Type
This first step determines your troubleshooting path. Does your vacuum have a long power cord that plugs into the wall, or does it run on a removable, rechargeable battery? Once you know, you can jump to the right section below.
Step 2: Troubleshooting a Corded Vacuum
If your vacuum is the plug-in type, let’s work through these potential issues one by one.
Is It Overheating?
If your vacuum ran for a few minutes before shutting off, feel the body of the machine. Is it hot to the touch? If so, overheating is the likely cause.
Here’s how to address it:
- Unplug the vacuum from the wall outlet.
- Let it cool down. Move it to a cool spot on a hard floor and leave it unplugged for at least 30-45 minutes. This allows the thermal protector to reset.
- While it’s cooling, find the cause. Overheating is a symptom, so use the cooling time to check for the blockages we’ll cover in the next section.
Once it's cool and you've cleared any clogs, plug it back into a working outlet and try running it for 10 minutes. If it stays on, you’ve solved it! If it shuts off again, there might be an issue with the motor’s internal thermostat, and it may be time to call a professional.
Are There Clogs or Dirty Filters?
This is the most common cause of overheating. Let’s do a full inspection.

- Empty the Dust Bin: Remove the dust canister or bag and empty all its contents into the trash. If you use bags, now is the perfect time to pop in a fresh one.
- Clean the Filters: Locate the vacuum’s filters (check your user manual if you’re unsure where they are). Tap them gently over a trash can to shake loose dust and debris. Many modern filters are washable. If yours is, rinse it under warm water with a little dish soap, squeeze out the excess, and let it air-dry completely for at least 24 hours. A damp filter will not only work poorly but can also lead to mildew.
- Inspect the Hose: Disconnect the hose from both the vacuum body and the wand. Shine a flashlight through it to look for blockages. If you see a clog, use a straightened coat hanger or a broom handle to gently push it out.
- Check the Brush Roll: Turn the vacuum over to access the brush roll (also called a beater bar). Is it wrapped in hair, string, or carpet fibers? Use a pair of scissors to carefully cut everything away. Spin the brush by hand to make sure it moves freely.
After reassembling everything (including the completely dry filter), try running the vacuum again. In most cases, this thorough cleaning will restore airflow and solve the shutdown problem.
Could It Be the Power Supply?
If the vacuum isn’t hot and you’ve cleared all clogs, the issue could be electrical.
- Test the Outlet: Unplug the vacuum and plug in something you know works, like a lamp or a phone charger. If it doesn’t power on, the problem is your outlet. Try resetting the circuit breaker or the GFCI button (the little button found on outlets in kitchens and bathrooms).
- Inspect the Power Cord: With the vacuum unplugged, run your hands carefully along the entire length of the power cord. Do you feel or see any cuts, frayed areas, or melted spots? Pay close attention to the area near the plug and where the cord enters the vacuum body. If you find any damage, do not use the vacuum. A damaged cord is a fire hazard and should be replaced by a qualified appliance repair technician.
Step 3: Troubleshooting a Cordless Vacuum
For battery-powered vacuums, the troubleshooting process is a bit different. Let’s dive in.
Is the Battery Charged?
It sounds obvious, but a low battery is the most frequent reason a cordless vacuum shuts off.
- Check the Charge Level: Most cordless vacuums have indicator lights that show the remaining battery life.
- Charge It Correctly: If the battery is low, connect it to the charger and let it charge fully. This can take several hours. Make sure the charger is on a hard, flat surface where it can get good airflow.
- Test It: Once fully charged, reinsert the battery and run the vacuum for 10 minutes. If it works without issue, your problem was simply a low battery.
If the vacuum still shuts off quickly on a full charge, your battery may be old and unable to hold a charge anymore. You may need to purchase a replacement from the manufacturer.
Is It Overheating?
Yes, cordless vacuums can overheat too! The motor and even the battery can get too hot if airflow is restricted.
- Remove the battery and turn the vacuum off.
- Feel the vacuum body and the battery pack. If either feels warm, set them aside separately to cool down for at least 30 minutes.
- Find the cause. Just like with a corded model, use this cooling time to check for clogs in the dust bin, filter, wand, and brush roll.
Are There Clogs or Dirty Filters?
The cleaning process for a cordless vacuum is the same as for a corded one. Empty the dust bin, wash the filter (and let it dry!), check the wand for blockages, and clear any hair or string from the brush roll. This is the most effective way to prevent overheating and ensure your vacuum runs smoothly.
When to Call a Professional
You can solve most vacuum shutdown issues with the DIY steps above. However, it's time to call an appliance repair technician if:
- You find any damage to the power cord.
- The vacuum continues to overheat even after a thorough cleaning.
- You suspect an internal electrical or motor issue.
- A new battery doesn't solve the problem on your cordless model.
The cost to have a professional look at your vacuum typically ranges from $50 to $150, depending on the issue. This can be well worth it for a high-end machine, but for a budget model, it might be more cost-effective to consider a replacement.

A Clean Vacuum is a Happy Vacuum
A vacuum that keeps shutting off is its way of telling you it needs help. By regularly emptying the dust bin, cleaning the filters, and clearing the brush roll, you can prevent most of these issues from ever happening.
Tackling this problem yourself not only saves you money but also empowers you as a homeowner. And for those times when a DIY fix isn't enough, Casa is here to help.
Download the Casa app today to get more easy-to-follow home maintenance guides and connect with trusted, pre-vetted professionals for any repair job, big or small. Keep your home running smoothly with Casa at your fingertips.