
Feb 5, 2026
How to Fix an Uneven Driveway A Homeowners Guide
An uneven driveway is more than a cosmetic issue; it can be a hazard. This guide helps you identify your driveway material and decide between a DIY fix or calling a pro.
An uneven driveway is a common sight for homeowners. Over time, soil settlement, water drainage, and daily use can cause dips, cracks, and potholes to form. While it might seem like a minor annoyance, an uneven surface can be a trip hazard, cause premature tire wear, and lead to more significant, costly damage if left unaddressed.
Looking for more guidance? Take a look at our Repairs overview.
The good news is that not every uneven spot requires a complete overhaul. The right way to approach a repair depends entirely on two things: your driveway’s material and the size of the problem.
This guide will walk you through how to identify what your driveway is made of, assess the unevenness, and decide whether a simple DIY repair is appropriate or if it’s time to call a professional.
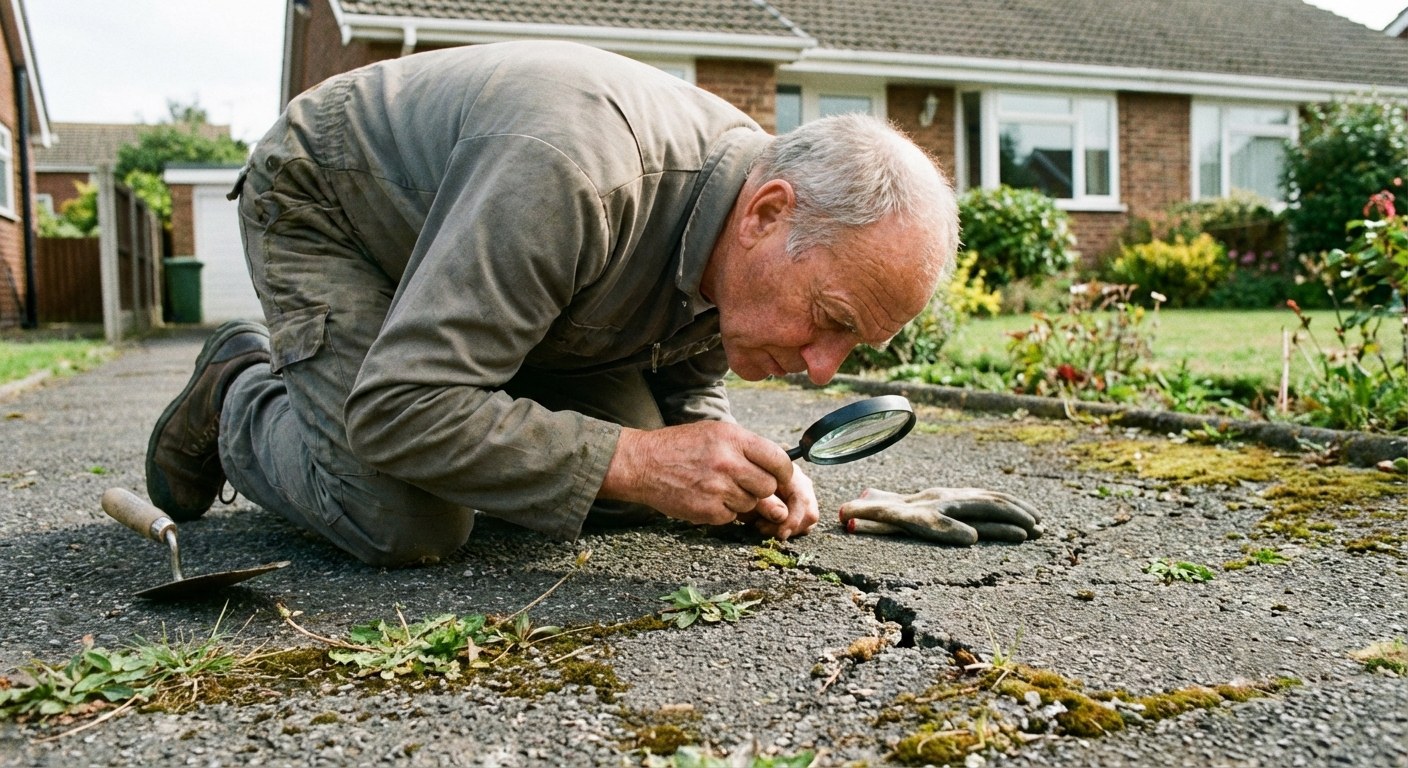 Image Alt: A homeowner wearing gloves kneels to inspect the texture of their driveway material.
Step 1: Identify Your Driveway Material
Before you can plan a fix, you need to know what you’re working with. Most driveways are made from one of four common materials. Take a quick walk and inspect the surface to determine which one you have.
- Concrete: Looks like large, light gray, uniform slabs. You will likely see distinct lines cut into the surface—these are called control joints, and they are designed to manage cracking.
- Asphalt: A smooth, solid black surface. It can feel slightly softer or get tacky in hot summer weather. It is sometimes called blacktop.
- Pavers: Individual bricks or stones fitted together in a pattern. You can see the joints between each stone, and a single paver could theoretically be lifted out.
- Gravel: A surface made entirely of loose stones, often about three-quarters of an inch in size.
Once you’ve identified your driveway material, you can properly assess the damage.
Step 2: Assess the Unevenness and Plan Your Approach
Now that you know your driveway type, you can determine the best course of action. The key is to distinguish between a small, manageable repair and a sign of a deeper, structural problem.
For a Concrete Driveway
Lay a long, straight board over the uneven area. Measure the largest gap between the board and the concrete surface.
- Safe to Try Yourself: If the dip is less than 2 feet wide and shallower than 2 inches, and there are no wide, deep cracks, you can likely patch it yourself with a concrete resurfacer.
- Time to Call a Professional: If the dip is large and deep, a concrete slab has tilted, or you see cracks wider than a quarter-inch, it’s time to call a concrete contractor. They have specialized methods like slab leveling (also called mudjacking or polyjacking) or may recommend replacing the damaged section.
For an Asphalt Driveway
Use a straight board to measure the depth of the pothole or depression. Also, look for "alligator cracks"—interconnecting cracks that look like a spider web, which signal failure of the base layer.
- Safe to Try Yourself: A small pothole that is less than 2 feet wide and under 2 inches deep can typically be repaired with a cold-patch asphalt mix from a home improvement store.
- Time to Call a Professional: For large potholes, widespread alligator cracking, or deep ruts, contact an asphalt specialist. The driveway may need professional resurfacing or a full replacement of the damaged section.
For a Paver Driveway
Check if the uneven pavers themselves are intact or if they are broken.
- Safe to Try Yourself: If a few pavers are sitting unevenly but are not cracked or broken, you can reset them yourself. This usually involves lifting them, adding and leveling new sand underneath, and putting them back in place.
- Time to Call a Professional: If pavers are broken, the area of sinking is large, or the edge of the driveway is failing, call a hardscaping professional. This often indicates a problem with the base layer that needs to be rebuilt.
For a Gravel Driveway
Measure the depth of the potholes or ruts.
- Safe to Try Yourself: If the low spots are less than 6 inches deep, you can usually fix them by raking existing gravel into the holes and adding new crushed stone.
- Time to Call a Professional: If you have deep ruts (more than 6 inches), major wash-outs after rain, or persistent drainage problems, contact an excavation or grading contractor. The driveway may need a new base layer and professional regrading to ensure proper drainage.
How to Handle Minor Driveway Repairs Yourself
If you've determined your issue is a good candidate for a DIY fix, here are the basic steps for each material. Always wear work gloves and safety glasses, and follow the specific instructions on any products you purchase.
Patching a Small Concrete Dip
- Clean: Use a stiff broom and a wire brush to thoroughly clean all dirt and loose concrete from the dip. Rinse it with a hose and let it dry until it’s just damp.
- Mix: In a bucket, mix a concrete resurfacing product with water according to the package directions.
- Apply: Pour the mixture into the dip, slightly overfilling it.
- Level: Use a steel trowel to spread the patch, making it level with the surrounding driveway. Feather the edges to create a smooth transition.
- Cure: Let the patch cure undisturbed, following the product's instructions for drying time.
Patching a Small Asphalt Pothole
- Clean: Sweep out any debris and remove loose chunks of asphalt from the hole.
- Fill: Pour a cold-patch asphalt mix into the hole, overfilling it by about half an inch.
- Compact: Place a scrap piece of plywood over the patch and tamp it down firmly with a hand tamper until it’s level with the surrounding asphalt. You can also slowly drive over the board with your car to help compact it.
Resetting Sinking Pavers
- Remove: Use a flathead screwdriver or pry bar to gently lift out the sunken pavers and any adjacent ones needed to access the area.
- Add Base: Scrape out the old sand. Add a fresh layer of leveling sand (polymeric sand is a good choice as it hardens to resist weeds and washout) to the cavity.
- Level: Use a small board to smooth and level the new sand so that the paver will sit flush with its neighbors once replaced.
- Replace: Set the pavers back in place, tapping them gently with a rubber mallet.
- Finish: Sweep more polymeric sand into the joints, then lightly mist the area with a hose to activate the sand’s binding agents.
Regrading a Gravel Driveway
- Rake: Use a sturdy garden rake to pull gravel from the high spots and edges into the potholes and ruts.
- Fill: Shovel new crushed stone (3/4-inch is a common size) into the low spots until they are slightly overfilled.
- Level: Rake the surface smooth. It’s a good practice to create a slight "crown," where the middle of the driveway is a few inches higher than the edges, to encourage water runoff.
- Compact: Tamp the new gravel down firmly. Driving over it slowly a few times also works well.
Typical Time and Costs
- DIY Repairs: Fixing a small dip or a few pavers is very budget-friendly. You can expect to spend $25 to $75 on materials like a bag of cold-patch asphalt, concrete resurfacer, or polymeric sand. The work can typically be done in one to two hours, plus curing time.
- Professional Repairs: Costs vary widely depending on the job. A minor professional repair might cost a few hundred dollars. Larger jobs like concrete slab leveling can range from $500 to $2,000+. A full resurfacing or replacement is a major project that often costs several thousand dollars.
A Smooth and Safe Driveway
Addressing an uneven driveway promptly keeps your home safe and prevents small issues from becoming expensive problems. By correctly identifying your driveway material and the scale of the damage, you can make a confident, informed decision.
For help keeping track of home maintenance projects like this one, and to get clear guidance when you need it, download the Casa app. It's your always-on advisor for everything your home needs.