Feb 24, 2026
How to Fix Missing Mortar in Your Chimney Bricks
Is your chimney showing missing mortar? We'll inspect and guide you through safe repointing for either minor fixes or extensive repairs step by step.
Seeing gaps between your chimney bricks can be unsettling. You might worry about water damage, structural stability, or even the safety of using your fireplace.
Looking for more guidance? Take a look at our Repairs overview.
First, take a deep breath. Missing mortar—often called "repointing" when you fix it—is a very common maintenance task for homeowners. Weather, temperature changes, and time naturally erode the cement-based mixture between bricks. It doesn't necessarily mean your chimney is about to collapse.
If you catch it early, fixing these gaps is a manageable weekend project. However, because chimneys involve height and heavy materials, safety is our priority. This guide will help you determine if you can patch it up yourself or if the damage is extensive enough to warrant calling a pro.

Signs Your Chimney Needs Attention
Beyond the obvious visual gaps, here is what typically indicates mortar failure:
- Crumbling debris: Finding bits of sandy grit or cement on the roof or patio below the chimney.
- Loose bricks: Bricks that shift slightly when touched.
- White salty spots (Efflorescence): A white, chalky residue on the brick face, which signals that water is getting inside the masonry.
- Damp patches: Moisture stains on the interior walls or ceiling near the fireplace.
Phase 1: Diagnosis and Safety Check
Before you buy any tools, we need to assess the scope of the damage. This step determines if this is a DIY job or a professional one.
Safety First: Do not attempt this if your roof is steep, if it is wet/icy, or if you are uncomfortable with heights. Always place your ladder on level ground.
Step 1: Inspect the Joints Put on safety glasses and work gloves. Carefully climb your ladder until you can see the chimney clearly. Look for missing mortar and cracks. If you see cracks wider than a pencil running through the bricks themselves (not just the mortar), stop. That is a structural issue for a mason.
Step 2: The Tap Test Gently tap several bricks with a rubber mallet. You are listening for a hollow sound or watching for movement. Bricks should feel solid.
Step 3: The Count Count roughly how many joints have missing mortar.
- Fewer than 10 joints: This is likely a localized repair you can handle easily.
- More than 10 joints (or widespread crumbling): This is a bigger job. You can still DIY it, but it will be labor-intensive.
Step 4: Internal Check Back on the ground, check the firebox (where the wood burns) for fallen mortar. Shine a flashlight up the flue. If you see crumbling inside the chimney, that is dangerous—call a professional immediately.
When to Call a Professional
You should stop and call a mason or chimney sweep if:
- You find loose bricks that can be pulled out by hand.
- There is damage to the chimney crown (the concrete cap on top).
- You see signs of internal damage in the flue.
- The chimney is leaning or pulling away from the house.
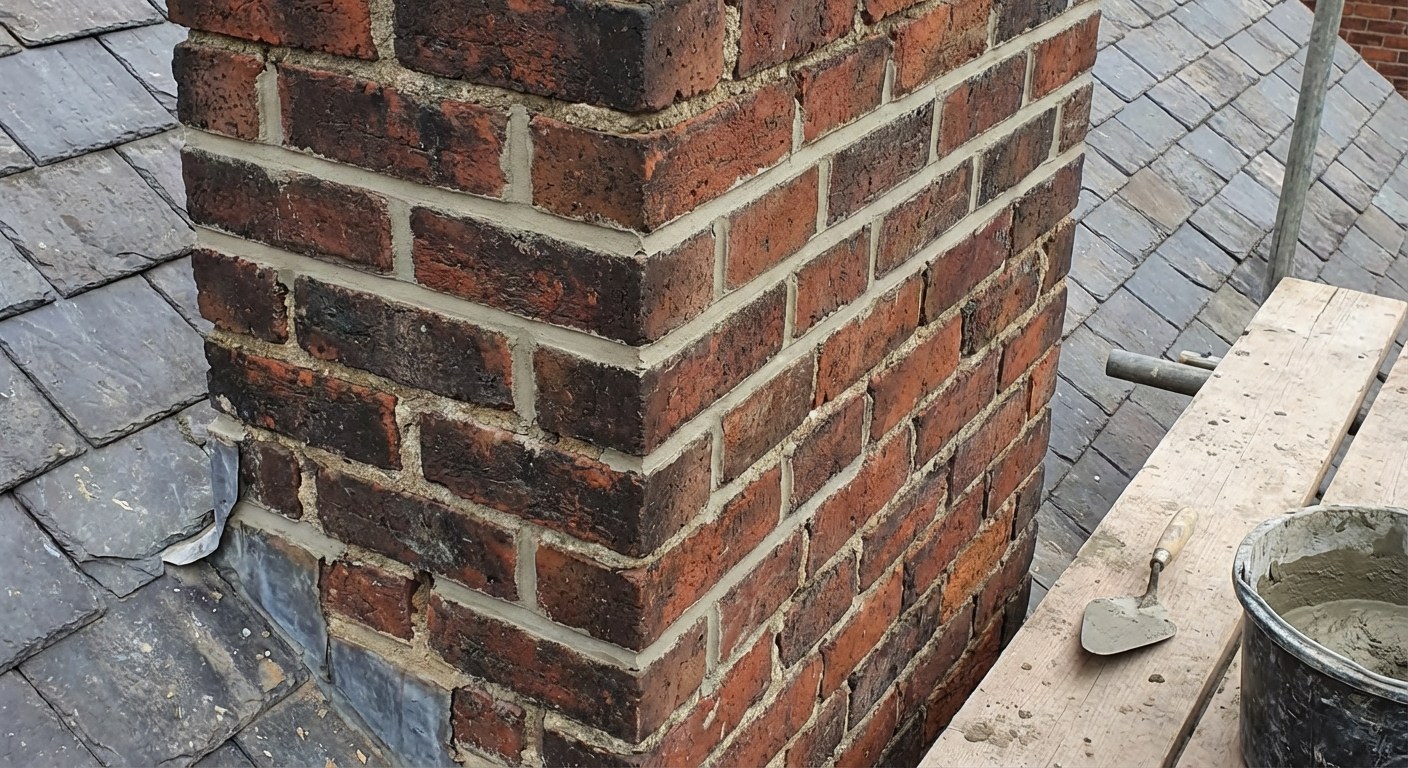
Phase 2: The Repair (Repointing)
If your bricks are stable and the damage is just to the mortar joints, you are ready to repoint. This process involves scraping out the old, bad mortar and packing in fresh material.
Tools you’ll need:
- Cold chisel and hammer
- Stiff brush (wire brush works well)
- Spray bottle with water
- Premixed mortar (Type N for clay brick, Type S for concrete brick)
- Pointing trowel and margin trowel
- Jointing tool
- Drop cloth
Time Estimate:
- Small repairs: 1-2 hours of work.
- Large repairs: 1-2 days of work.
Cost Estimate:
- DIY: $40 - $80 for materials and tools.
- Professional: $500 - $2,500 depending on chimney size and accessibility.
Step 1: Prep the Area
Lay a drop cloth over your roof shingles below the work area to protect them from mortar stains.
Step 2: Remove Old Mortar
Using your cold chisel and hammer, chip away the loose, crumbling mortar to a depth of about ½ inch. You want a solid surface for the new mortar to bond to. Be careful not to chip the bricks.
Step 3: Clean and Mist
Sweep out the dust with your stiff brush. Vacuum it if you have a shop vac handy—dust prevents bonding. Just before applying new mortar, mist the joints lightly with your spray bottle. Dry bricks will suck the moisture out of the new mortar too fast, making it weak.
Step 4: Mix the Mortar
- For Clay Bricks (Red/Standard): Use Type N mortar. It is softer and flexible, which prevents the harder bricks from cracking during freeze/thaw cycles.
- For Concrete Bricks/Block: Use Type S mortar. It is stronger and structural.
Mix the mortar with water until it reaches the consistency of peanut butter. It should stick to your trowel even when turned upside down.
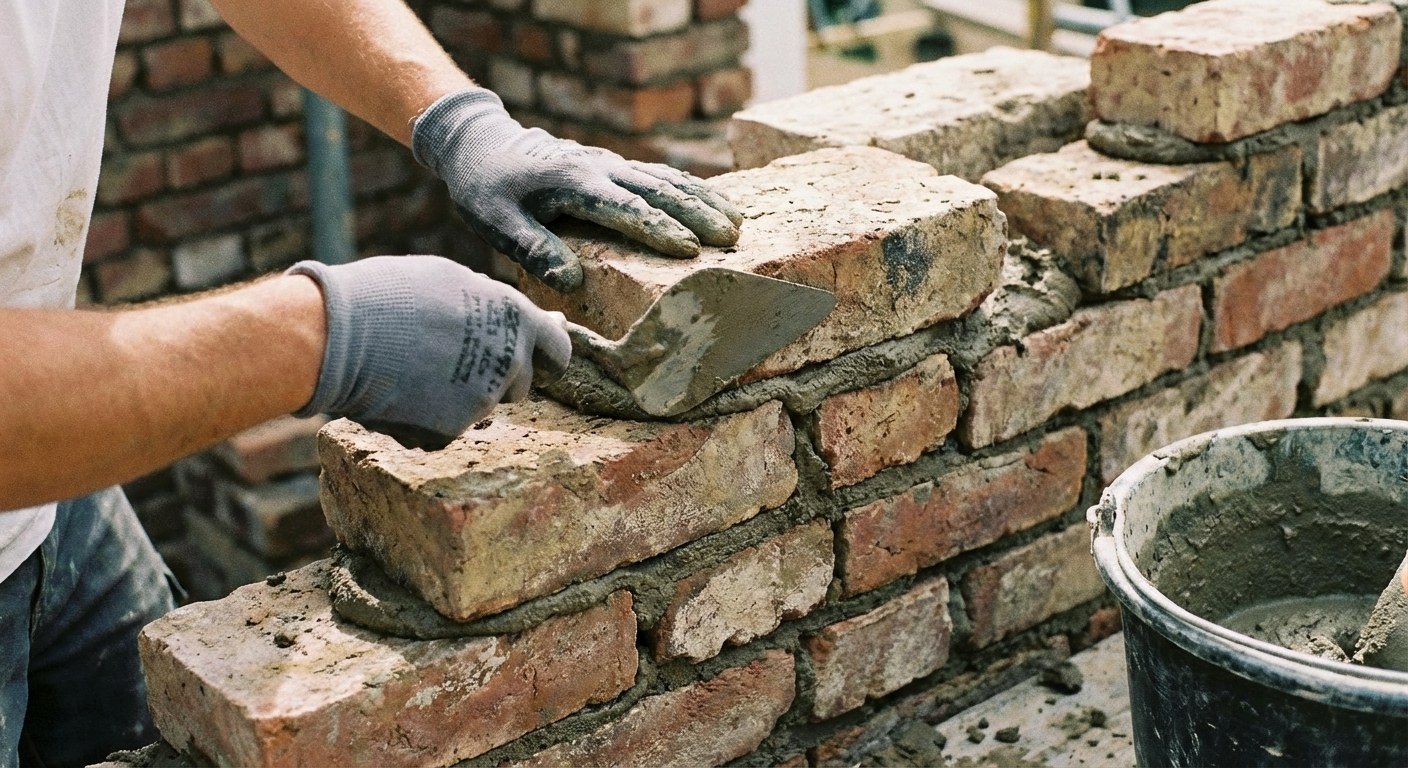
Step 5: Pack the Joints
Load a small amount of mortar onto your pointing trowel. Press it firmly into the gaps. You want to pack it tight to avoid air pockets. Overfill the joint slightly.
- Casa Tip: Organizing your workspace on a ladder is tricky. Use a bucket hook to keep your mortar bucket accessible so you can keep one hand for balance.
Step 6: Strike the Joints
Wait about 15-30 minutes until the mortar is thumbprint-hard. It should be firm but not rock solid. Use your jointing tool to smooth the mortar and give it that concave shape that matches the rest of your chimney. This shape helps shed water.
Step 7: Clean and Cure
Brush away any loose crumbs with a soft brush. For the next 48 hours, lightly mist the repaired area with water a few times a day. This "curing" process keeps the mortar damp so it hardens to full strength without cracking.
Final Thoughts
Repointing a chimney is one of those home maintenance tasks that looks intimidating but is actually quite repetitive and straightforward. By tackling those few loose gaps now, you are preventing water from getting inside your home and causing expensive rot later.
If you're planning your seasonal maintenance calendar or want to keep track of when you last inspected your roof and chimney, download the Casa app. We help you stay organized so you can enjoy your home without the stress of surprise repairs.