
Feb 26, 2026
How to Fix Potholes in Your Driveway
Potholes can ruin your car's suspension and lower your curb appeal. Learn how to diagnose the damage and patch asphalt, concrete, or gravel driveways yourself.
A bumpy driveway is more than just an eyesore; it’s a daily nuisance that can eventually damage your vehicle’s suspension or tires. Whether it’s a jarring thud every time you pull in or a puddle that never seems to dry, potholes are a clear sign that your driveway needs attention.
Looking for more guidance? Take a look at our Repairs overview.
The good news is that most driveway damage doesn't require a brand-new driveway. Potholes are a normal part of home ownership, usually caused by the freeze-thaw cycle of water seeping into cracks, expanding, and breaking apart the material.
If you catch them early, most potholes are a manageable weekend project. In this guide, we’ll help you identify your driveway material, assess the severity of the damage, and walk you through the steps to get your driveway smooth again.
What Your Driveway is Telling You
Before we start mixing concrete or shoveling gravel, let's look at what the symptoms usually indicate:
- Small, isolated holes: These are often surface-level failures. They are the easiest to fix and usually don't indicate a structural problem with the foundation of the driveway.
- Spiderweb cracking (Alligatoring): If you see a network of cracks resembling alligator skin around a pothole, the sub-base (the ground underneath) might be failing. This often requires professional help.
- Pooling water: If water sits in the hole long after the rain stops, it accelerates damage. You need to fill these quickly to prevent them from growing.
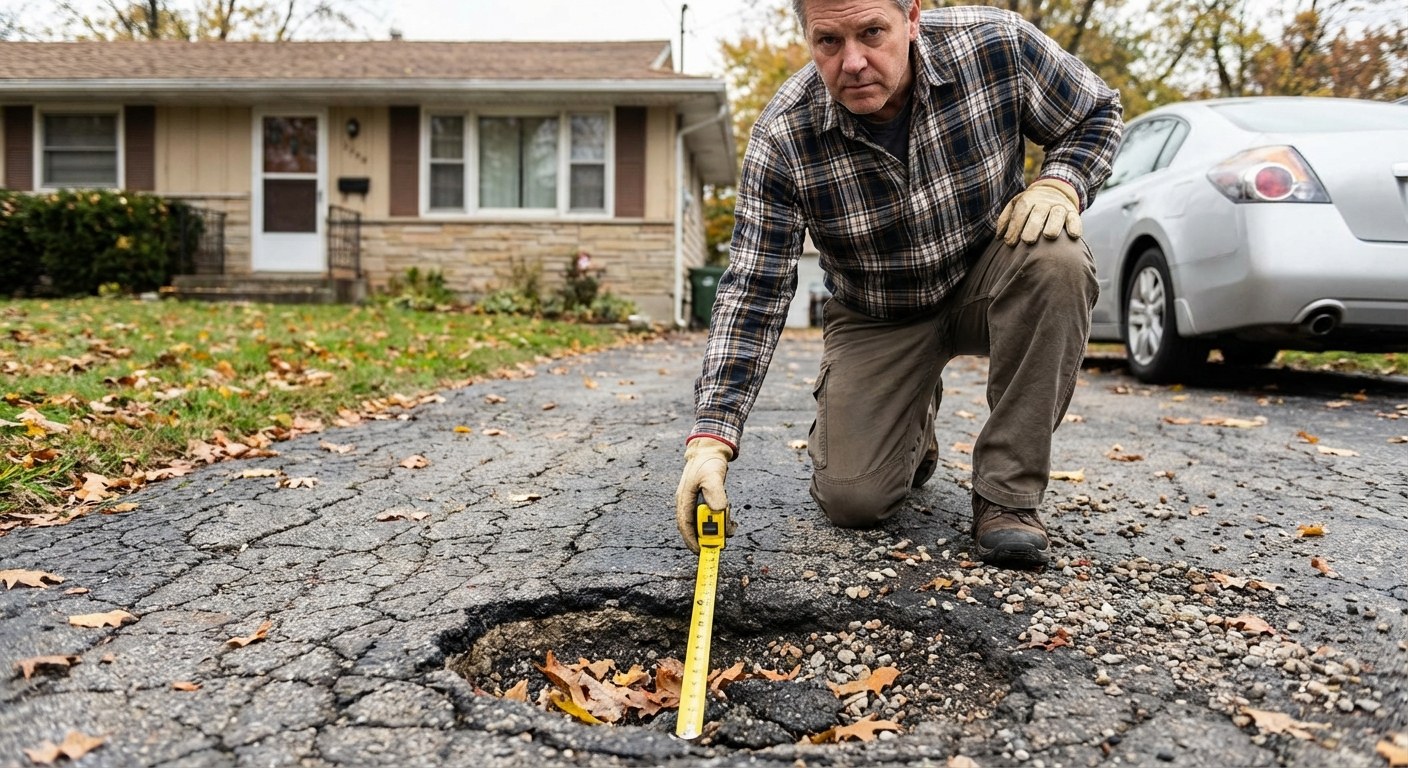
Step 1: Identify Your Material and Severity
The repair method depends entirely on what your driveway is made of. Take five minutes to walk your driveway and inspect the damage closely.
1. Asphalt (Blacktop)
- Look for: A black, semi-flexible surface.
- DIY Limit: You can safely patch holes that are less than 2 feet wide and 2 inches deep.
- When to call a pro: If you have deep sinkholes, widespread "alligator" cracking, or potholes covering a large percentage of the driveway, you likely need resurfacing, not just patching.
2. Concrete
- Look for: A light gray, hard, rigid surface.
- DIY Limit: You can patch holes less than 18 inches across and 1 inch deep.
- When to call a pro: If slabs are heaving (lifting up) or sinking significantly, or if cracks run deep through the slab, a patch won't last.
3. Gravel
- Look for: Loose stones.
- DIY Limit: Almost all surface-level gravel potholes are DIY-friendly.
- When to call a pro: If the gravel constantly washes away due to poor drainage or if the driveway has become a mud pit.
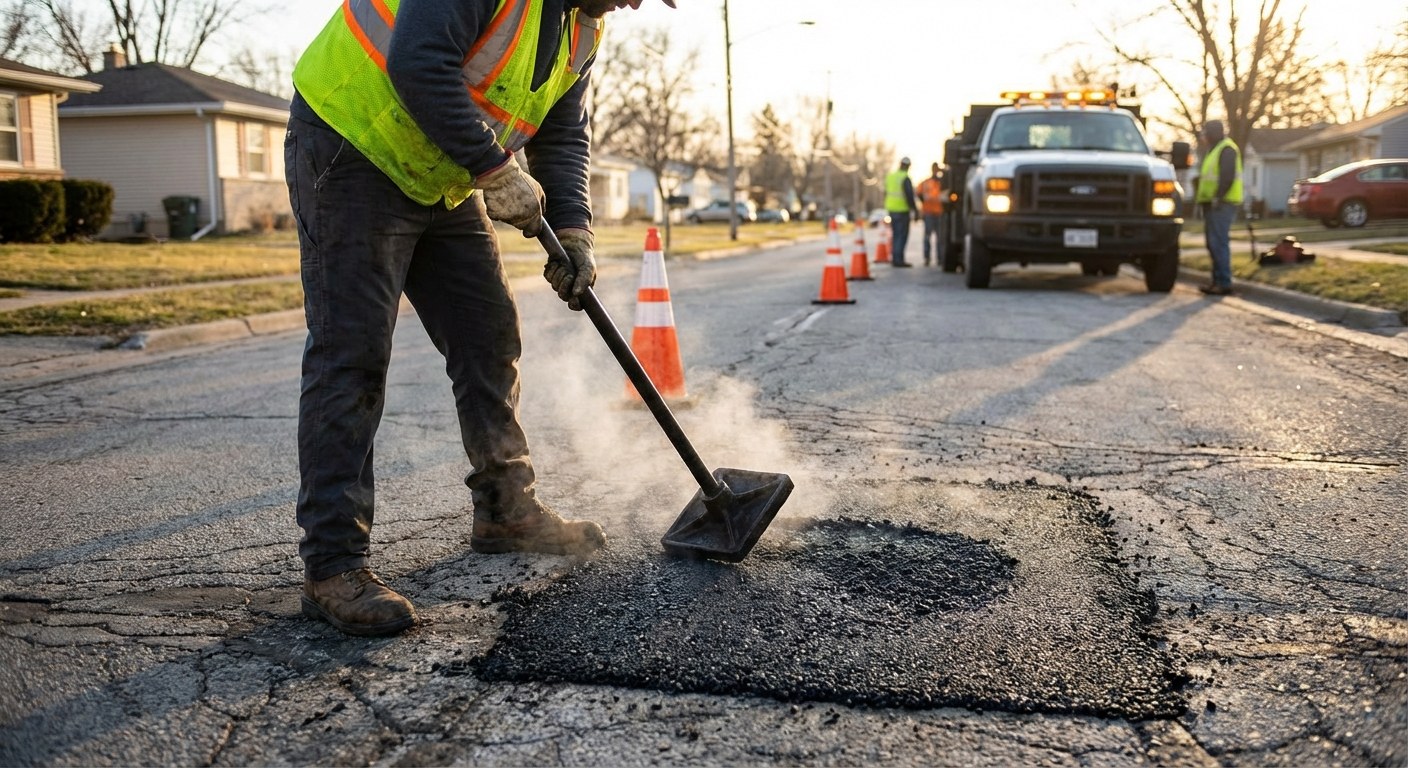
Step 2: How to Fix the Pothole
Once you’ve confirmed the job is small enough to tackle yourself, follow the instructions for your specific surface type.
Option A: Patching an Asphalt Driveway
Time: 30–45 minutes active work (plus 24 hours curing) Tools: Stiff broom, flat shovel, hand tamper (or a 4x4 post), cold-patch asphalt mix.
- Clean it out: Use a stiff broom or even a leaf blower to remove every bit of loose debris, dirt, and broken asphalt pieces. The hole must be clean for the patch to stick.
- Dry it: If the pothole is wet, dry it out completely. Water is the enemy of a good bond.
- Pour the mix: Pour "cold-patch" asphalt (available at hardware stores) into the hole. Overfill it slightly, about an inch higher than the driveway surface.
- Tamp it down: This is the most important step. Use a hand tamper to pack the material down firmly. You want it compacted tightly so it doesn't sink later.
- Finish: If the level drops below the surface after tamping, add more mix and tamp again. Sprinkle a little sand on top to prevent the sticky asphalt from tracking onto your tires or shoes.
- Wait: Don't drive over the patch for at least 24 hours.
Option B: Patching a Concrete Driveway
Time: 40–60 minutes active work (plus 24 hours curing) Tools: Chisel, hammer, wire brush, concrete patch/filler, trowel.
- Prep the edges: Use a hammer and chisel to chip away any weak, crumbling concrete around the edges of the hole. You want to reach solid, hard material. Undercutting the edges (making the bottom of the hole wider than the top) helps lock the patch in place.
- Clean and dampen: Sweep out dust and debris. Lightly mist the hole with water; concrete bonds better to a damp surface than a bone-dry one.
- Apply the patch: Mix your concrete patch according to the bag instructions. Press it firmly into the hole with a trowel to remove air pockets.
- Smooth it out: Overfill slightly, then use the edge of the trowel to scrape it level with the surrounding driveway.
- Cure: Cover the patch with plastic sheeting to keep it from drying out too fast, which causes cracks. Let it cure for 24 hours before walking or driving on it.
Option C: Fixing a Gravel Driveway
Time: 20 minutes Tools: Rake, shovel, fresh crushed gravel (crusher run).
- Rake it out: Remove loose debris from the hole.
- Fill it up: Shovel fresh gravel into the hole. Ideally, use "crusher run" or gravel with jagged edges rather than smooth river stones, as jagged stones lock together better.
- Overfill: Mound the gravel slightly higher than the rest of the driveway.
- Compact: Gravel relies on weight to settle. You can tamp it by hand, but carefully driving your car back and forth over the filled spot is often the most effective way to lock the stones in place.
When to Stop and Call a Pro
While patching is great for maintenance, it isn't a cure-all. You should pause and contact a professional paving contractor if:
- The damage is structural: Deep cracks or sinking sections suggest the ground underneath the driveway is shifting.
- The scale is too large: If you are buying more than 3-4 bags of patch material, a professional resurfacing might be more cost-effective in the long run.
- Drainage is the issue: If water constantly pools in the same spot even after patching, you may need a contractor to regrade the driveway to ensure water flows away from your home.
Cost and Time Estimates
Fixing a pothole is one of the most affordable exterior repairs you can do.
- DIY Cost: $20–$50 for materials (bag of cold patch or concrete mix, plus simple tools).
- Professional Repair Cost: $150–$400 for minor repairs, though many contractors have minimum project fees.
- Professional Resurfacing: $3–$10 per square foot depending on material and location.
Short Recap
- Check the material: Identify if you have asphalt, concrete, or gravel.
- Measure the damage: Keep DIY repairs to holes smaller than 2 feet wide.
- Clean thoroughly: Debris prevents patches from sticking.
- Compact firmly: Loose patches will pop out in a few weeks.
Keeping track of exterior maintenance like this can be tricky when life gets busy. For help organizing your home projects and remembering when to check your driveway for winter damage, download the Casa app. It helps you stay ahead of repairs so small cracks don't turn into giant craters.