
Feb 18, 2026
How to Install a Replacement Window
Installing a window can transform a room, but it's a big project. Learn how to decide if you can DIY your window replacement or if you need a pro, plus get a step-by-step guide for the installation.
Windows are the eyes of your home. They let in light, keep out the weather, and play a huge role in your energy bills. But when a window gets drafty, foggy, or stuck, the thought of replacing it can feel intimidating.
Looking for more guidance? Take a look at our Repairs overview.
Is this a project you can tackle yourself? Or is it time to call a contractor?
The answer depends entirely on what you are trying to do. If you are replacing an existing window with one of the exact same size, this is a manageable (though advanced) DIY project. However, if you want to cut a hole for a brand-new window where a wall used to be, or change the size of an existing opening, that is structural work best left to pros.
In this guide, we’ll help you assess the job and walk you through the steps of a standard "insert" or replacement installation.
Before You Start: The Critical Check
Before buying materials or swinging a hammer, you need to answer one question: Is this a direct swap?
- Scenario A: Direct Replacement. You have an old window. You are buying a new window with the exact same dimensions to fit into the existing hole.
- Verdict: Safe to DIY (if you are handy).
- Scenario B: New Size or Location. You want a bigger window, a smaller window, or a window in a solid wall.
- Verdict: Call a Professional. This requires reframing wall studs, managing load-bearing headers, and messing with exterior siding. It’s too risky for a typical DIY weekend.
If you are in Scenario A, keep reading. We’re going to help you get that old window out and the new one in securely.
![Homeowner measuring window]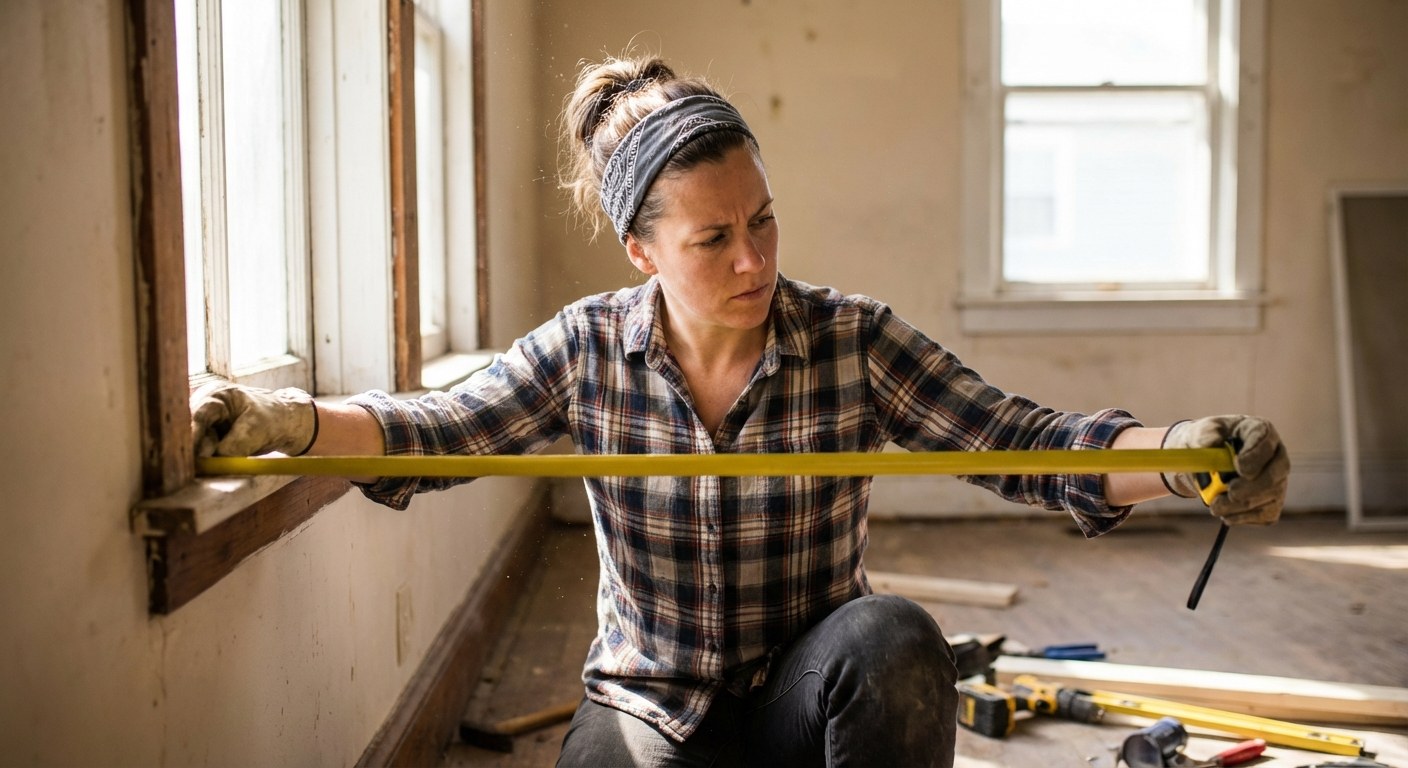
Tools and Materials You’ll Need
This isn't a project for a simple screwdriver. You’ll need to be prepared with the following:
- Safety gear: Gloves and eye protection (glass can break!).
- Demolition tools: Flat pry bar, putty knife.
- Installation tools: 4-foot level, Phillips screwdriver, hammer, finish nailer (optional but helpful).
- Materials: The new window, shims, galvanized roofing nails, exterior caulk, self-adhesive flashing tape, fiberglass insulation.
Casa Tip: Organizing your workspace is half the battle. Clear the area inside and outside the window. Use Casa to create a quick checklist of materials so you don't have to make three trips to the hardware store.
Phase 1: Remove the Old Window
Estimated Time: 1–2 hours
You need to remove the old unit without destroying the surrounding wall or waterproofing.
- Protect the area: Lay a drop cloth inside to catch dust, old caulk, and debris.
- Remove interior trim: Use your flat pry bar to gently pry off the trim (casing) around the window. If you plan to reuse it, pull the nails out through the back carefully.
- Unscrew the hardware: Locate any screws holding the window sash or frame in place.
- Remove the sash: Tilt the old sash (the moving part of the window) inward. It should come out of the track. If you have an older wood window, you might need to remove the "stop" molding first.
- Clean the opening: Once the frame is out, use a putty knife to scrape away old caulk, paint, and debris. You want a clean, flat surface for the new window.
Stop and Check: Look closely at the wood around the opening (the "rough opening"). Is it rotted, soft, or black with mold?
- If yes: Stop. You have water damage that needs structural repair. Call a contractor.
- If no: Proceed to installation.
Phase 2: Install the New Window
Estimated Time: 2–3 hours
This is the most important part. A window that isn't level or waterproofed will cause major headaches (and leaks) later.
- Dry fit: Lift the new window into the opening before adding glue or caulk. Does it fit? Is there a small gap around the edges for adjustments? If it's too tight, don't force it.
- Level and Plumb: Place your 4-foot level on the sill. The window must be perfectly level. If it’s not, use shims (thin wedges of wood) under the bottom to level it out.
- Apply Caulk: Remove the window. Apply a thick, continuous bead of exterior-grade caulk to the back of the window's nailing flange (the fin that sticks out around the edges).
- Insert and Press: Place the window back into the opening. Press it firmly so the nailing flange squishes the caulk against the house sheathing. This creates your primary water seal.
- Secure it: Using galvanized roofing nails, nail through the holes in the flange into the house framing. Do not drive the nails so tight that you bend the flange; just snug is perfect.
Phase 3: Waterproofing and Insulating
Estimated Time: 1 hour
Never skip this step. Water is the enemy of your home.
- Flash the bottom: Apply self-adhesive flashing tape over the bottom flange.
- Flash the sides: Apply tape to the sides, overlapping the bottom tape. (Think of how shingles work: you want water to run over the layer below it, not behind it.)
- Flash the top: Apply tape across the top, overlapping the side pieces.
- Insulate: From the inside, pack fiberglass insulation loosely into the gaps between the window frame and the wall studs. Do not overstuff it. If you pack it too tight, it loses its insulating properties and can even bow the window frame.
- Finish up: Re-attach your interior trim using a finish nailer or hammer and finishing nails. Run a thin bead of painter's caulk along the edges of the trim for a seamless look.
![Sealing the window]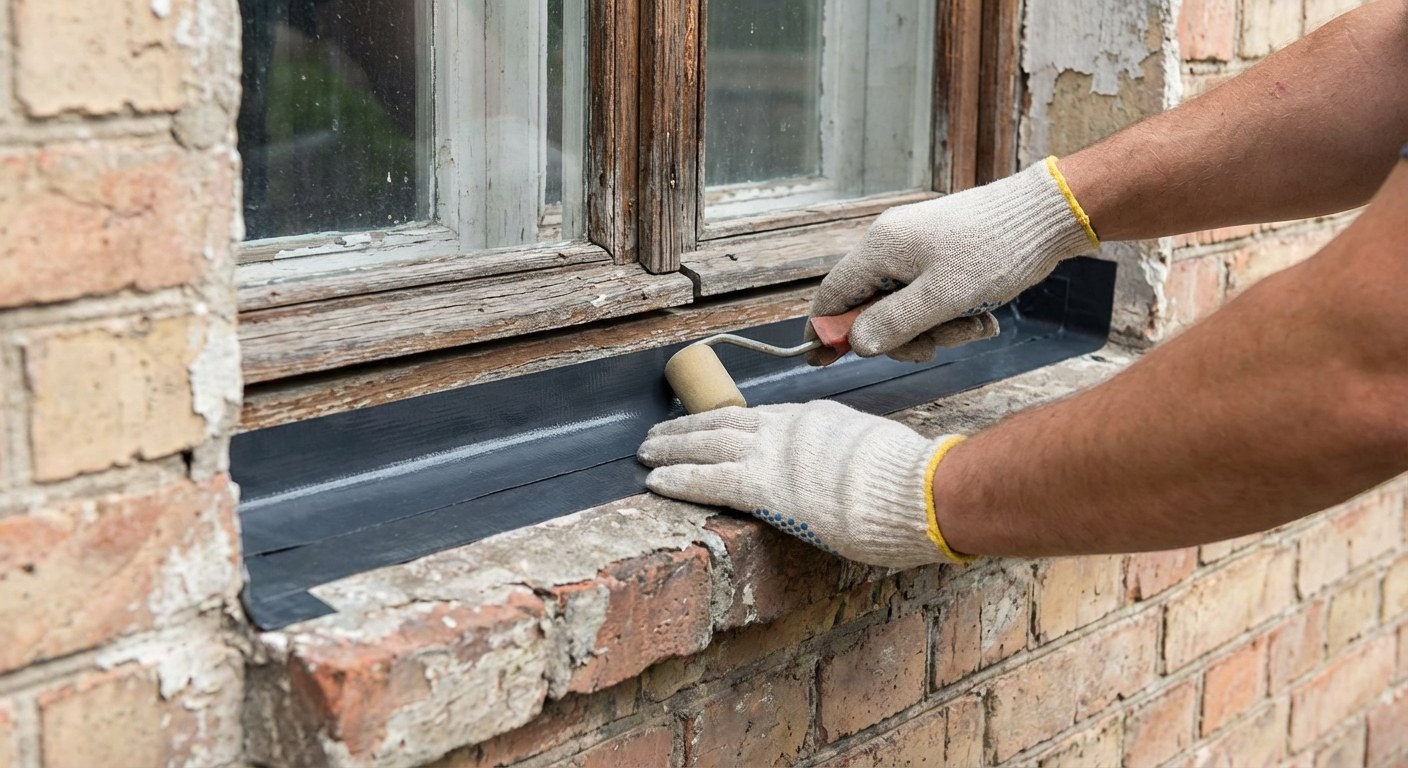
When to Call a Pro
While the steps above work for many standard vinyl replacement windows, things can get complicated quickly. You should step back and call a professional if:
- The measurements are off: If your new window leaves gaps larger than 1 inch or doesn't fit at all.
- The window doesn't operate: If, after installation, the sash is hard to open or won't lock, the frame might be twisted. This requires expert adjustment.
- Second-story install: hauling heavy glass up a ladder is dangerous. Leave high-up windows to crews with scaffolding.
Cost vs. Benefit
DIY window installation can save you significant money on labor—often $150 to $300 per window. However, a poor installation can lead to water damage that costs thousands to fix. If you aren't confident in your ability to make the window watertight, the professional cost is worth the peace of mind.
Replacing a window is a big job, but it’s rewarding. The moment you feel that draft disappear, you’ll know it was worth the effort.
For more help tracking your home projects, organizing your measurements, and keeping a log of your home's maintenance history, download the Casa app. It’s the easiest way to feel prepared for whatever your home throws at you.