
Feb 25, 2026
How to Repair Scratches, Stains, and Cracks in Wood Countertops
Wood countertops bring warmth to a kitchen, but they are prone to scratches and stains. Learn how to diagnose the damage and repair it yourself, whether it's sealed or oiled.
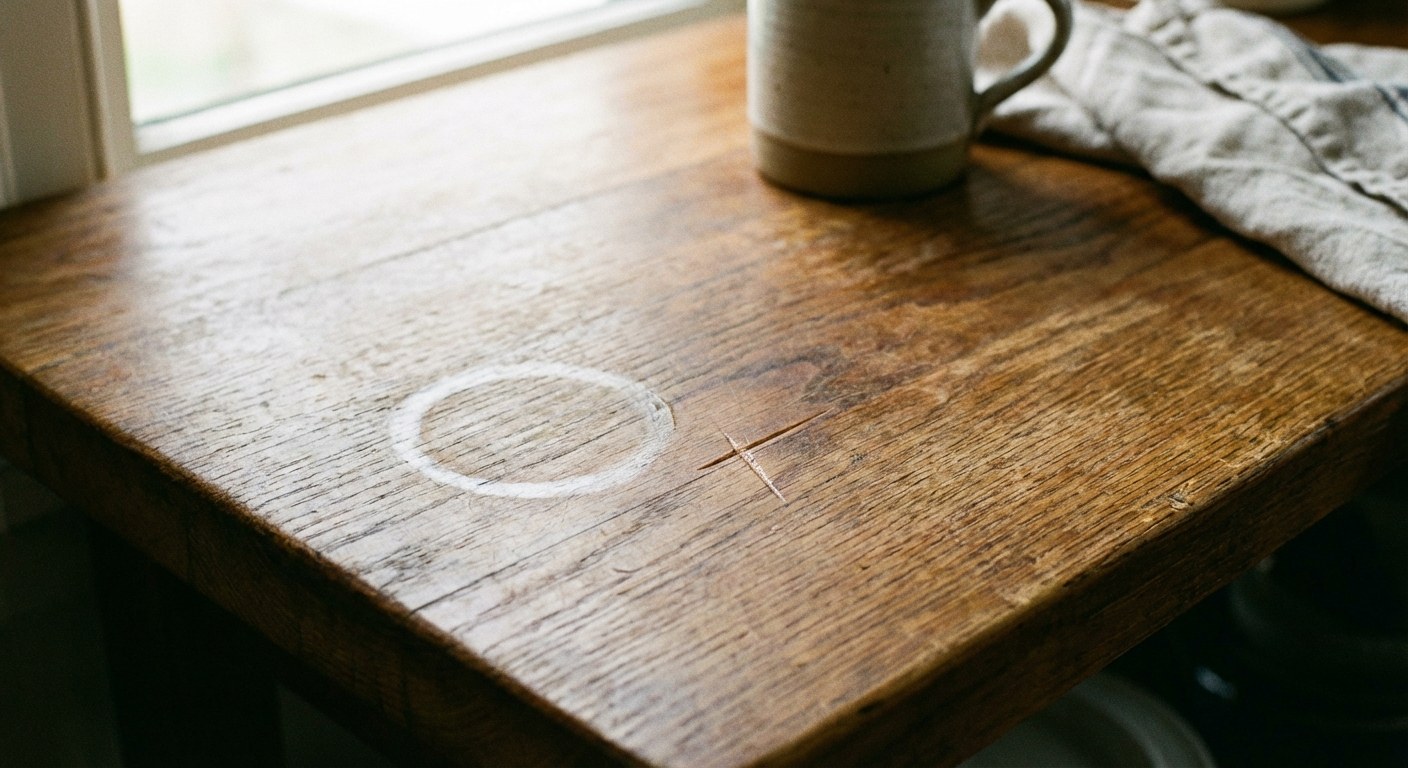
Wood countertops add an incredible amount of warmth and character to a kitchen, but they come with a trade-off: they are softer and more sensitive than granite or quartz. If you’ve noticed a new scratch, a dark water ring, or a small chip, don't panic.
Looking for more guidance? Take a look at our Repairs overview.
Because wood is an organic material, it is actually one of the most forgiving surfaces to repair. Unlike stone, which usually requires a specialist for chips or cracks, wood can often be sanded, filled, and refinished by a homeowner with just a few basic tools.
Whether you are dealing with a butcher block island or a solid plank perimeter, this guide will help you determine if you can fix it yourself or if the damage requires a pro.
First: Is It Surface Damage or Structural?
Before grabbing sandpaper, take a moment to assess what is actually happening. Clear off the counter and use a bright light (a flashlight works best) to inspect the surface at eye level.
It’s usually an easy DIY fix if:
- The damage is limited to scratches, water rings, or surface stains.
- The wood feels smooth but looks discolored.
- Chips are small and localized.
It might be a bigger job (or a job for a pro) if:
- You see significant warping (the wood is bowing up or cupping down).
- There are deep cracks running through the length of the wood.
- The countertop feels loose or unstable.
- The material is a thin wood veneer over particle board (sanding through the veneer will ruin it).
If you have structural warping or deep cracks in a veneer countertop, it is best to consult a cabinet maker. For solid wood with cosmetic issues or small cracks, read on.
Step 1: Identify Your Finish
You cannot repair wood until you know how it was sealed. Putting oil on a varnished counter will make a mess, and putting varnish on a wax-oiled counter won't stick.
The Water Drop Test:
- Drip one drop of water onto a hidden corner of the countertop.
- Wait 30 seconds.
- If the water beads up: You have a "hard" seal (like polyurethane or varnish).
- If the water soaks in and darkens the wood: You have an "oil" or "penetrating" finish (like mineral oil or tung oil).
Step 2: Repairing a Sealed Countertop (Polyurethane/Varnish)
If your counter has a hard, shiny shell, you are repairing the finish, not just the wood.
For Small Spots (Smaller than a dinner plate)
- Time: 30 minutes active work, 2 hours drying
- Difficulty: Moderate
- Prep: Clean the area and tape off the surrounding undamaged wood with painter's tape.
- Sand: Use 220-grit sandpaper. Sand lightly until the scratch or stain disappears. Do not dig a hole; keep it flat.
- Clean: Wipe away dust with a damp microfiber cloth.
- Coat: Apply a thin layer of water-based polyurethane with a small foam brush.
- Finish: Let it dry for 1 hour. Lightly sand with 320-grit paper, wipe clean, and apply a second thin coat. Let it cure for 24 hours before setting your coffee mug on it.
Refinishing the Whole Countertop
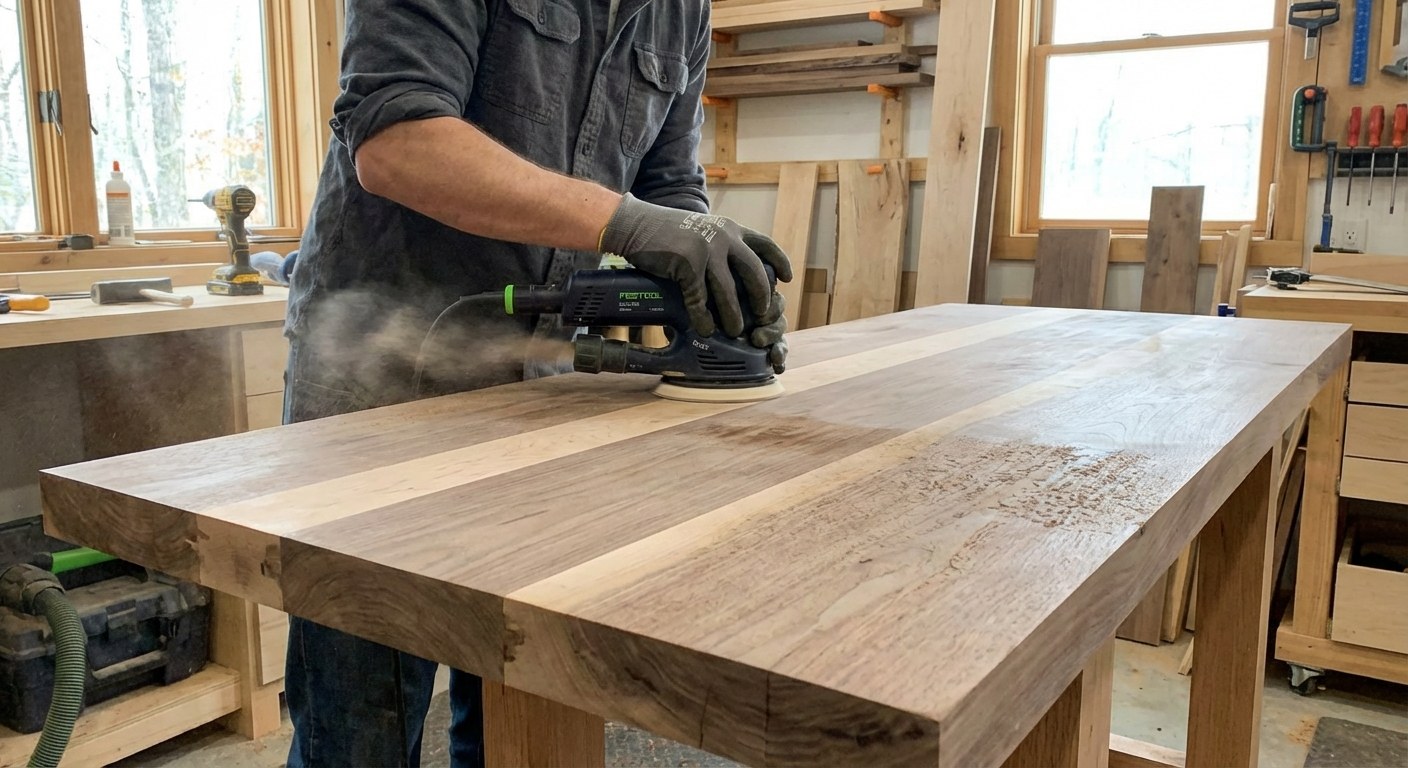
If the scratches are everywhere, spot repairs will look patchy. You may need to sand the whole surface down. This is a bigger project—usually a weekend job.
You will need a random-orbit sander. Start with 80-grit paper to strip the old orange-peel finish, move to 120-grit, and finish with 180-grit. Once bare, apply 2-3 coats of polyurethane with a foam roller, sanding lightly between coats.
Note: This generates a lot of dust. Seal off the kitchen doorways with plastic sheeting before you start.
Step 3: Repairing an Oiled Countertop (Butcher Block)
Oiled countertops are the easiest to fix because the finish lives in the wood, not just on it.
For Spots and Stains
- Time: 20 minutes active work, 4 hours waiting
- Difficulty: Easy
- Sand: Take a piece of 180-grit sandpaper and sand the damaged spot, following the direction of the grain.
- Feather: Sand about 2 inches outward from the spot so there isn't a harsh divot.
- Oil: Wipe away the dust. Apply a generous amount of mineral oil (or your specific butcher block oil) to the spot.
- Wait: Let it soak for 30 minutes, then wipe off the excess. It may look lighter than the rest of the counter for a few days until it oxidizes and blends in.
Refreshing the Whole Surface
If your butcher block looks dry and gray, it’s thirsty. You don't usually need to heavy-sand it. Just give it a light scuff with 180-grit paper, clean it, and flood the surface with mineral oil. Spread it with a plastic scraper, let it soak for 20 minutes, and wipe it dry. Repeat this twice a year to keep the wood happy.
Step 4: Fixing Cracks and Chips
If you have a noticeable chip or a non-structural crack in solid wood, epoxy is your best friend.
- Clean: Use a dry paintbrush to sweep crumbs and dust out of the crack.
- Fill: Mix a two-part epoxy wood filler. Press it firmly into the crack using a plastic putty knife. Overfill it slightly, as it may shrink.
- Cure: Let it harden for about 6 hours.
- Level: Sand the filler flush with the countertop surface using 120-grit and then 180-grit paper.
- Finish: Re-seal the spot using the method (oil or poly) that matches the rest of your counter.
When to Call a Professional
While wood is forgiving, some issues are beyond a simple weekend DIY.
- Deep Structural Cracks: If a crack goes all the way through the slab, it may need "butterflies" (wooden inlays) or metal brackets installed underneath to stop it from splitting further.
- Veneer Damage: If you sand through a veneer, you expose the particle board underneath. This is very difficult to hide and usually requires a cabinet specialist.
- Color Matching: If you have a dark stain and can't get your repair to match the surrounding color, a professional refinisher can blend it seamlessly.
Keeping Track of Maintenance
Wood countertops require a bit more love than stone, but they reward you with beauty and longevity. The key is catching issues early. If you notice the wood looking dry near the sink, oil it immediately before water damage sets in.
Keeping a maintenance schedule can help you avoid the bigger sanding jobs later. If you use the Casa app, you can save the specific type of finish you used (like "Waterlox Original" or "Mineral Oil") in your home inventory so you never have to guess when it’s time for a touch-up.
Taking care of your home doesn't have to be overwhelming. With a little sanding and the right finish, your wood countertops can look brand new again in an afternoon.
If you’re ready to tackle more home projects or just want to keep your maintenance organized, download the Casa app today. We’re here to help you feel prepared for whatever your home throws your way.