
Jan 22, 2026
How to Replace a Leaky P Trap Under Your Sink
A puddle under the sink is a common problem. This guide will help you diagnose the issue, replace a faulty P-trap, and stop the leak in under an hour.
Discovering a puddle of water in the cabinet under your sink is a frustrating, but very common, homeowner experience. That slow drip or musty smell is often caused by a failing P-trap, the curved section of pipe directly beneath your sink drain.
Looking for more guidance? Take a look at our Repairs overview.
The good news is that this is one of the most manageable plumbing repairs you can tackle. The P-trap’s job is simple: it holds a small amount of water to block sewer gases from entering your home while letting wastewater flow through. Over time, its seals can degrade, or the trap itself can get clogged or cracked.
Replacing a P-trap is a great project for a new homeowner. With a few basic tools and a little patience, you can solve the problem yourself in about an hour. This guide will walk you through each step, from identifying the problem to installing the new part, so you can feel confident handling the repair.
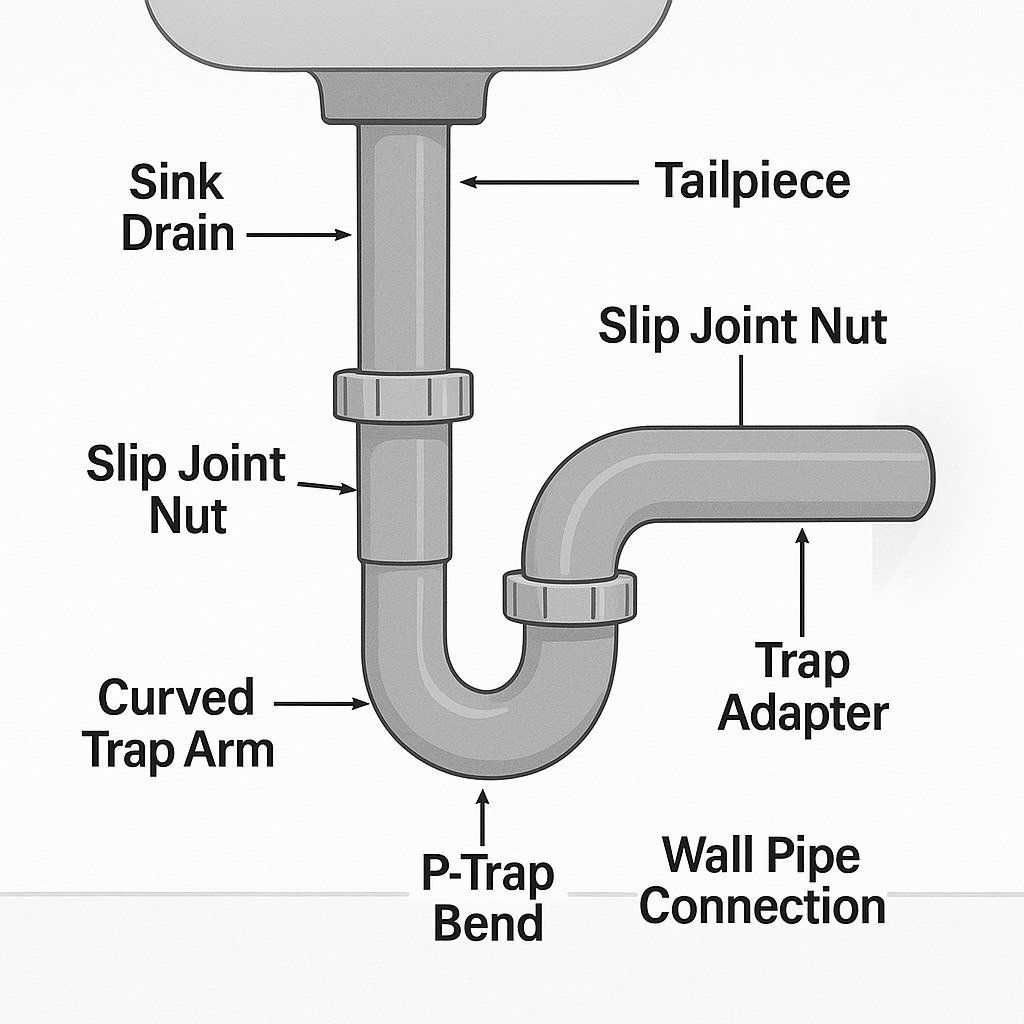
Casa LensImage caption: The P-trap assembly includes the U-shaped bend and the trap arm, connected by slip-joint nuts.
Symptoms of a Failing P-Trap
If you notice any of the following, your P-trap is the likely culprit:
- Water pooling in the cabinet: This is the most obvious sign. Even a small, slow leak will eventually create a puddle.
- A dripping sound: You may hear the drip long before you see the water, especially in a quiet house.
- Slow draining sink: While a clog can be located anywhere in your drain line, a blockage in the P-trap is a frequent cause.
- Bad drain odors: A persistent foul smell from the drain could mean the trap has lost its water seal or is full of gunk.
What You'll Need
Before you begin, gather a few common tools and materials. Having everything ready will make the process go smoothly.
Tools & Supplies:
- Bucket
- Old towels or rags
- Flashlight or headlamp
- Adjustable pliers or a pipe wrench
- Rubber gloves (optional, but recommended)
- Replacement P-trap kit (be sure to match the diameter of your existing pipe, usually 1 ½ inches for kitchens and 1 ¼ inches for bathrooms)
How to Replace Your Sink's P-Trap
Follow these steps to safely remove your old trap and install the new one. This process works for the vast majority of modern kitchen and bathroom sinks, which use plastic (PVC) or metal traps with threaded connectors called slip-joint nuts.
Step 1: Prepare the Work Area
First, let's get everything set up to contain the mess.
- Clear the cabinet: Remove all cleaning supplies, trash cans, and other items from under the sink to give yourself plenty of room to work.
- Place your bucket: Position a bucket directly beneath the P-trap. It will catch any water that spills out when you remove the old trap.
- Lay down towels: Arrange towels around the bucket to protect your cabinet floor from splashes.
Step 2: Remove the Old P-Trap
With your bucket in place, it’s time to take off the old trap.
- Loosen the slip-joint nuts: You’ll see two large nuts connecting the P-trap to the vertical pipe coming down from the sink (the tailpiece) and the horizontal pipe going into the wall (the trap arm).
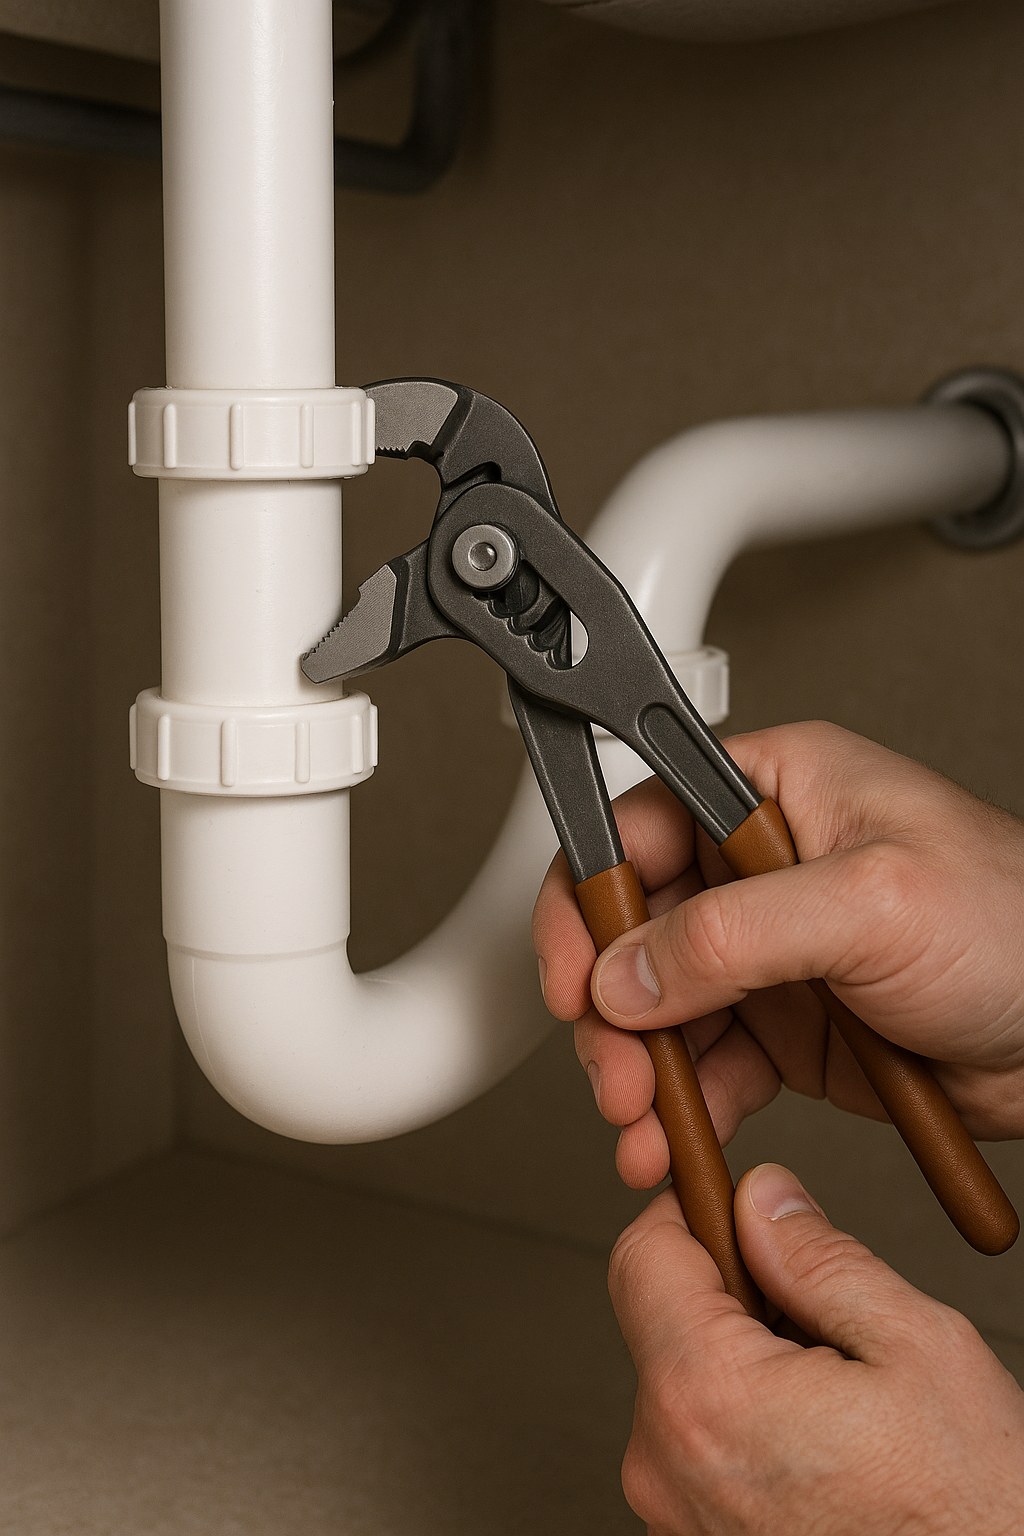
- For PVC traps, you can often loosen these by hand. If they are tight, use adjustable pliers to turn them counter-clockwise.
- For metal traps, corrosion can make the nuts difficult to turn. You may need a pipe wrench for more leverage. If they are still stuck, spraying a little penetrating oil on the threads and waiting a few minutes can help.
- Remove the trap: Once both nuts are loose, gently wiggle the U-shaped bend downward and pull it free. Empty any remaining water and debris into your bucket.
Step 3: Clean and Inspect the Pipes
Before installing the new trap, take a moment to clean the ends of the tailpiece and the trap arm with a rag. Check them for any cracks, corrosion, or damage. If the remaining pipes look sturdy and are properly aligned, you’re ready to proceed.
Step 4: Install the New P-Trap
Your replacement P-trap kit will come with the curved piece, the straight arm, two slip-joint nuts, and two washers (or seals).
- Position the new washers: Slide one of the slip-joint nuts onto the sink tailpiece, followed by a washer. The tapered side of the washer should face down, toward the connection point. Do the same for the pipe coming from the wall.
- Connect the U-bend: Attach the curved part of the new trap to the sink tailpiece and hand-tighten the slip-joint nut. Don't overtighten it yet.
- Connect the trap arm: Align the straight trap arm between the U-bend and the pipe in the wall. You may need to trim it to length with a hacksaw if it’s too long.
- Hand-tighten everything: Once everything is aligned, tighten all the nuts by hand. They should be snug but not forced.
- Final tightening: Use your pliers or wrench to give each nut an additional quarter-turn. This creates a firm seal without cracking the plastic or stripping the threads. Be gentle—you don't need a lot of force.
Step 5: Test for Leaks
This is the most important step.
- Run the water: Turn on the hot water in the sink and let it run for a full minute. This warms the pipes and will reveal any leaks.
- Inspect carefully: Use your flashlight to check every connection point for drips. Pay close attention to the slip-joint nuts you just tightened.
- Tighten if needed: If you see a small drip, use your pliers to tighten the corresponding nut another quarter-turn.
- Retest: Run the water again to confirm the leak has stopped.
Once everything is dry and secure, you can clean up your tools and put everything back under the sink.
When to Stop and Call a Professional
While most P-trap replacements are straightforward, a few situations are best left to a licensed plumber:
- The pipes are glued together: Some older PVC drains are permanently glued instead of using slip-joint nuts. These must be cut out, which complicates the repair.
- The connecting pipes are corroded or damaged: If the tailpiece or the pipe in the wall are cracked, heavily rusted, or misaligned, they will also need to be replaced. This is a more involved job.
- The leak won't stop: If you've properly installed the new trap and tightened the connections but still see a drip, there may be an underlying issue that requires a professional diagnosis.
Typical Time and Cost
- DIY: Replacing a P-trap yourself is very affordable. A new kit costs between $10 and $25. The project should take you 30 to 60 minutes.
- Professional: Hiring a plumber will cost more, typically ranging from $150 to $350 for a simple job like this, depending on labor rates in your area.
A Dry Cabinet and Peace of Mind
Fixing a leaky P-trap is a satisfying project that solves an annoying problem and saves you money. By following these steps, you can confidently handle one of your home's most common plumbing repairs. Keeping track of small projects and necessary tools is part of responsible homeownership, and the Casa app can help you stay organized for future maintenance.
When you’re ready to feel more prepared for whatever your home throws at you, download the Casa app. We’re here to provide the guidance and support you need to manage your home with calm confidence.