

Aug 18, 2026
How to Check and Replace Door Weatherstripping
Drafty doors waste energy and drive up utility bills. Learn how to check and replace weatherstripping in a few simple steps to keep your home comfortable.
When you feel a cold draft coming from your front door, your first instinct might be to just grab a sweater or turn up the thermostat. But a draft is a clear sign that the barrier between your home and the outdoors has been compromised.
Looking for more guidance? Take a look at our Maintenance overview.
Dealing with door seals—known as weatherstripping—is often viewed as a tedious chore. However, it is better to look at it as a simple act of cost prevention. The rubber, foam, or silicone materials lining your doors aren't just there to keep out the cold. They actively prevent your hard-earned money from floating out the crack under the door. Replacing worn-out seals is one of the most accessible and cost-effective maintenance tasks a homeowner can take on.
What Goes Wrong If Ignored
Weatherstripping undergoes daily wear and tear. Every time you open and close your door, the materials compress and rub against the frame. Over time, seasonal temperature shifts cause rubber to crack and foam to lose its bounce.
If you ignore degrading weatherstripping, the gaps around your door gradually widen. This allows your climate-controlled air to escape and unconditioned outside air to enter. Because your home is losing the air you paid to heat or cool, your HVAC (heating, ventilation, and air conditioning) system has to run longer and work harder to maintain the temperature you set on your thermostat.
What This Task Protects
Spending a few minutes checking your weatherstripping protects three major things:
- Your HVAC System's Lifespan: By keeping conditioned air inside, your furnace or air conditioner cycles on less frequently, reducing mechanical wear and tear.
- Energy Efficiency: A well-sealed home requires less energy to stay comfortable, keeping your monthly utility bills manageable.
- Your Home’s Structure: Weatherstripping doesn't just block air; it blocks moisture. Solid seals prevent blowing rain and melting snow from seeping into your door frame and causing wood rot.
How Often You Should Check Your Seals
You should inspect the weatherstripping on all exterior doors once a year. The ideal time to do this is in early fall, before the heating season begins and temperatures drop.
Signs You Have Waited Too Long
Sometimes, your door will tell you that the seal is already compromised. Keep an eye out for these clear indicators:
- Visible daylight: If you turn off the lights inside and can see sunlight peeking through the edges of the closed door, air is passing through, too.
- The paper test fails: Close the door on a piece of standard printer paper. If you can easily pull the paper out without any resistance, the seal is too loose.
- Indoor breezes: If you can feel a draft by holding the back of your hand near the edge of the door on a windy day.
- Moisture inside: Finding water on the floor just inside the door after a heavy rainstorm.
Step-by-Step Checklist for Replacing Weatherstripping
If your weatherstripping is damaged or missing, replacing it is a straightforward afternoon project.
1. Identify the material you need Most home improvement stores sell weatherstripping in rolls. Foam tape is the easiest to install but wears out the fastest. Tubular rubber or silicone costs slightly more but offers a durable, tight seal. Note what you currently have on the door and buy a similar replacement.
2. Remove the old material Peel away the old weatherstripping from the door jamb (the vertical sides and top of the door frame). If it is stuck, a putty knife can help scrape it off.
3. Clean and dry the surface New weatherstripping has an adhesive backing that needs a clean surface to stick properly. Wipe the door frame down with warm, soapy water. Let it dry completely before moving forward.
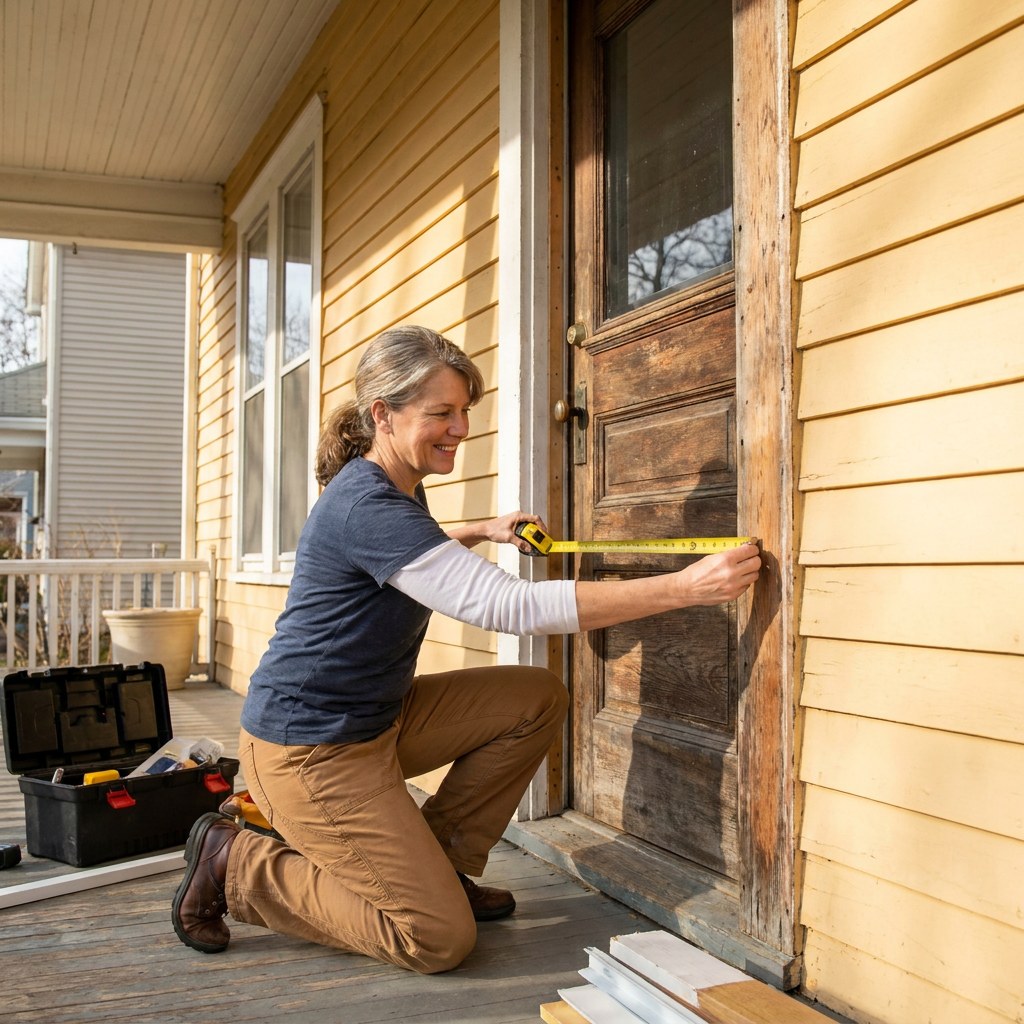
4. Measure and cut Measure the top and sides of the door frame. Roll out your new weatherstripping and cut it to the exact lengths you need using a pair of sharp household scissors.
5. Apply the new seal Starting at a top corner, slowly peel back a few inches of the adhesive cover. Press the weatherstripping firmly into the corner of the frame. Work your way down the side of the door, peeling and pressing as you go to ensure a straight, tight bond.
6. Check the door sweep The bottom of the door is sealed by a door sweep. If the bottom seal is torn or missing, unscrew the old sweep and attach a new one, ensuring the rubber fins lightly brush the floor when the door opens and closes.
Cost of Neglect vs. Cost of Maintenance
The cost of ignoring drafty doors adds up quietly. According to the US Department of Energy, drafts and air leaks can account for 10% to 20% of a home’s heating and cooling costs. Over a year, that easily amounts to hundreds of dollars wasted, not to mention the hidden cost of putting premature wear on an HVAC system that costs thousands to replace.
In contrast, the cost of maintenance is very low. A roll of high-quality silicone or rubber weatherstripping typically costs between $10 and $20, and a new door sweep costs around $15. For less than $40 per door, you can completely refresh your seals.
Safety and Skill Boundaries
Replacing adhesive weatherstripping and screwing on a new door sweep are safe, beginner-friendly DIY tasks that require no specialized tools.
However, there is a boundary to recognize. If your door is physically warped, difficult to open, or dragging heavily on the floor, new weatherstripping will not solve the underlying problem. At that point, it is usually time to call a professional carpenter or handyman to realign the hinges, repair damaged wood, or hang a new door entirely.
How to Build This Into Your Home Maintenance Schedule
Checking your doors and windows for drafts shouldn't be something you only do when you feel cold. The best way to handle preventive maintenance is to tie it to a reliable routine.
Add a "Draft Defense" check to your annual autumn home preparation list. Doing this in September or October ensures your home is sealed tight before the first winter freeze hits. Using the Casa app makes this effortless. You can log your home's doors, set an annual reminder to check the seals, and track when you last replaced the weatherstripping so you never have to guess.
Summary
Replacing door weatherstripping is a fast, inexpensive project with an immediate return on investment. By taking an hour to peel off old seals, clean the frame, and press new material into place, you protect your home against moisture, reduce the workload on your HVAC system, and keep your utility bills in check.
Ready to stop guessing and start managing your home with confidence? Download the Casa app today to organize your home maintenance schedule and stay ahead of repairs before they become expensive surprises.