

Jul 14, 2026
How to Check and Replace Weatherstripping
Learn how to inspect and replace the weatherstripping around your doors and windows to stop drafts, improve energy efficiency, and lower utility bills.
When we think about home energy efficiency, it is easy to picture large, expensive projects like installing new windows or upgrading an air conditioning unit. However, one of the most effective ways to lower your energy bills is much simpler: sealing the gaps around your doors and windows.
Looking for more guidance? Take a look at our Maintenance overview.
Weatherstripping is the strip of material—usually foam, vinyl, or rubber—that runs along the edges of window sashes and door frames to create a tight seal when they are closed. Maintaining this seal is not just about keeping cold breezes off your neck in the winter. It is a cost-prevention measure that keeps the air you paid to heat or cool inside your home, right where it belongs.
Here is what you need to know to evaluate and replace your weatherstripping, keeping your home comfortable and your energy bills in check.
What Happens When Weatherstripping Fails
When weatherstripping compresses, tears, or loses its adhesive over time, it creates direct pathways between the inside of your home and the outdoors. If left ignored, a few common issues arise.
First, your home will become less comfortable, with noticeable hot or cold spots near exterior doors and windows. Second, because outside air is continuously entering your home, your heating and cooling systems have to run more frequently to maintain the temperature set on your thermostat. Finally, small gaps do not just let air through; they also provide an easy entry point for moisture, dust, and insects.
What This Maintenance Protects
Taking an hour to maintain your weatherstripping protects three main things:
- Your HVAC System: By reducing the amount of conditioned air that escapes your home, your heating and cooling systems do not have to work as hard. This reduces daily wear and tear, which can help extend the overall lifespan of your equipment.
- Your Budget: Less strain on your HVAC system translates directly to more efficient energy use and lower monthly utility bills.
- Your Home’s Interior: A tight seal prevents rainwater from seeping under doors or through window frames, protecting your wood trim and flooring from gradual water damage and rot.
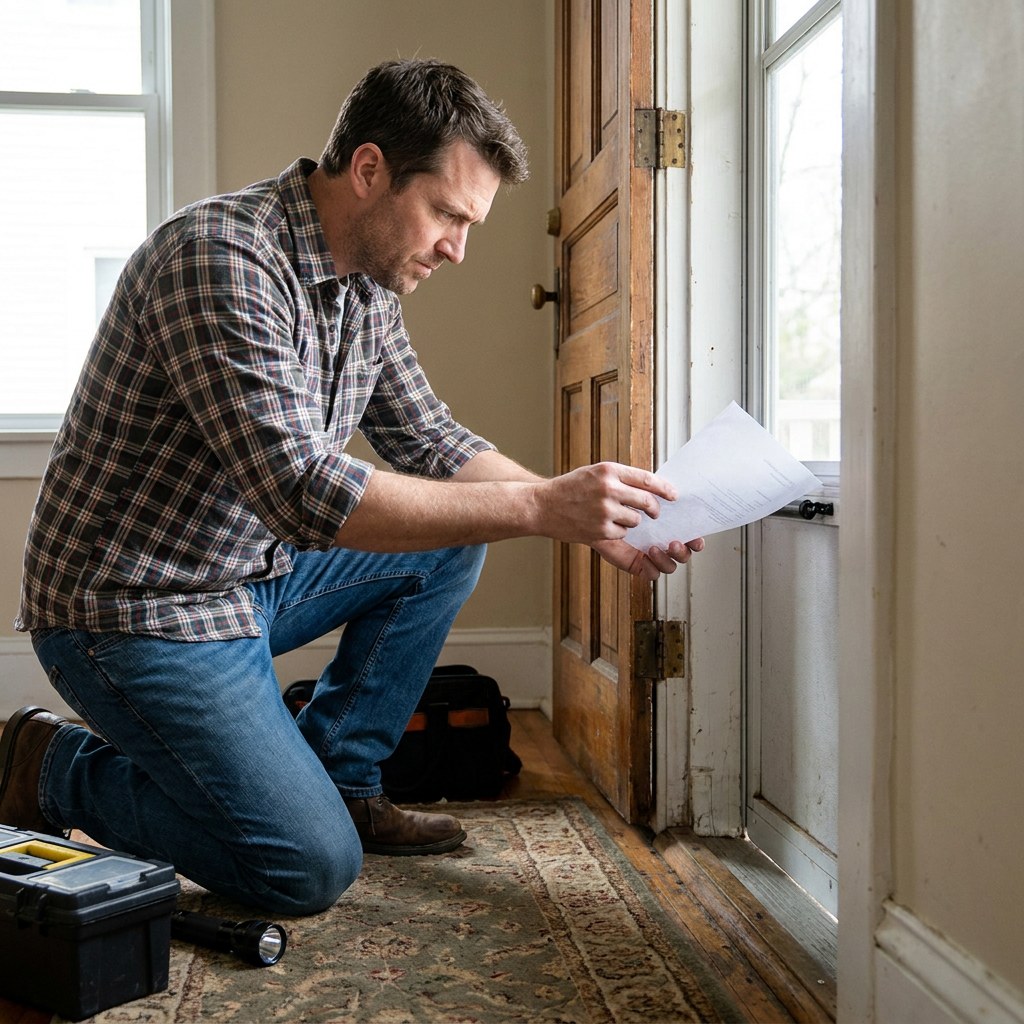 (imageAlt: Testing for drafts by closing a piece of paper in an exterior door)
A Step-by-Step Guide to Replacing Weatherstripping
Checking and replacing weatherstripping is a very manageable afternoon project. Here is how to approach it.
1. Test for Drafts Before replacing anything, find out where your seals are failing. Wait until it is dark outside, turn on the lights inside, and have someone stand outside the door or window. If they can see light shining through the edges, the seal is broken. Alternatively, close a piece of paper in the door or window. If you can pull the paper out easily without tearing it, the weatherstripping is no longer doing its job.
2. Remove the Old Seal Peel away the old weatherstripping. For adhesive-backed foam, you can usually pull it right off. If it leaves behind a sticky residue, use an adhesive remover or rubbing alcohol to soften it, then gently scrape it away with a plastic putty knife.
3. Clean and Prep the Surface This is the most important step. New weatherstripping will not stick to dirt, grease, or old glue. Wash the frame with warm, soapy water, wipe it down, and let it dry completely. If the surface is damp, the new adhesive will fail prematurely.
4. Measure and Cut Measure the length of the door or window frame. Cut your new weatherstripping to size using sharp scissors or a utility knife. It is usually best to cut the piece slightly longer than you need and trim it for a precise fit once you begin applying it.
5. Apply the New Weatherstripping Peel back a few inches of the adhesive backing to start. Press the stripping firmly into the frame, slowly peeling the backing away as you work your way down. Make sure the stripping aligns neatly in the corner of the frame so that the door or window will compress it evenly when closed.
How Often Should You Do This?
You should inspect the weatherstripping around your exterior doors and accessible windows once a year. The material itself generally lasts between three to five years, but its lifespan depends on the climate you live in, the quality of the material, and how often the door or window is used. High-traffic doors, like your main entryway, will likely need replacement sooner than a guest room window.
Signs You Have Waited Too Long
You will know it is time to replace your weatherstripping if you notice:
- Visible daylight around the edges of a closed door or window.
- A whistling sound coming from the doorframe on windy days.
- Foam or rubber strips that are visibly cracked, crumbling, or peeling away from the frame.
- Small pools of water or water stains on the floor near an exterior door after a heavy rain.
The Cost of Neglect vs. The Cost of Maintenance
A standard roll of foam or rubber weatherstripping costs between $10 and $30 at most hardware stores, and one roll is usually enough to seal a couple of doors or multiple windows.
Conversely, failing to address drafty doors and windows can quietly inflate your heating and cooling costs by $50 to over $100 over the course of a single season. When you factor in the long-term wear on your HVAC system from overworking, a $20 roll of weatherstripping becomes an incredibly high-return investment.
Safety Boundaries: When to Call a Professional
Replacing adhesive or slide-in weatherstripping is a very safe, straightforward task suitable for almost any homeowner.
However, if you notice that a door is sticking because it is visibly warped, or if the door frame itself feels soft and spongy due to wood rot, weatherstripping will not solve the root issue. A door that will not close properly or latch securely may require a carpenter or a general contractor to realign the hinges, repair the frame, or potentially replace the door entirely.
How to Build This Into Your Home Maintenance Schedule
The best time to inspect your weatherstripping is during early fall, just before the weather turns cold and you turn on your heating system. Checking your seals when the weather is still mild ensures you are not caught scrambling to fix drafts on the first freezing night of the year.
Casa can help you keep track of these seasonal checks. By setting a recurring reminder in the fall for winter weatherization prep, you ensure your home is ready to handle changing temperatures efficiently without having to rely on your own memory.
Recap
Checking and replacing weatherstripping is an inexpensive and straightforward way to keep your home comfortable and reduce your energy bills. By taking time once a year to test for drafts, clean your door frames, and apply fresh seals where needed, you protect your HVAC system from unnecessary wear and stop money from slipping out the front door.
If you are looking for an easier way to stay on top of routines like this, download the Casa app. It helps you organize your home maintenance schedule, track past repairs, and feel confident that you are making the right decisions to protect your home.