

Sep 1, 2026
How to Clean and Maintain Your Bathroom Exhaust Fan
Learn how to clean and maintain your bathroom exhaust fan to prevent mold growth, protect indoor air quality, and avoid costly drywall and motor repairs.
When you think about home maintenance, cleaning the bathroom exhaust fan rarely makes the top of the list. It sits high up on the ceiling, out of eye line, quietly doing its job after every shower. Because it is out of sight, it is easy to view cleaning it as minor housekeeping busywork.
Looking for more guidance? Take a look at our Maintenance overview.
In reality, servicing your bathroom exhaust fan is preventive maintenance for your home’s air quality and structural materials. Every hot shower releases gallons of water vapor into the air. Your exhaust fan is the primary mechanical barrier preventing that warm, humid air from settling into your ceiling drywall, paint, and framing.
Taking twenty minutes twice a year to clear out the motor and vent protects your bathroom surfaces from costly moisture damage.
What Typically Goes Wrong If Ignored
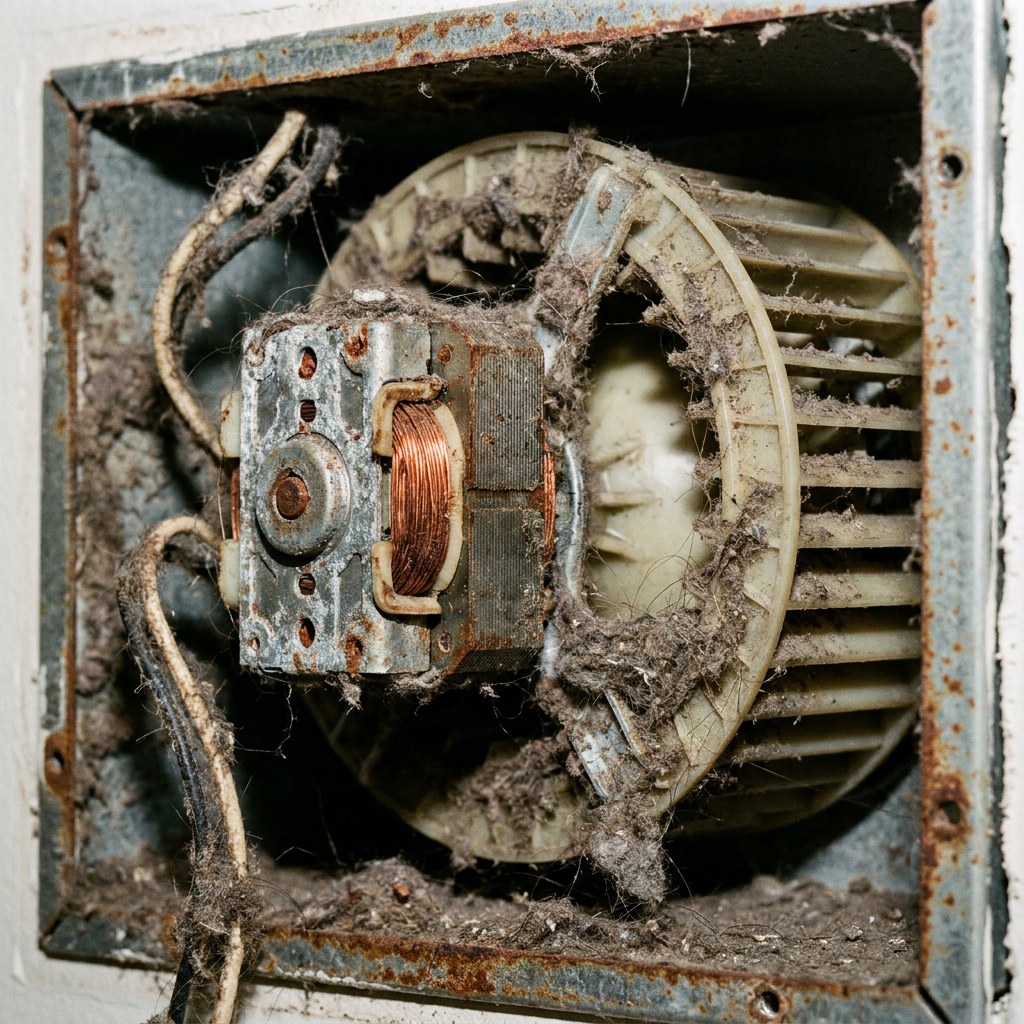
Bathroom exhaust fans pull in both airborne moisture and household dust. Over time, that dust mixes with the humidity, creating a thick, sticky layer of grime that cakes onto the fan blades, motor housing, and intake grille.
When dust clogs the fan:
- Airflow drops significantly: The motor spins, but the blades cannot pull air efficiently through the clogged vent.
- The motor overheats: Dust acts as insulation around the small electric motor. Unable to cool itself, the motor works harder, runs hotter, and can burn out prematurely.
- Moisture lingers in the room: Humid air remains trapped against bathroom surfaces long after your shower ends, penetrating behind mirrors, trim, and wall paint.
What This Task Protects
Keeping your exhaust fan clean protects three essential areas of your home:
- Indoor air quality and health: Lingering humidity creates an ideal environment for mold and mildew to grow on ceilings, grout, and inside wall cavities. A properly venting fan exhausts that moisture outside before spores can establish themselves.
- Building materials: Paint peeling from the ceiling, bubbling drywall, and warped wooden door frames are almost always caused by poor bathroom ventilation.
- Equipment lifespan: An unburdened, clean fan motor can last 10 years or more. A clogged motor often fails within 3 to 5 years.
Step-by-Step Cleaning Checklist
Cleaning a bathroom fan requires only basic household supplies: a sturdy step stool, a vacuum with a brush attachment, warm water with mild dish soap, and a microfiber cloth.
1. Cut the Power
Turn off the wall switch for the fan. For added safety, switch off the corresponding circuit breaker in your electrical panel, especially if you plan to unplug the motor assembly.
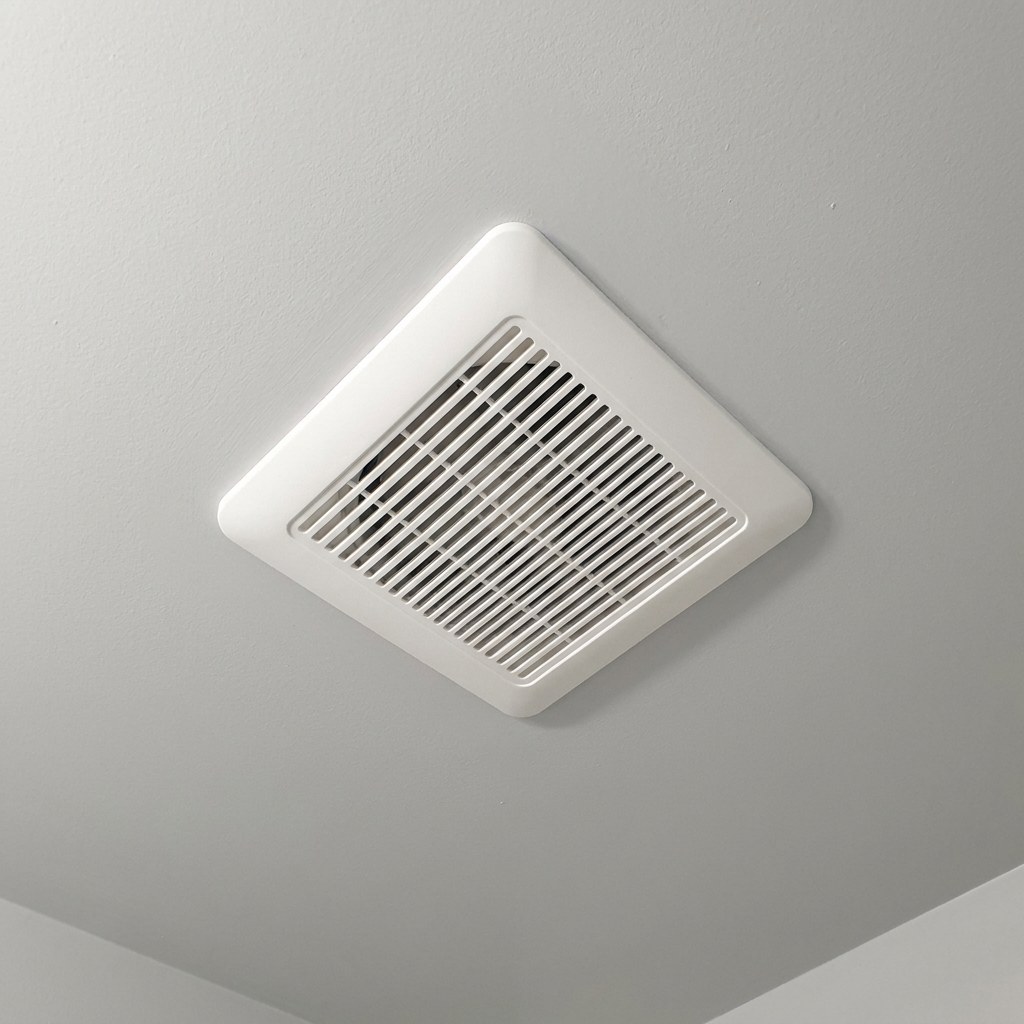
2. Remove the Grille Cover
Gently pull down on the plastic or metal cover. Most modern covers are held in place by two wire tension clips. Squeeze the metal clips together with your fingers to release them from the housing slots, then lower the cover.
3. Wash the Cover
Soak the cover in a sink filled with warm, soapy water. Use a soft cloth or brush to scrub away built-up dust and grime. Rinse thoroughly and set it aside on a towel to dry completely.
4. Vacuum the Housing and Motor
Using your vacuum’s brush or crevice attachment, carefully clean the dust from the motor, fan blades, and the interior metal housing. Move gently around any exposed wiring.
5. Wipe Down the Fan Blades
If stubborn grime remains on the fan blades (often called the blower wheel), gently wipe them with a slightly damp microfiber cloth. Make sure no excess water drips into the motor housing.
6. Test the Damper
Look up into the duct opening inside the housing to locate the small plastic or metal flap (the damper). Gently nudge it with a finger or pencil to ensure it swings open and closed freely without sticking.
7. Reinstall the Cover and Restore Power
Once the cover is completely dry, squeeze the wire springs, slide them back into their housing slots, and push the cover flush against the ceiling. Restore power at the breaker and turn the wall switch on to test operation.
How Often It Should Be Done
For most homes, cleaning the exhaust fan every six months is sufficient to maintain steady airflow.
If your household has multiple people sharing a single bathroom, or if you have pets that shed heavily, consider checking and vacuuming the grille every three to four months.
Signs You Have Waited Too Long
If you notice any of the following signs, your fan is overdue for attention:
- Mirrors stay fogged: If the bathroom mirror remains heavily fogged for more than 15 to 20 minutes after a shower, the fan is no longer pulling enough air.
- Visible moisture on surfaces: Beads of water running down the walls or pooling on the ceiling indicate poor ventilation.
- Excessive noise or vibration: A humming, rattling, or squealing noise often means the motor is straining under a heavy load of dust or the bearings are failing.
- Visible dust rings: Dark dust collecting along the ceiling around the outside of the grille means air is struggling to pass through the fan.
To test your fan's suction quickly, hold a single square of toilet paper up to the grille while the fan is running. If the suction holds the paper in place on its own, your fan is moving air effectively. If the paper falls, the unit needs cleaning or replacement.
Cost of Neglect vs Cost of Maintenance
The cost to maintain an exhaust fan is minimal, requiring only basic cleaning supplies you likely already own.
| Maintenance Path | What It Involves | Typical Cost | | :--- | :--- | :--- | | Routine Cleaning | Vacuuming and wiping down parts twice a year | $0 (DIY) | | Motor Replacement | Replacing a burned-out fan motor or full unit | $150 – $350 (parts + DIY or pro) | | Moisture Remediation | Repairing peeling drywall paint, replacing moldy baseboards, or professional mold cleanup | $500 – $2,500+ |
Staying ahead of dust buildup keeps small electric components running reliably and prevents moisture from damaging surrounding surfaces.
Safety Boundaries: When to Call a Professional
Most fan cleanings are safe and simple to handle yourself. However, it helps to know when a task moves beyond basic upkeep:
- Safe to DIY: Removing the cover, vacuuming loose dust, washing the grille, and wiping down visible fan blades.
- Time to pause and assess: If you feel the housing vibrating aggressively or notice a persistent burning smell when the fan runs, stop using it immediately.
- When to hire a professional: If the motor does not turn on after cleaning, if you suspect the ductwork has disconnected inside the attic, or if your fan vents directly into the attic space rather than through the roof or an exterior wall. A licensed electrician or HVAC technician can properly wire and vent a replacement unit.
How to Build This Into Your Home Maintenance Schedule
Because exhaust fans are out of sight, they are easy to forget. The simplest approach is pairing this task with other semi-annual home routines, such as:
- Testing your smoke and carbon monoxide detectors
- Changing your central HVAC air filters
- Adjusting your clocks for daylight saving time
Using a digital home management tool like Casa makes it easy to set recurring reminders for indoor air quality tasks so nothing slips through the cracks as the seasons change.
Summary
A clean bathroom exhaust fan protects your home against trapped moisture, structural rot, and poor indoor air quality. By spending twenty minutes twice a year clearing out accumulated dust, you extend the life of the motor and keep your living spaces dry and healthy.
If you want a straightforward way to keep track of seasonal tasks, schedule reminders, and get practical home guidance, download the Casa app to stay prepared year-round.