

Jul 28, 2026
How to Inspect and Replace Bathroom Caulk
Learn how replacing worn bathroom caulk protects your home from hidden water damage and mold. Follow this simple guide to maintain your showers and tubs.
Many homeowners view bathroom caulk as a cosmetic detail—the crisp white line that makes a bathtub or shower look finished. In reality, maintaining that seal is one of the most cost-effective ways to protect your home.
Looking for more guidance? Take a look at our Maintenance overview.
Taking the time to replace peeling or worn caulk is not about keeping your bathroom looking new. It is a critical preventive measure that keeps water where it belongs and out of your home’s structural framing.
Here is what you need to know to confidently inspect, remove, and replace bathroom caulk before it becomes a larger issue.
Why Bathroom Caulk Matters
The gap between your bathtub and the tile wall is highly vulnerable to water. Caulk bridges this gap with a flexible, waterproof seal.
When caulk breaks down, water slips behind the tile during every shower. If ignored, this constant moisture begins to break down the wallboard—even water-resistant types often called "greenboard." Eventually, water can reach the wooden studs holding up your walls, leading to structural rot and hidden mold growth inside the wall cavity.
Replacing your caulk on a regular basis protects the lifespan of your shower enclosure, safeguards your home’s indoor air quality by preventing mold, and ensures the structural integrity of your bathroom walls.
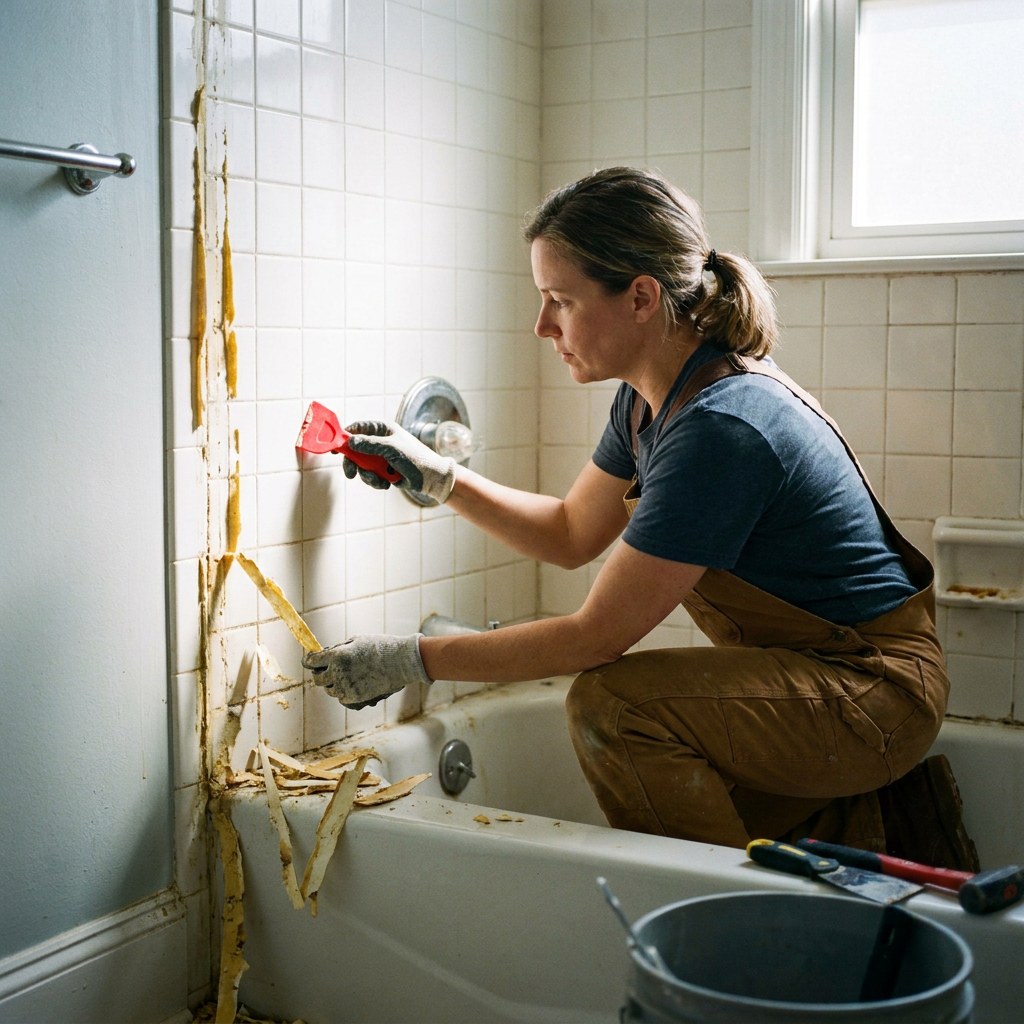
Step-by-Step: Replacing Your Bathroom Caulk
Replacing caulk is a straightforward process, but preparation is essential. Applying new caulk over old, failing caulk will not create a watertight seal and will peel away quickly.
- Remove the old caulk: Use a dedicated caulk removal tool or a utility knife to carefully scrape away the old material. Work slowly so you do not scratch the tub or tile.
- Clean the surface: Once the bulk of the caulk is gone, wipe the area down with rubbing alcohol or a specialized caulk remover to dissolve any remaining residue.
- Dry the area completely: The gap must be bone dry before you apply new caulk. Wipe it with a microfiber cloth and let it sit for a few hours. You can use a hairdryer to speed up the process.
- Tape your lines (optional but recommended): Apply painter’s tape just above and below the gap. This will give you perfectly straight, clean edges even if you don't have a steady hand.
- Apply the new caulk: Use 100% silicone caulk for bathrooms, as it is fully waterproof and flexible enough to handle the slight shifting of a bathtub. Cut the tip of the tube at a 45-degree angle and steadily squeeze a continuous bead along the gap.
- Smooth the bead: Wet your finger or a specialized caulk-smoothing tool and lightly drag it along the wet caulk to press it firmly into the gap and smooth the surface.
- Remove the tape and let it cure: Carefully peel away the painter's tape immediately after smoothing. Do not use the shower or tub for at least 24 hours, or whatever curing time is specified on the caulk tube.
How Often Should You Caulk?
As a general rule, bathroom caulk lasts between three and five years. However, high-traffic bathrooms, poor ventilation, or the natural settling of a house can cause caulk to fail much sooner. You should visually inspect the caulk in your bathrooms at least once a year.
Signs You Have Waited Too Long
It is usually obvious when caulk needs attention. Keep an eye out for these indicators during your visual inspections:
- Cracking or peeling: Any visible breaks or sections where the caulk is pulling away from the wall.
- Missing sections: Gaps where the caulk has completely washed or fallen away.
- Deep discoloration: While surface mildew can be cleaned, black spots underneath the clear or white surface of the caulk indicate that water has breached the seal and mold is growing behind it. Bleach will not fix this; the caulk must be replaced.
The Cost of Neglect vs. Maintenance
The financial difference between maintaining your caulk and ignoring it is drastic.
A tube of high-quality 100% silicone caulk and a removal tool will cost you roughly $15 to $20. It requires about an hour or two of your time on a weekend.
If the seal fails and water rots the wall behind the tile, the repairs are invasive. A contractor will have to tear out the bottom rows of tile, remove the rotted drywall, replace any damaged wooden studs, mitigate the mold, and rebuild the wall. Depending on the extent of the damage, this repair typically ranges from $1,500 to $5,000 or more.
Safety Boundaries: When to Call a Pro
Replacing caulk is a very safe, low-risk project for a homeowner to tackle. However, the process of removing the old caulk can sometimes reveal hidden problems.
Safe to do yourself: Removing the old caulk, cleaning the area, and applying the new silicone bead.
Time to stop and call a professional: If you press firmly on the lower tiles in your shower and the wall feels soft, spongy, or moves inward, water damage has already occurred. Similarly, if you peel away the old caulk and find black, crumbling drywall or heavy mold in the gap, stop. Sealing over rotted materials will only trap the moisture and make the problem worse. In these cases, it is time to call a licensed contractor or bathroom remodeling specialist to assess the damage.
How to Build This Into Your Home Maintenance Schedule
Preventive maintenance is easiest when it is tied to an existing routine. You can build a yearly bathroom inspection into your schedule by pairing it with another annual task, like deep-cleaning your home in the spring or checking your smoke detectors when the time changes.
To stay organized without relying on your memory, you can log these inspections in the Casa app. Casa allows you to keep a reliable record of when you last caulked your bathrooms, giving you a clear timeline of when it might be time to tackle the job again.
Recap
Bathroom caulk is your home's primary defense against expensive water damage in your walls. By inspecting it yearly and taking a couple of hours to replace it when it begins to peel or crack, you protect the structural integrity of your bathroom for less than the cost of takeout dinner.
Ready to get a better handle on your home’s upkeep? Download the Casa app today to start tracking your maintenance tasks, organizing your home’s details, and reducing the stress of homeownership.