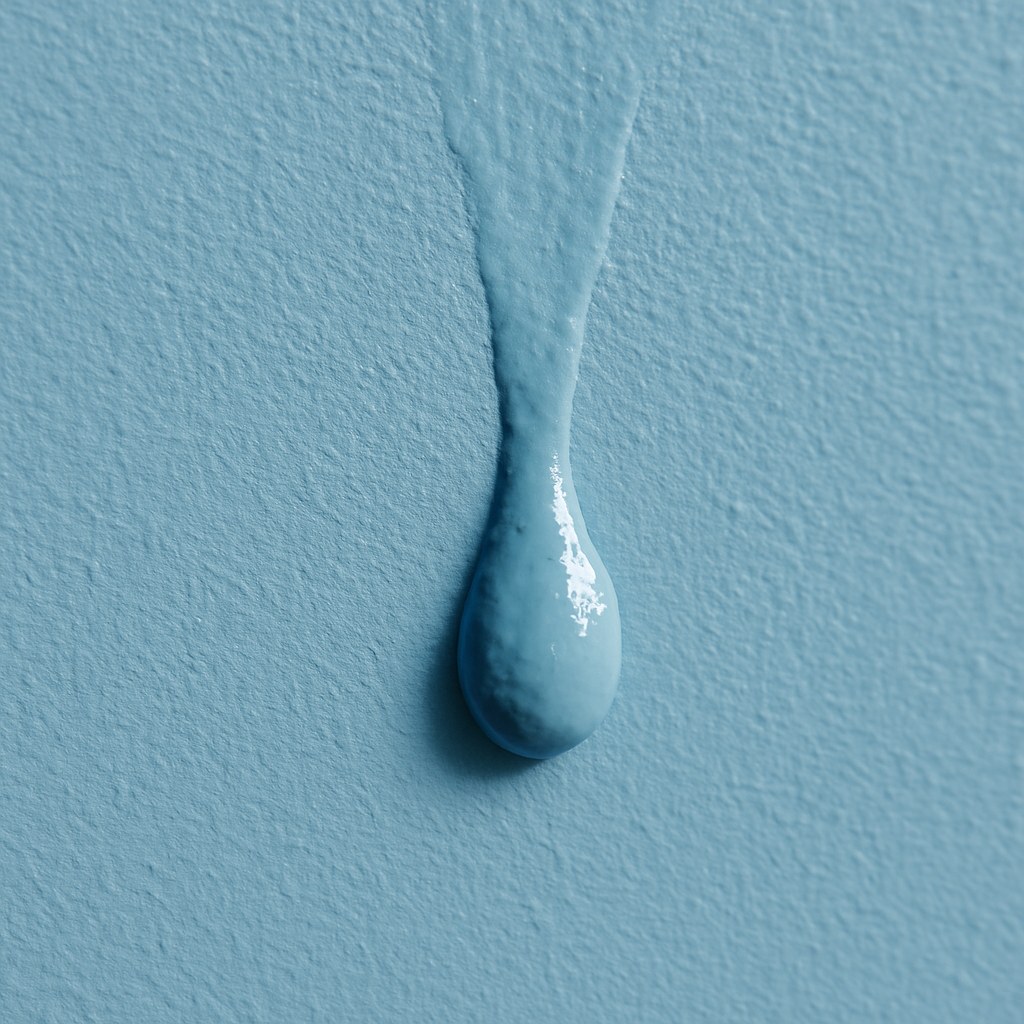
The good news is that paint drips, runs, and sags are among the most common painting mishaps, and they are almost always fixable. Whether the paint is still tacky or has been dry for days, you can smooth out that blemish and restore your wall to the pristine surface you intended.
In this guide, we’ll walk you through everything you need to know, just like a friendly expert on the phone. We’ll cover how to diagnose the problem and provide step-by-step instructions for fixing both wet and dry paint drips on any surface.
First Things First: Why Do Paint Drips Happen?
Before we dive into the fix, let's understand the cause. Knowing why drips occur can help you prevent them on your next project. The usual suspects include:
- Applying too much paint: This is the number one cause. Overloading your brush or roller forces the excess paint to succumb to gravity.
- Using the wrong tools: A low-quality roller cover might not hold paint evenly, or a brush that’s too stiff can leave behind ridges that turn into runs.
- Painting on an unprepared surface: If a surface is greasy, dusty, or glossy, the paint won't adhere properly and may slide down.
- Thinning the paint too much: While sometimes necessary, adding too much water or thinner can make the paint too fluid and prone to dripping.
- Environmental factors: Painting in high humidity or temperatures that are too cool can significantly slow down drying time, giving the paint more opportunity to sag and drip.
Now that you know the why, let's get to the how.
Step 1: Assess the Paint Drip
Your first move is to figure out what you’re dealing with. The repair method depends entirely on whether the paint drip is still wet or has already hardened.
Tools You'll Need:
Here's how to check:
- Protect Your Floors: Before you do anything, place a drop cloth on the floor directly below the drip. This will catch any paint or dust during the repair.
- The Touch Test: Gently touch the very edge of the drip with your fingertip. Be careful not to smudge it further.
- If the paint feels tacky, sticky, or transfers to your finger, it’s still wet.
- If it feels hard and solid, it’s dry.
Once you’ve determined its state, you’ll also want to note if the drip is on a vertical surface (like a wall) or a horizontal/overhead one (like a ceiling or windowsill). The approach for each is slightly different.
Step 2: How to Fix WET Paint Drips
Catching a drip while it's still wet is ideal because you can often fix it without needing to sand or repaint a large area.
Fixing Wet Drips on a Vertical Surface (Walls)
When you spot a fresh drip on a wall, your goal is to gently blend it back into the surrounding paint before it starts to set.
Tools You'll Need:
- The same paint you just used
- A clean paintbrush
- A small paint roller (if you used one originally)
- Paint tray
Instructions:
- Load Your Brush: Lightly dip the tip of your clean paintbrush into the paint. You want just enough to work with, not a fully loaded brush.
- Remove Excess Paint: Blot the brush against the rim of your paint tray to remove any excess. This prevents you from creating a new drip while fixing the old one.
- Work from the Bottom Up: Place the tip of your brush just below the bottom of the drip.
- Feather It Out: Using very light, upward strokes, gently "feather" the drip back into the surrounding paint. The idea is to lift and spread the excess paint until the surface looks even. Short, delicate strokes are key here.
- Match the Texture: If you originally painted the wall with a roller, the brushed area will have a different texture. To fix this, lightly roll over the feathered area with a smooth-surface paint roller. This will blend the texture (known as "stipple") for a seamless finish.
- Inspect Your Work: Step back and look at the wall from a few different angles with good lighting to ensure the drip is gone and the surface is uniform.
If it looks smooth and even, congratulations! You've fixed the issue. Just let the paint dry as usual.
Fixing Wet Drips on a Horizontal or Overhead Surface (Ceilings)
Fixing a wet drip on a ceiling requires a bit more care to avoid making it worse or getting paint in your eyes.
Tools You'll Need:
- Safety glasses
- A sturdy ladder or step-stool
- A clean paintbrush
- Clean water (for latex paint) or paint thinner (for oil-based paint)
- Paper towels
Instructions:
- Safety First: Put on your safety glasses. You’ll be looking up, and you don’t want anything falling into your eyes.
- Get Level: Position your ladder so you can safely reach the area and your eyes are roughly level with the drip. This gives you the best vantage point.
- Moisten Your Brush: For latex paint, lightly moisten your paintbrush with clean water. For oil-based paint, use the appropriate thinner. This prevents the brush from pulling more paint and making the problem worse.
- Target the Drip: Gently touch the very tip of the moistened brush to the highest point of the drip—the "head" of the run.
- Sweep It Outward: With a delicate touch, sweep the drip outward from its center in all directions. The goal is to flatten the ridge of paint and blend it into the surrounding area.
- Dab and Repeat: After each stroke, dab the brush on a paper towel to remove the excess paint you’ve collected. Repeat the sweeping motion until the drip is flattened.
- Re-Roll if Necessary: To blend the sheen and texture, you may need to go over the area very lightly with a roller.
Once the surface looks uniform, you're done. Let it dry, and the blemish should be invisible.
Step 3: How to Fix DRY Paint Drips
Don't panic if you only notice a drip after the paint has fully cured. It takes a little more elbow grease, but a dried drip can be erased completely.
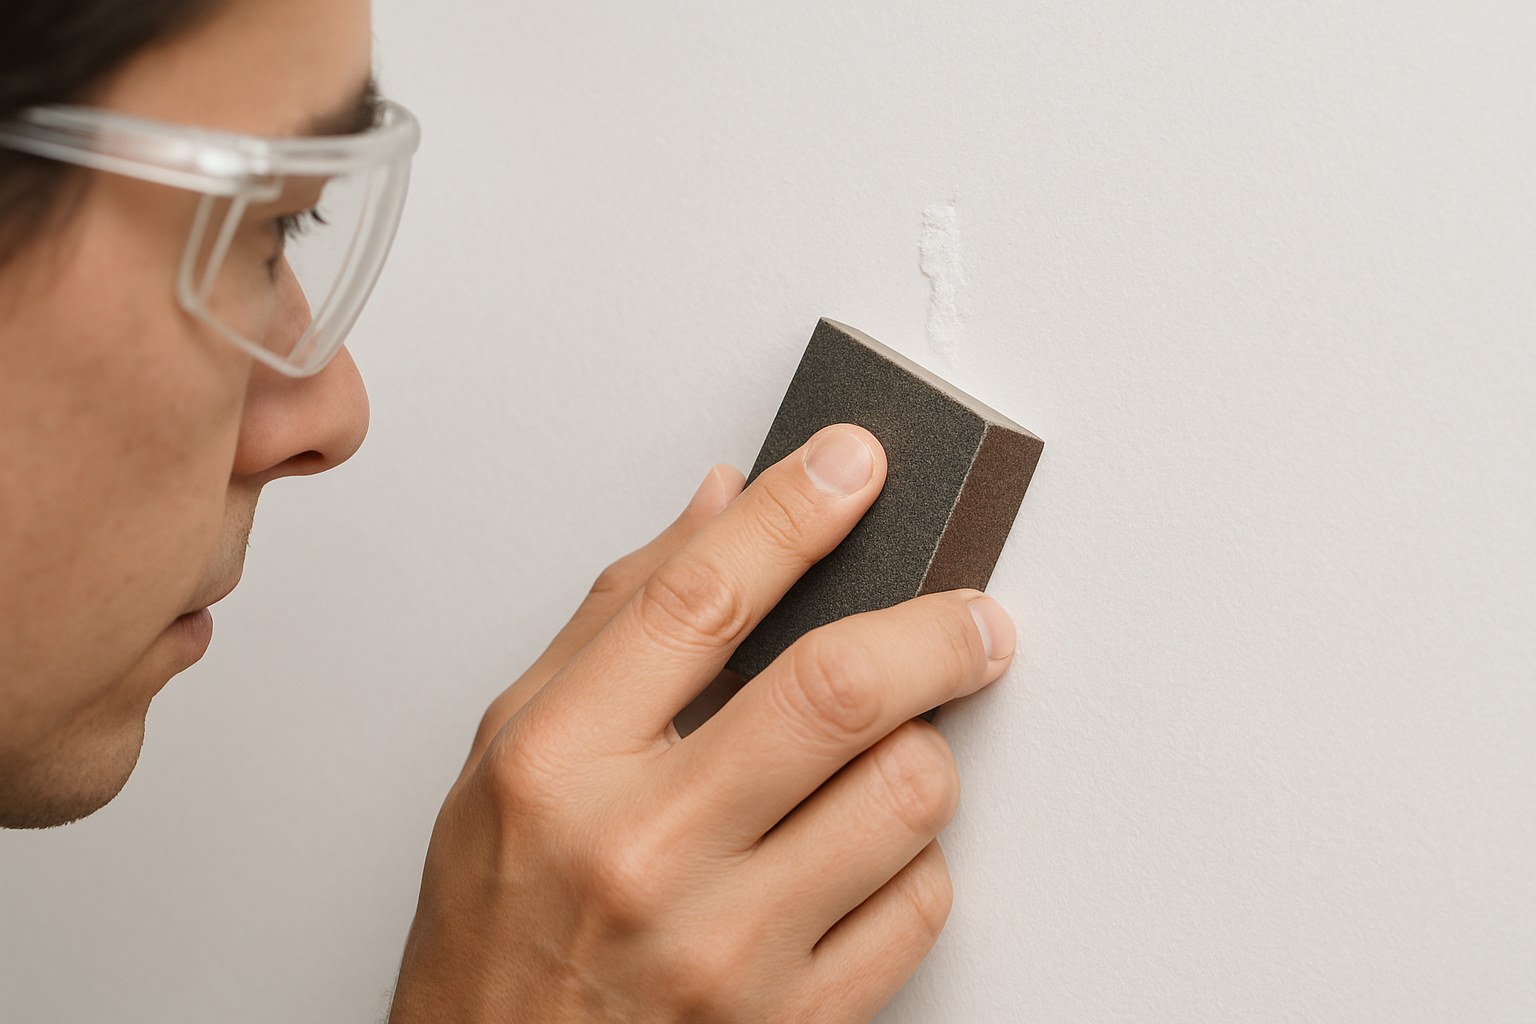
Fixing Dry Drips on a Vertical Surface (Walls)
The key here is to physically remove the drip by sanding it down and then touching up the spot.
Tools You'll Need:
- Drop cloth
- Fine-grit sandpaper (220-grit is a good choice) or a sanding block
- A clean, dry cloth (microfiber works well)
- The original paint
- A small paintbrush
- A paint stirrer
Instructions:
- Confirm It's Cured: Make sure the drip is completely hard. Sanding paint that is even slightly soft will create a gummy mess.
- Sand It Smooth: Wrap your fine-grit sandpaper around a sanding block for even pressure. Gently rub the drip until it is completely flush with the surrounding wall. Be careful not to sand too aggressively, as you only want to remove the raised drip, not the paint around it.
- Wipe Away Dust: Use a microfiber cloth to wipe away all the sanding dust. Any remaining dust will prevent the new paint from adhering properly.
- Prepare Your Paint: Open your original paint can and stir it thoroughly with a stirrer for at least 30 seconds to ensure the color and consistency are uniform.
- Apply a Touch-Up Coat: Using your small paintbrush, apply a very light coat of paint directly over the sanded spot.
- Feather the Edges: To avoid a visible patch, "feather" the edges of the fresh paint into the surrounding area using light, wispy strokes. This creates a seamless transition.
Let the touch-up coat dry. If needed, you can apply a second thin coat after the first has dried completely.
Fixing Dry Drips on a Horizontal or Overhead Surface (Ceilings)
This process is similar to fixing drips on a wall but often starts with a scraper to remove the bulk of the drip more easily.
Tools You'll Need:
- Safety glasses
- Drop cloth
- A sturdy ladder
- A putty knife or razor blade scraper
- Fine-grit sandpaper (220-grit)
- A vacuum with a brush attachment or a microfiber cloth
- The original paint and a small paintbrush
Instructions:
- Gear Up for Safety: Put on your safety glasses and spread a drop cloth below.
- Get into Position: Set up your ladder so you can work comfortably and safely.
- Shave the Drip: Hold a putty knife or razor scraper at a very low, shallow angle to the surface. Gently shave off the top of the hardened drip. The goal is to remove the bulk of the raised paint without gouging the surface.
- Sand It Flat: Once the drip is mostly gone, use fine-grit sandpaper to smooth the remaining bump until it's completely level with the ceiling.
- Clean the Area: Thoroughly vacuum or wipe away all sanding dust.
- Touch Up the Spot: Stir your paint well and apply a thin coat over the repaired area with your paintbrush, feathering the edges outward to blend it in.
When to Call a Professional Painter
Most single drips and small runs are perfect DIY projects. However, if you've tried these fixes and the area still doesn't look right, or if the wall has numerous drips over a large area, it might be time to call in a professional. A professional painter can assess whether the area needs to be skim-coated, re-primed, or completely repainted for a truly flawless finish.
Hiring a painter for a small touch-up job might cost between $150 to $350, as many have a minimum charge for a visit. For larger jobs, they typically charge by the hour or by the project.
Your Partner in Home Maintenance
Fixing a paint drip is a satisfying project that can make a huge difference in the final look of your room. With a little patience and the right technique, you can make that imperfection disappear for good.
For more expert guides, personalized maintenance reminders, and a direct line to trusted local professionals for those jobs you'd rather not handle, download the Casa app today. We're here to help you manage and maintain your home with confidence.


