But what happens when it stops working? You might notice your sprinklers running right after a rainstorm or your lawn looking unusually soggy. A malfunctioning sensor isn't just inefficient—it can damage your lawn and cause your water bill to skyrocket.
The good news is that you don't have to be an irrigation expert to fix it. Most sensor problems are caused by simple issues like dead batteries or a loose wire. In this guide, I’ll walk you through the process of troubleshooting and fixing your sprinkler moisture sensor, just as if I were on the phone with you. Let’s get your smart system back on track!
Why Your Sprinkler Moisture Sensor Might Not Be Working
Before we dive into the fix, let's look at the usual suspects. Understanding what could be wrong makes the diagnosis process much smoother. Most sensor issues fall into one of these categories:
- Power Problems: This is the number one cause. For wireless sensors, it's often a simple case of dead batteries. For wired models, a loose wire at the sprinkler controller can disrupt the connection.
- Connectivity Glitches: If you have a smart system that connects to an app, the sensor might have lost its connection to your home network or the controller. This can happen after a power outage or a change in your Wi-Fi password.
- Dirty or Damaged Probes: The metal probes on the sensor need to make good contact with the soil to get an accurate reading. If they're caked in dirt, clay, or have started to corrode, they won't work correctly.
- Poor Placement: Location is everything. If your sensor is placed in an area that's always wet (like under a downspout) or unusually dry (like in very sandy soil), it won't give an accurate reading for the rest of your lawn.
- A Defective Sensor: While less common, the sensor itself can fail over time due to age or damage from lawn equipment.
Now that you have an idea of what might be going on, let's roll up our sleeves and figure it out.
A Step-by-Step Guide to Fixing Your Moisture Sensor
We'll approach this logically, starting with the simplest and most common fixes first.
Step 1: Identify Your Sensor Type
First things first, we need to know what kind of sensor you have. There are two main types: battery-powered (wireless) and wired.
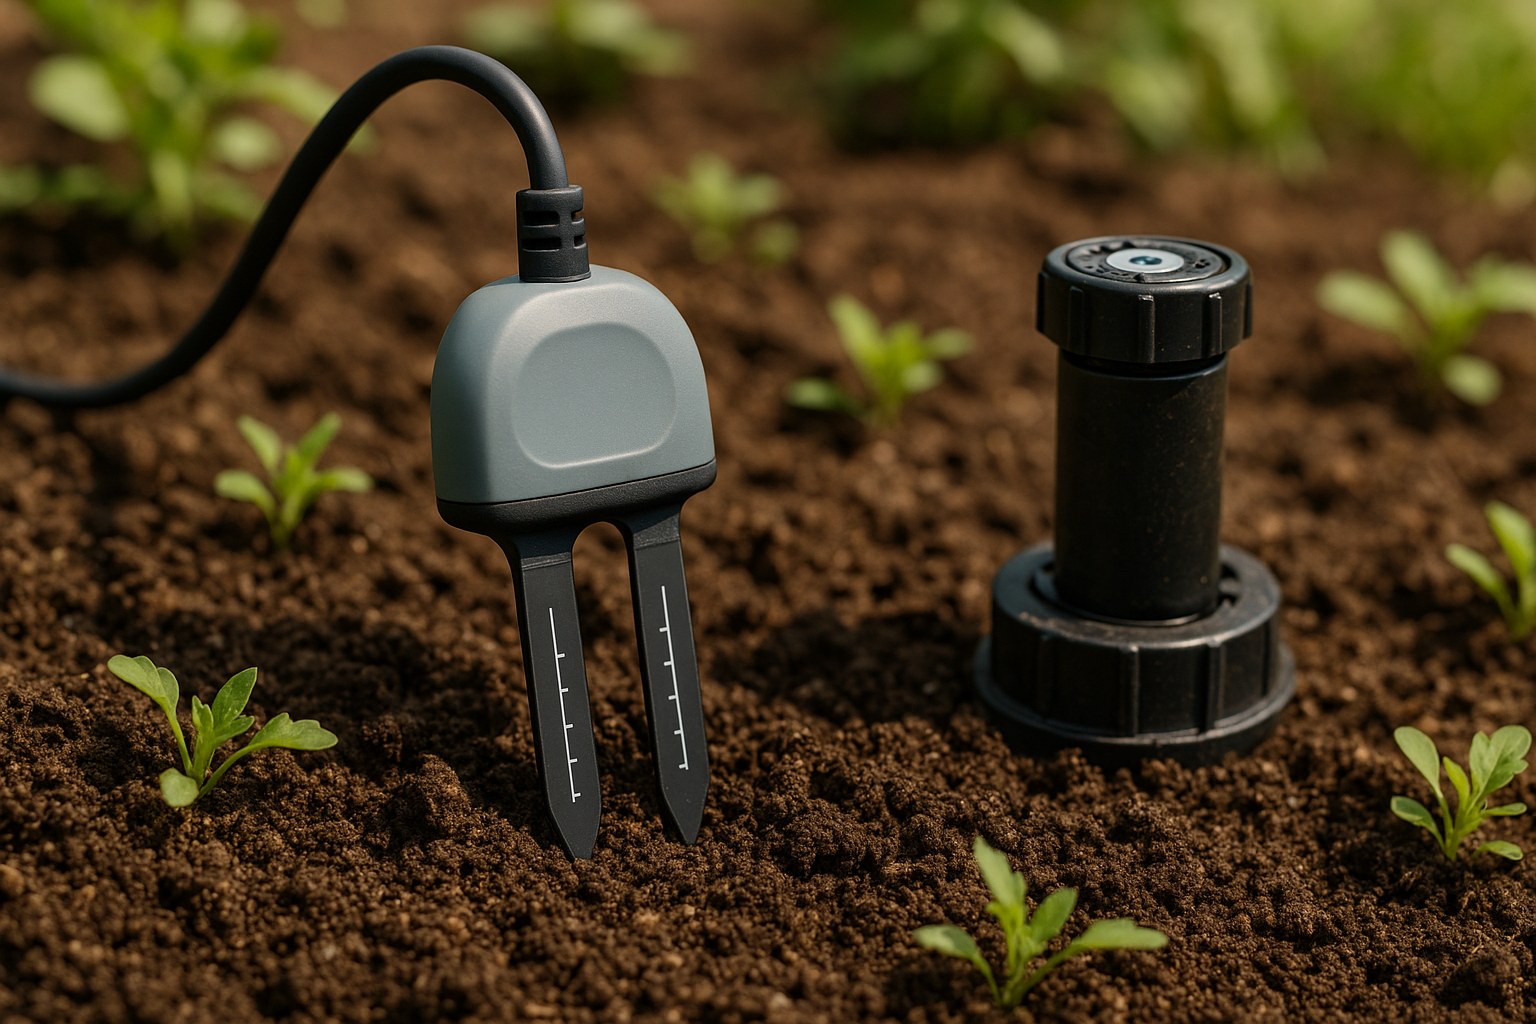
- Go out to your yard and locate the moisture sensor. It’s usually a small device with a stake pushed into the ground in one of your garden beds or lawn zones.
- Look for a wire running from the sensor back toward your garage or wherever your main sprinkler controller is located. If you see one, you have a wired sensor.
- If you don't see any wires, look closely at the sensor's housing for a battery compartment or a small door. If you find one, you have a battery-powered model.
Once you know which type you're working with, you can move on to the right troubleshooting path.
Step 2: Troubleshoot the Power Source
Nine times out of ten, the problem is related to power. Let's check that next.
For Battery-Powered Sensors:
- Find the battery compartment. You may need a small flathead screwdriver to gently pry it open.
- Remove the old batteries. Most sensors use standard AA batteries.
- Take a look inside the compartment. Do you see any white, crusty buildup on the metal contacts? That's corrosion. If so, you can clean it off with a cotton swab lightly dipped in white vinegar. Dry it thoroughly before proceeding.
- Insert fresh, new batteries. Double-check that you're matching the positive (+) and negative (-) polarity symbols inside the compartment.
- Close the compartment door securely. You should hear a click.
- Now, look for a status light on the sensor. Most models have an LED that will blink for about 30 seconds after new batteries are installed to show it's powered on and working.
If the light blinks, that's a great sign! It means the sensor has power. If it doesn't blink even with new batteries, the sensor itself may be defective, and it might be time to call a professional.
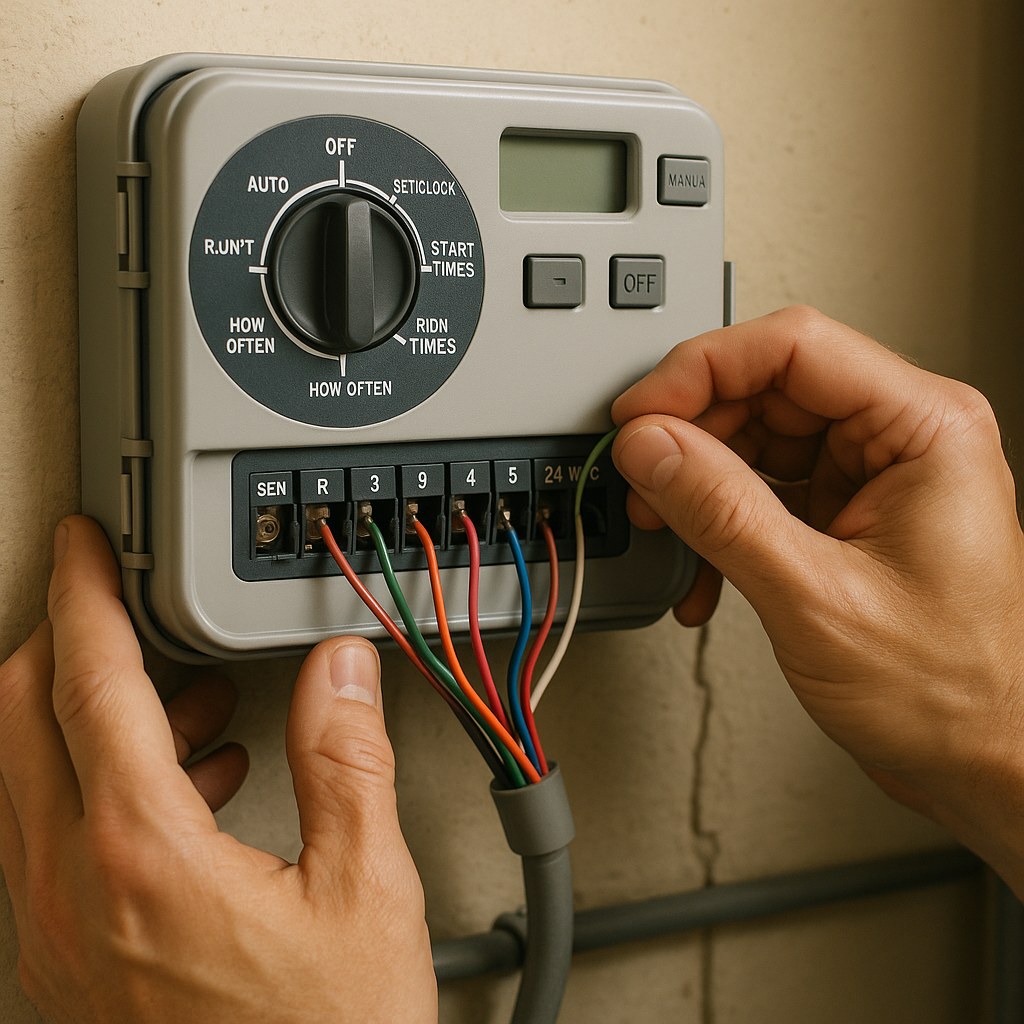
For Wired Sensors:
- For safety, start by switching your sprinkler controller to the "OFF" position.
- Open the door to the controller cabinet.
- Look for the terminals where the sensor wires connect. They are usually labeled “SEN,” “S1,” or “S2.” You should see two small wires connected here.
- Gently tug on each sensor wire. Does it feel loose? If so, you've likely found the problem.
- To fix a loose wire, use a Phillips screwdriver to loosen the small terminal screw, push the bare end of the wire back into the clamp, and then tighten the screw firmly.
- Once you've confirmed both wires are secure, close the controller door and turn it back ON.
- Give the controller about 30 seconds to recognize the sensor. Check the display screen; it should now show the sensor as connected or active.
If the controller shows the sensor is connected, you're in business! If it still doesn't detect the sensor after securing the wires, you could have a break in the wire somewhere or an issue with the controller itself, which may require a professional to diagnose.
Step 3: Check Connectivity (For Smart Systems)
If your sensor has power but still isn't working with your smart controller, let's check the digital connection.
- Open the sprinkler controller app on your phone.
- Look at your list of devices. Does the moisture sensor show as "offline" or "disconnected"?
- If it's offline, try refreshing the app. If that doesn't work, you may need to re-pair it.
- Go to your sensor and press the pair button (you may need to check your user manual to find it) for a few seconds.
- Back in the app, look for an "Add Device" or similar option and follow the on-screen instructions to reconnect the sensor.
- Once paired, wait a minute or two. The app's dashboard should update with a current moisture reading from the sensor.
If the app shows a reading, you've solved it! Your sensor is now communicating correctly.
Step 4: Inspect Placement and Condition
If power and connectivity are good, but the readings seem wrong (or your sprinklers are still behaving oddly), the issue might be physical.
- Carefully pull the sensor stake straight up out of the soil.
- Use a soft brush to clean off any caked-on dirt or mud from the metal sensor probes.
- Inspect the probes. Are they bent, broken, or heavily corroded? If they look badly damaged, the sensor will need to be replaced.
- Now, think about its location. Is it in a good spot? You want a location that represents your lawn's average conditions—not in a low spot that collects water and not on a high, dry patch. Keep it away from downspouts, sprinkler heads, and heavy foot traffic.
- Find a better spot if needed, and push the sensor stake vertically back into the soil until the probes are completely buried.
- Gently pack the soil around the sensor to eliminate any large air pockets.
- Finally, many sensors have a calibration button. Press and hold it for about 5 seconds. This tells the sensor to take a new baseline reading of the current soil moisture.
After a minute, check your controller or app. The moisture reading should now display a realistic level (typically between 10% and 60% for healthy soil).
How Much Does It Cost to Fix?
- DIY Fix: If the issue is batteries, you're only looking at a few dollars. If you need to replace the entire sensor, a new one typically costs between $50 and $150, depending on the brand and features.
- Hiring a Pro: If you run into a more complex issue, like a broken wire or faulty controller, you may need to call an irrigation specialist. According to Lawnstarter, a general irrigation repair visit costs an average of $258. A simple sensor diagnostic or replacement would likely fall on the lower end of that range, representing a standard service call fee plus parts.

Final Thoughts: A Smarter Lawn is a Healthier Lawn
A working soil moisture sensor is a key player in maintaining a beautiful, healthy lawn without wasting one of our most precious resources: water. By taking a few minutes to diagnose and fix the issue using the steps above, you can restore your sprinkler system's efficiency and get back to enjoying your yard.
Whether it’s a simple battery swap or repositioning the sensor, you’re now equipped to handle the most common problems yourself. For more easy-to-follow DIY guides or to get connected with a trusted, local professional for the bigger jobs, download the Casa app today. We're here to help you manage your home with confidence, one successful project at a time.


