The good news is that in most cases, this is a simple issue you can diagnose and fix yourself in under 30 minutes with just a few basic tools. Your garage door is designed with safety in mind, and its refusal to close is usually its way of telling you that something is blocking its path or that its sensors need a little TLC.
In this guide, we'll walk you through the process step-by-step, just like we would over the phone. We'll help you identify the culprit and get your door working smoothly again.
Why Does My Garage Door Keep Reopening?
Before we grab our tools, let's understand the likely reasons your garage door won't stay closed. Modern garage door openers are equipped with a safety reversal system, which is almost always the root of this problem. Here are the most common triggers:
- An Obstruction in the Door's Path: The most frequent cause is something physically blocking the door or the safety sensors. This could be a stray toy, a broom, a garbage can, or even just a buildup of leaves and debris.
- Dirty or Misaligned Safety Sensors: At the bottom of your garage door tracks are two small electronic "eyes" that shoot an invisible infrared beam across the opening. If this beam is broken by an object, or if the lenses are dirty, or the sensors are knocked out of alignment, the door will think something is in the way and reverse.
- Faulty Sensor Wiring: The wires connecting the safety sensors to the motor unit can become loose, pinched, or damaged over time, leading to an intermittent signal that causes the door to reverse.
- Incorrect Force or Limit Settings: Your garage door opener is programmed with specific settings for how far it should close (the limit) and how much force it should use (the force). If these settings are off, the door might think it's hitting an obstacle when it reaches the floor and reverse as a safety precaution.
Now that you have an idea of what we're looking for, let's get to fixing it.
A Step-by-Step Guide to Fixing Your Reversing Garage Door
Follow these steps in order, as they start with the simplest and most common solutions. Make sure to test the door after each step to see if you've solved the problem.
Step 1: Conduct a Thorough Safety Inspection and Clear Obstructions
First things first, let's make sure nothing is physically in the way. It sounds obvious, but you’d be surprised how often a misplaced shovel or a stray basketball is the culprit.
- Open the Door Fully: Press the wall control button to raise the garage door all the way up.
- Unplug the Opener: For your safety, unplug the garage door opener's power cord from the outlet on the ceiling. This prevents the door from accidentally activating while you're working.
- Inspect the Area: Carefully examine the entire area underneath and around the garage door. Look along the door tracks and on the floor for any objects like tools, toys, boxes, or yard debris.
- Clear Everything: Move any items at least two feet away from the door's path. Use a broom to sweep away any leaves, dirt, or pebbles from the tracks and the floor where the door seals.
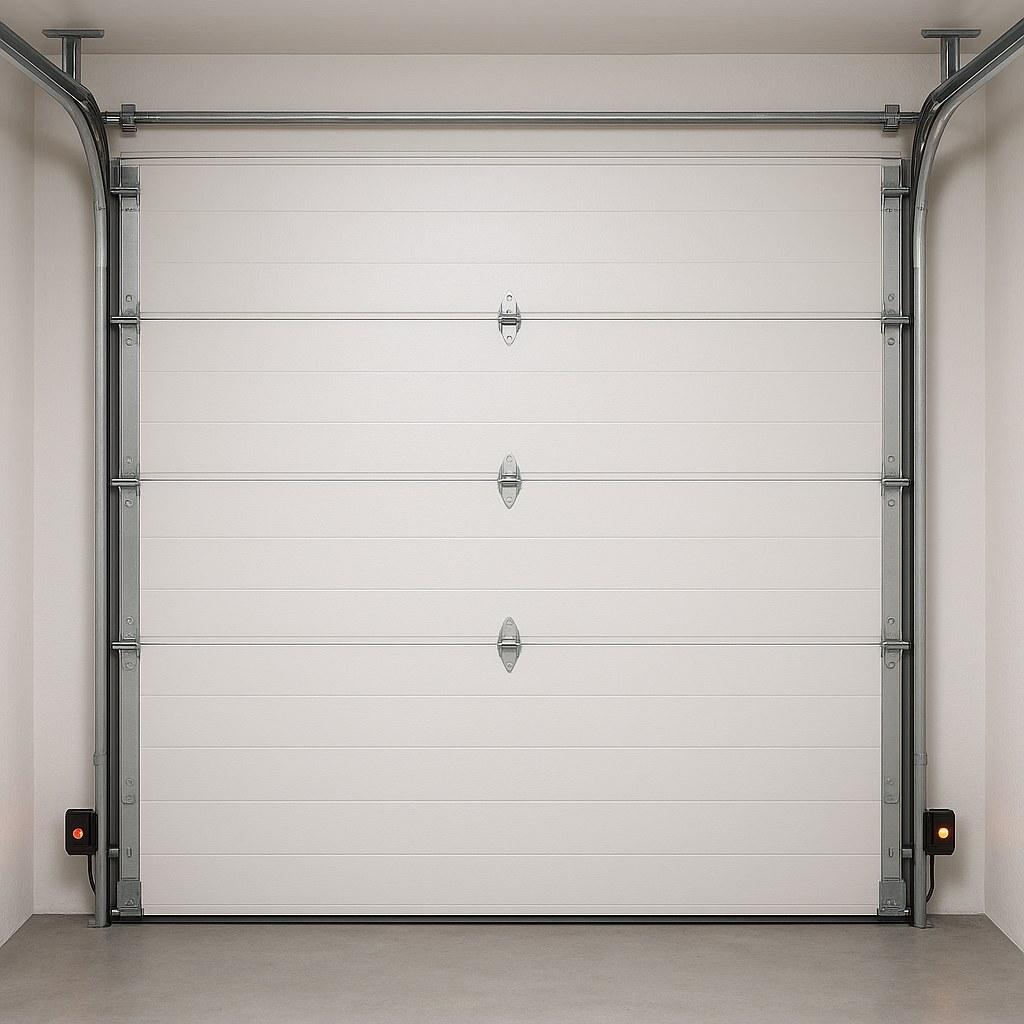
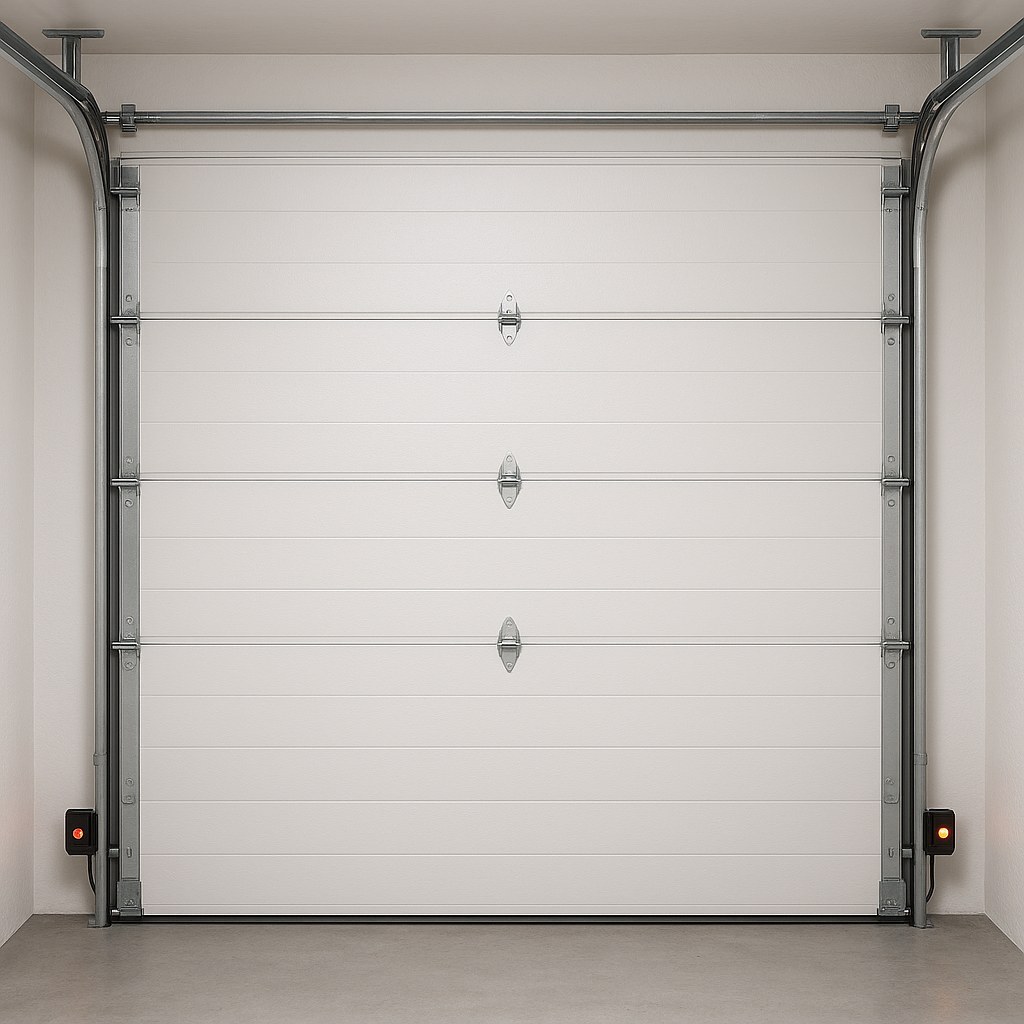
- Check the Sensors: While you're down there, look at the safety sensors. They are small black boxes, each about the size of a deck of cards, mounted on the tracks a few inches off the ground. Check if anything is blocking them, like a spider web, a leaf, or a nearby object leaning into their line of sight. Gently wipe them with a dry microfiber cloth.
- Plug it Back In and Test: Once the area is completely clear, plug the opener back in and press the wall control button to close the door.
If the door closes and stays shut, congratulations! You've fixed the problem. If it still reverses, it's time to take a closer look at those sensors.
Step 2: Clean and Align the Safety Sensors
If clearing obstructions didn't work, the next likely cause is an issue with the safety sensors themselves. The indicator lights on the sensors can tell you a lot. Typically, both lights (one on each sensor) should be solid. If one or both are blinking or off, they are out of alignment or dirty.

- Unplug the Opener Again: Safety first! Disconnect the power.
- Clean the Lenses: Even if they look clean, wipe the lens of each sensor with a soft, dry cloth. A thin layer of dust or condensation can be enough to disrupt the infrared beam.
- Check for Solid Lights: If the lights are still blinking after cleaning, they need to be aligned.
- Adjust the "Sending" Sensor: One sensor sends the beam, and the other receives it. Loosen the wingnut or Phillips screw on the bracket of the blinking sensor just enough so you can move it by hand.
- Aim the Sensor: Slowly pivot the sensor, aiming it directly at the opposing sensor. You'll know you have it right when the blinking light on the sensor turns solid. It can be a bit finicky, so make small adjustments.
- Tighten the Bracket: Once the light is solid, carefully tighten the screw or wingnut to lock the sensor in place, making sure it doesn't move out of alignment as you do.
- Plug In and Test: Reconnect the power and try closing the door again.
This solves the problem for the vast majority of homeowners. If your door is still acting up, let's check the wiring.
Step 3: Inspect the Sensor Wiring
Sometimes the issue isn't with the sensors, but with the wires that connect them to the main unit.
- Unplug the Opener: Disconnect the power from the ceiling outlet.
- Trace the Wires: Starting at each sensor, visually inspect the thin low-voltage wires as they travel up the wall and along the ceiling to the garage door opener motor unit. Look for any obvious signs of damage—cuts, frays, or areas where a staple might have pinched the wire.
- Check Connections at the Sensor: Gently tug on the wires where they enter the back of each sensor. They should feel snug and secure.
- Check Connections at the Motor Unit: Using a ladder, access the motor unit. Find where the sensor wires connect. You may need to remove a small cover with a Phillips screwdriver. Verify that the wires are firmly secured in their terminals. If any are loose, tighten the screws to secure them.
- Plug In and Test: With the wiring confirmed to be secure, plug the opener in and test the door.
Step 4: Adjust the Travel Limit and Force Settings
If the sensors are clean, aligned, and wired correctly, the final DIY step is to check the opener's settings. The "Down Limit" setting tells the door when to stop, and the "Down Force" setting controls how much pressure it can apply before reversing.
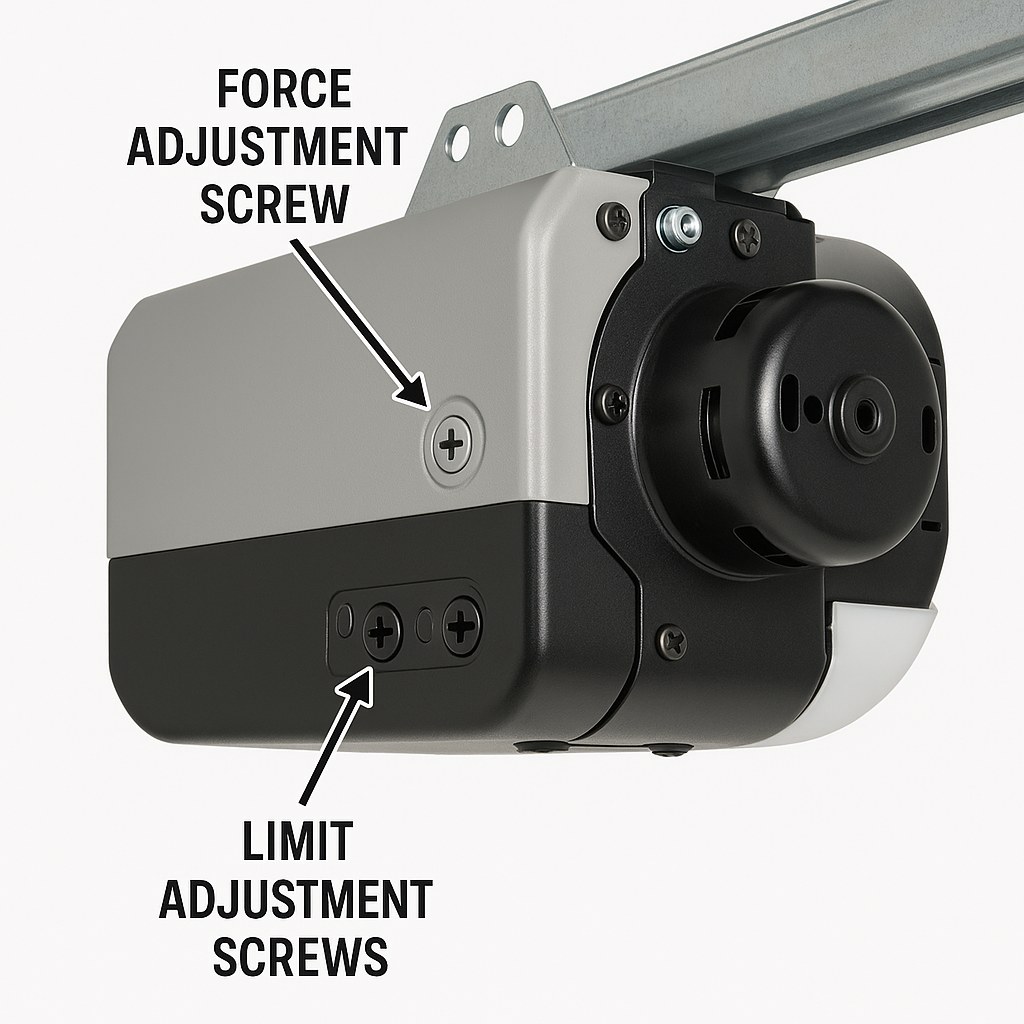
- Locate the Adjustment Controls: On your garage door opener motor unit, look for two adjustment screws or dials. They are usually marked “Down Limit” (or "Travel") and “Down Force” (or "Force"), often with arrows indicating which way to turn them.
- Adjust the Down Limit: Using a flathead screwdriver, turn the “Down Limit” screw a tiny bit—about a quarter-turn—in the "increase" direction (usually clockwise). This tells the door to travel slightly further down before stopping.
- Adjust the Down Force: If adjusting the limit doesn't work, turn the “Down Force” dial a quarter-turn clockwise. This slightly increases the pressure the door will apply before it reverses. Caution: Only make very small adjustments here. Too much force can be a safety hazard and can damage the door.
- Test After Each Adjustment: After each small adjustment, test the door. You may need to alternate between the two settings. Don't make more than a few small adjustments.
What Does It Cost to Fix a Reversing Garage Door?
Fixing this issue yourself is incredibly cost-effective.
- DIY Cost: Usually $0, as it only requires cleaning and adjusting. If you need to replace the safety sensors, a new pair typically costs between $20 and $40.
- Professional Repair: According to HomeAdvisor, hiring a professional garage door technician for a repair typically costs between $150 and $350.
By spending a little time troubleshooting, you can save yourself a significant amount of money.
When It's Time to Call a Professional
If you've gone through all the steps above and your garage door still won't close correctly, it's time to call in a pro. The problem could be more complex, such as a faulty logic board in the opener, an internal motor issue, or another mechanical problem that requires an expert diagnosis.
Don't let home maintenance tasks intimidate you. A stubborn garage door is a perfect example of a problem that seems complex but is often simple to solve. By following this guide, you can empower yourself to handle common household repairs.
For more easy-to-follow DIY guides and to get connected with vetted, reliable professionals for the jobs you can't handle, download the Casa app today! We're here to make owning a home easier, one project at a time.