Mold thrives in damp, dark, and warm environments, which makes the space between your carpet padding and subfloor a prime location, especially after a spill, leak, or in a humid climate. Ignoring it isn't an option, as mold can damage your home and potentially affect your health.
The good news is, we're here to walk you through it. Think of us as your expert on the other end of the line, guiding you step-by-step. We'll help you assess the situation, remove the mold safely, and make sure it doesn’t come back. Let's get that room smelling fresh and clean again.
What Causes Carpet Mold in the First Place?
Before we dive into the fix, it helps to understand the enemy. Mold growth under a carpet almost always points to one thing: moisture. Here are the usual suspects:
- High Humidity: Rooms with poor ventilation, like basements or bathrooms, can trap humid air, creating the perfect breeding ground for mold.
- Spills and Stains: If a liquid spill isn't cleaned and dried completely, the moisture can seep through the carpet fibers into the padding.
- Leaky Pipes or Roofs: A slow, hidden leak from plumbing in the walls or a compromised roof can saturate the subfloor and padding from below.
- Flooding: Even minor flooding can leave behind enough moisture to trigger a significant mold problem if not addressed immediately.
- Condensation: In cold climates, condensation can form on concrete subfloors, creating a layer of dampness right under your carpet.
Identifying the source of the moisture is just as important as cleaning the mold, because if you don't fix the underlying problem, the mold will just come back.
Step 1: Your Initial Assessment and Safety Check
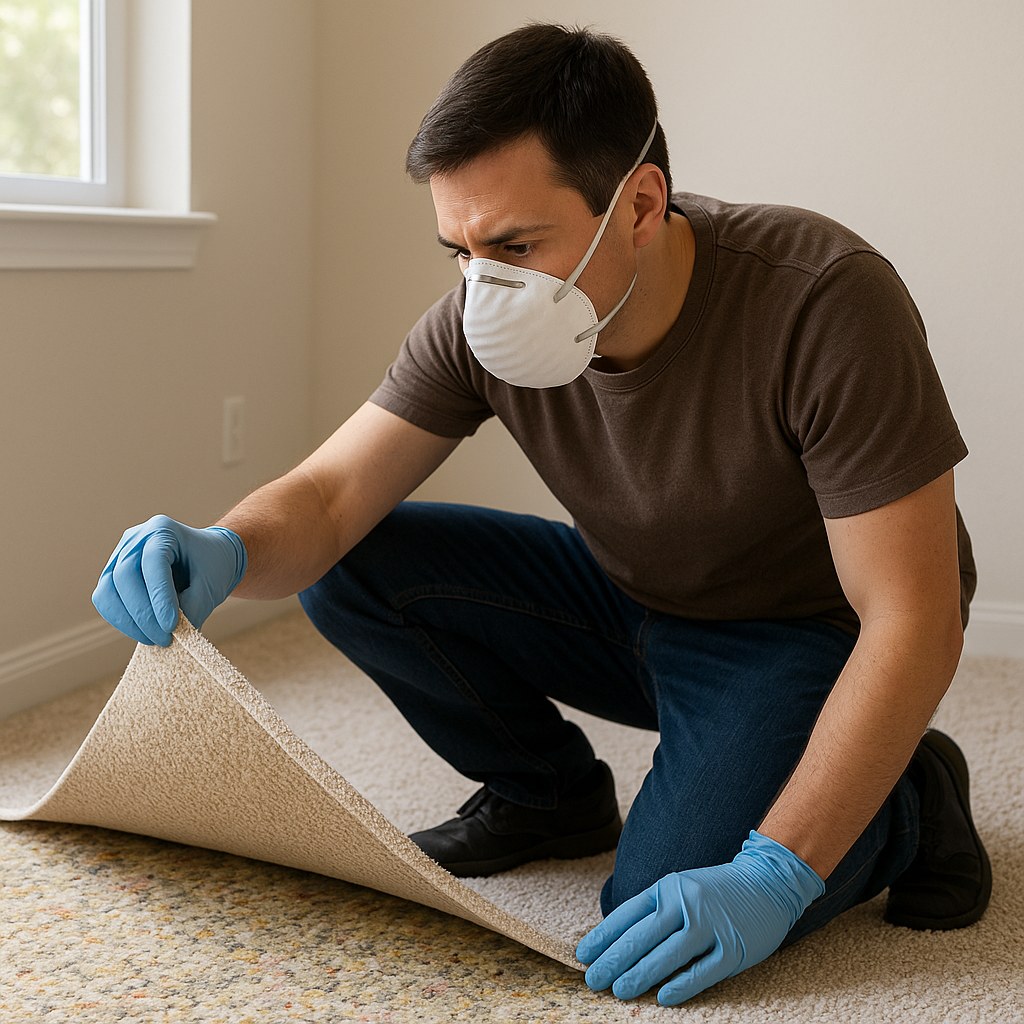
First things first: safety. Before you even touch the carpet, you need to protect yourself from inhaling mold spores.
Safety Gear:
- N95 Respirator: This is non-negotiable. It will filter out airborne spores.
- Rubber Gloves: Protect your hands from mold and cleaning chemicals.
- Safety Glasses: To prevent spores from getting into your eyes.
Once you’re geared up, it's time to play detective.
- Lift the Carpet: Find a corner of the carpet near where you suspect the mold is. Using a utility knife (carefully!), you may need to gently pry up the edge from the tack strip. Pull it back to expose the underside of the carpet and the padding.
- Inspect Closely: Look for the classic signs: dark, fuzzy growth, black or green spots, or discoloration. Check both the carpet backing and the top of the carpet padding.
- The Size-Up: This is the most critical part of your assessment. Grab a tape measure. According to the Environmental Protection Agency (EPA), if the affected area is larger than 10 square feet (roughly a 3-foot by 3-foot patch), you should stop and call a professional mold remediation service. Tackling a large infestation on your own can risk spreading spores throughout your home.
- Check the Surroundings: Look at the nearby baseboards and walls for any signs of water stains or mold growth. If the mold has spread beyond the floor, it's another sign you may need professional help.
- Test for Dampness: Press down on the padding and the exposed subfloor. Does it feel damp? For a more accurate reading, you can use a digital hygrometer to measure the moisture level in the subfloor.
If the mold patch is small (under 10 sq. ft.) and contained to the carpet and subfloor, you're clear to proceed with the DIY fix.
Step 2: Prepare the Room for Mold Removal
Now that you've confirmed the scope of the problem, you need to set up your workspace to prevent cross-contamination.
- Ventilate, Ventilate, Ventilate: Open any nearby windows. Place a box fan in the window, facing outward, to pull airborne spores out of the room. Do NOT point a fan directly at the moldy area, as this will just blow spores around the house.
- Clear the Area: Move all furniture out of the room. If anything is too heavy to move, cover it completely with thick plastic sheeting and tape it down.
- Isolate the Room: Close the door to the room. If you can, seal the door's edges with plastic sheeting and tape to further contain the workspace.
- Expose the Problem: Roll back the carpet and padding to fully expose all the moldy areas on the carpet, padding, and subfloor. This will help you decide the next step.
Step 3: To Clean or to Replace? Making the Call
With the moldy area fully exposed, you have a decision to make. Is the carpet and padding salvageable, or does it need to be removed?
- Consider Replacing if: The carpet or padding is heavily saturated with mold, visibly rotted, falling apart, or has been wet for more than 48 hours. In these cases, it's nearly impossible to remove all the mold, and replacement is the safest option.
- Consider Cleaning if: The mold is limited to a small surface area, and the carpet and padding are structurally sound and not deeply stained or damaged.
Option A: How to Clean and Treat Salvageable Carpet and Padding
If you've decided the materials can be saved, here’s how to clean them effectively.
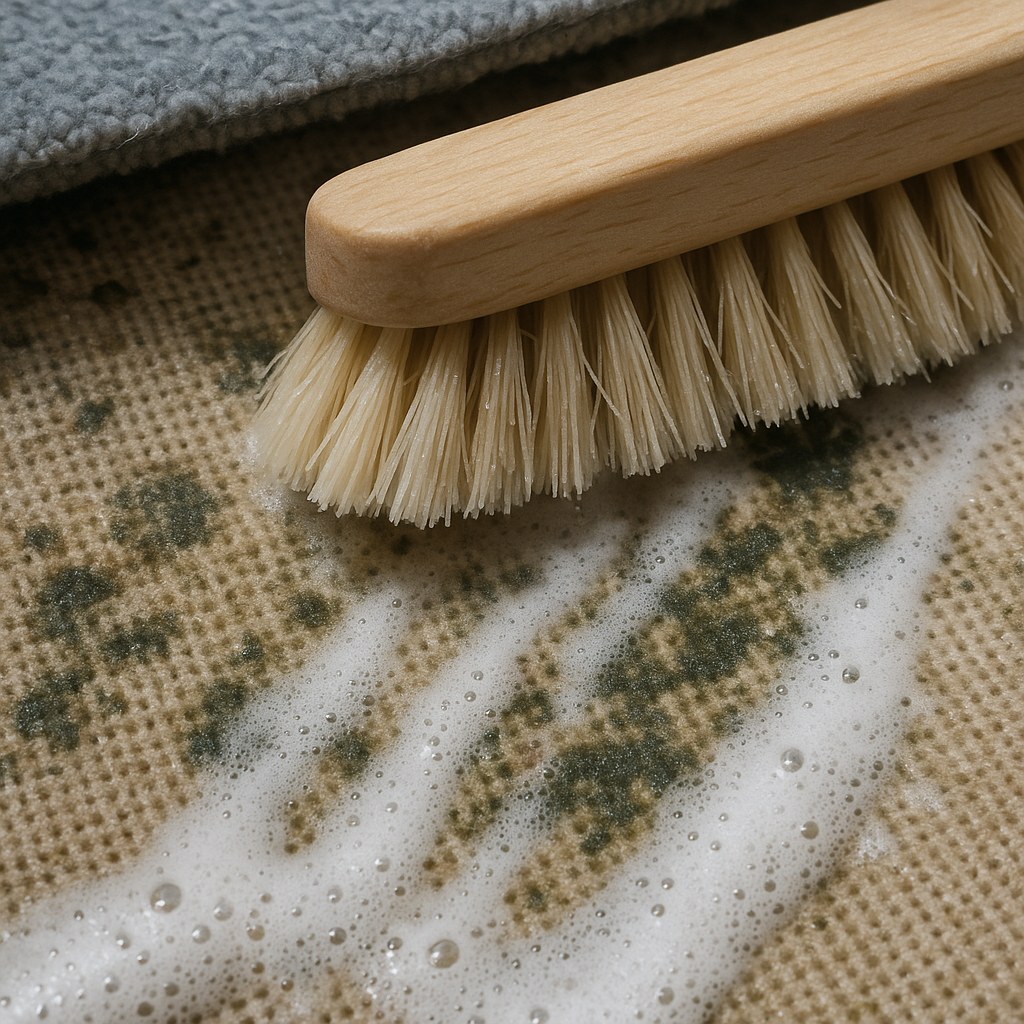
- Mix Your Cleaning Solution: In a bucket, mix one cup of a dedicated mold and mildew cleaner with one gallon of warm water. Avoid using bleach on carpets, as it can discolor the fibers and is not as effective on porous surfaces.
- Scrub Thoroughly: Dip a stiff-bristled brush into the solution and scrub the moldy areas on both the top and underside of the carpet. Do the same for the affected area of the carpet padding.
- Blot, Don't Soak: After scrubbing, use old towels to blot up as much excess liquid as possible. You want to clean the area, not saturate it again.
- Dry, Dry, Dry: This is a crucial step. Position fans to blow air across the surface of the damp carpet and padding (not directly at it). This will speed up evaporation. A dehumidifier is also your best friend here. The area must be bone dry before you lay the carpet back down. This can take 24-48 hours.
Option B: How to Remove and Dispose of a Moldy Carpet Section
If the carpet is too far gone, here’s how to remove it safely.
- Mark Your Cut: Use a marker to draw a rectangle on the carpet that extends at least 12 inches beyond the visible mold on all sides. This ensures you remove any unseen growth.
- Cut It Out: Using a sharp utility knife, carefully cut through both the carpet and the padding along the lines you marked.
- Bag It Securely: Tightly roll up the moldy section you just cut out. Immediately place it into a heavy-duty trash bag (6-mil contractor bags are great for this).
- Seal and Remove: Squeeze the air out of the bag and seal it tightly with duct tape. Carefully carry the bag outside for disposal according to your local regulations.
Step 4: Treat the Subfloor (Do Not Skip This Step!)
Whether you cleaned or removed the carpet, the subfloor beneath must be treated. Mold spores will have settled there, and if you don't kill them, the problem will return. The method depends on whether your subfloor is wood or concrete.
For a Concrete Subfloor:
- Vacuum: Use a shop vacuum with a HEPA filter to vacuum up any loose debris and spores.
- Scrub: Apply your mold and mildew cleaner directly to a scrub brush and scrub the affected concrete area, extending about a foot beyond the moldy patch.
- Rinse and Dry: Wipe the area with a cloth dampened with clean water. Then, run a fan over the concrete for at least 24 hours until it's completely dry.
- Seal It: Once dry, use a paint roller to apply a thin coat of concrete sealant. This creates a moisture barrier to prevent future issues. Let it cure completely as directed by the manufacturer.
For a Wood Subfloor:
- Vacuum: Just like with concrete, use a shop-vac with a HEPA filter to clean the area.
- Scrub: Use your mold cleaner and a stiff brush, scrubbing in the direction of the wood grain.
- Wipe and Dry: Wipe away excess moisture with a clean cloth. Point a fan at the wood for 24 hours until it is totally dry. Be careful not to over-saturate wood, as it can warp.
- Prime and Seal: Brush on a single coat of a shellac-based primer (like Zinsser B-I-N). This will kill any remaining mold spores and seal the wood from future moisture. Let it dry completely.
Step 5: Finishing the Job
Once the subfloor is treated and fully dry/cured, you can finish the project.
- If you cleaned the carpet: Lay the padding and carpet back into place. Use a carpet stapler or knee kicker to re-secure the edge to the tack strip.
- If you removed a section: Install a new piece of carpet padding of the same thickness. Then, lay a new, matching section of carpet. You may need seam tape to join the new piece to the old.
Finally, vacuum the entire carpet thoroughly and keep a dehumidifier running in the room for another 24-48 hours as a final precaution.

When a DIY Fix Isn't Enough
A small patch of mold is one thing, but widespread contamination is another. The cost to hire a professional for mold remediation can range from $1,500 to $3,500 or more for a small to medium-sized area, but it's a necessary expense if:
- The mold covers more than 10 square feet.
- The mold comes back after you've cleaned it.
- The musty smell persists.
- The mold has spread to your home's HVAC system or inside walls.
Take Control of Your Home Maintenance
Fixing a moldy carpet is a rewarding project that saves you money and protects your home. You've just learned how to tackle one of the most common—and intimidating—household issues. Feeling empowered?
That's what Casa is all about. For more expert-led, step-by-step guides for everything from plumbing to painting, download the Casa app today. We make DIY simple, and when you do need a pro, we'll connect you with trusted local specialists. Take the guesswork out of homeownership and keep your home safe and beautiful with Casa.


