If you're fighting a battle against patio weeds, you're not alone. It's one of the most common outdoor maintenance headaches for homeowners. The good news is that with the right approach, you can clear them out and take steps to keep them from coming back.
Whether you're dealing with a few pesky stragglers or a full-blown weed invasion, we're here to walk you through it. This guide will help you diagnose the scale of your problem and choose the best removal method for you, from manual pulling to effective non-chemical and chemical solutions.
Why Do Weeds Grow on Patios Anyway?
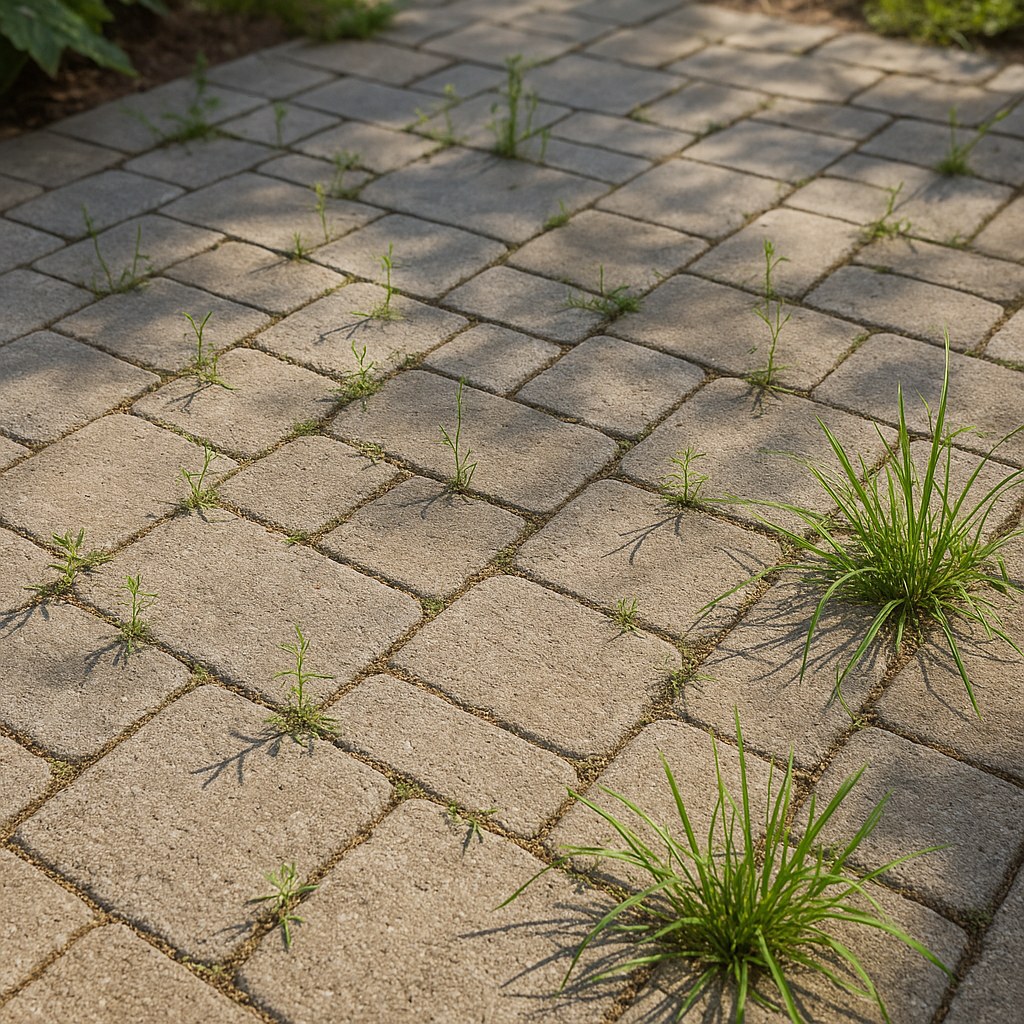
Before we dive into the "how," let's quickly cover the "why." Weeds don't just magically appear. The spaces between your patio pavers, bricks, or concrete slabs are natural traps for dirt, dust, and organic debris carried by the wind. When seeds land in this accumulated soil and get a little moisture and sunlight, they have the perfect environment to germinate and grow.
Common culprits you might find on your patio include dandelions, crabgrass, thistle, and clover. They are notoriously resilient, and their roots can dig deep into the base layer beneath your patio, making them difficult to remove completely.
Step 1: Assess the Weed Situation
First things first, take a good look at your patio. The best way to tackle the problem depends on how serious it is. Ask yourself this key question:
Is the weed growth limited to a few isolated weeds, or are they widespread across the patio?
- A Few Isolated Weeds: If you only have a handful of weeds scattered here and there, a direct, manual approach is often the quickest and easiest solution.
- Widespread Weeds: If your patio looks more like a garden, with weeds covering large areas or filling nearly every crack, you'll need a more comprehensive treatment to deal with the infestation efficiently.
Once you’ve determined the extent of the problem, you can move on to the right removal method.
Method 1: For a Few Isolated Weeds (The Manual Approach)
If you're dealing with a small number of weeds, there's no need to break out heavy-duty treatments. A little bit of elbow grease is all you need.
What You'll Need:
- Work gloves
- A watering can or hose
- A hand weeder (also called a dandelion puller or paving knife)
- A stiff broom
Step-by-Step Instructions:
- Soften the Soil: Before you start pulling, pour a little water at the base of each weed. This softens the soil and sand in the cracks, making it much easier to pull the entire root system out without it breaking.
- Leverage Your Tool: Slide your hand weeder or paving knife into the joint right beside the main root of the weed.
- Pry and Pull: Press down on the handle of the weeder to lever the weed upward. At the same time, grab the base of the weed with your gloved hand and pull it straight up. The goal is to get the entire taproot out. A satisfying "pop" often means you've succeeded!
- Sweep Up: Once you've pulled all the weeds, use your stiff broom to sweep away the loose weeds, dirt, and debris from your patio surface.
What if the Roots Break Off?
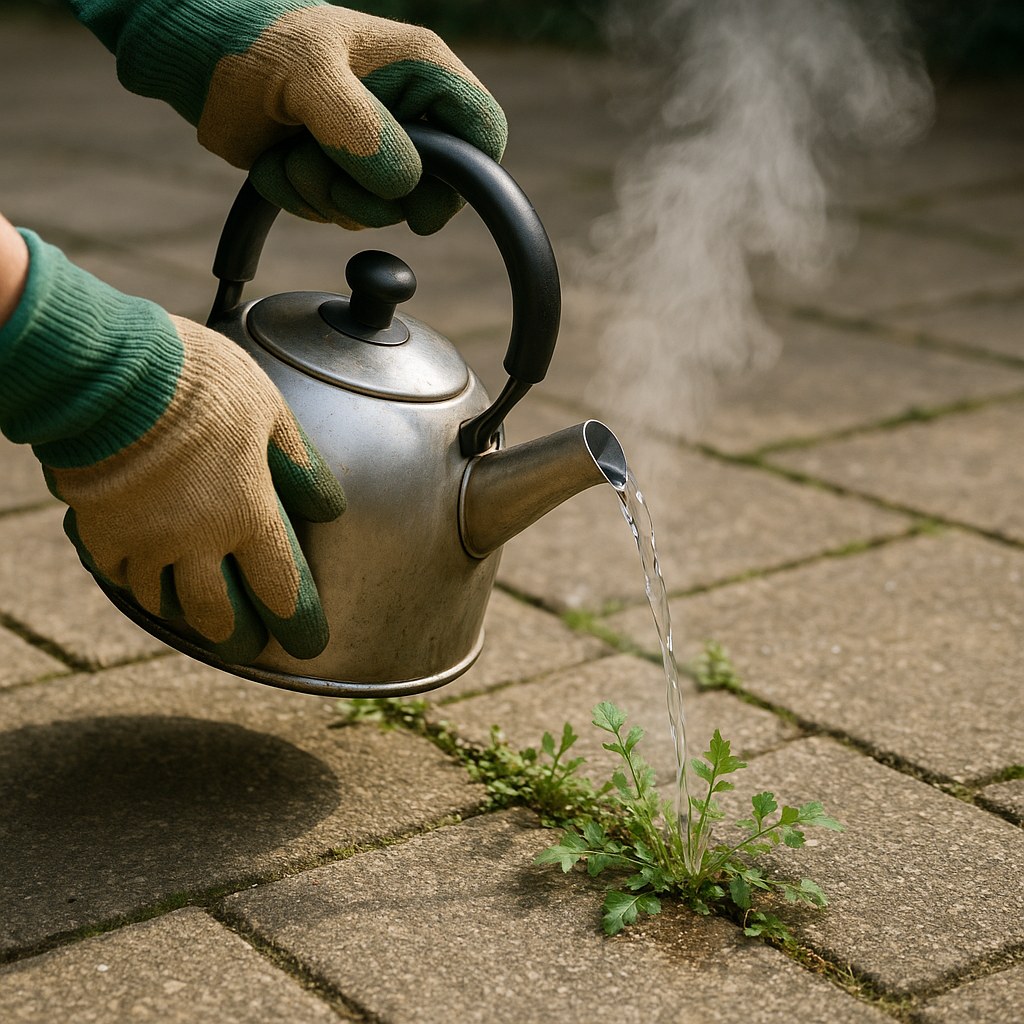
Sometimes, despite your best efforts, a stubborn root breaks and stays lodged in the crack. Don't worry! You can still win this battle. For these tenacious leftovers, we recommend the boiling water method.
- Boil Water: Fill a kettle with water and bring it to a rolling boil.
- Pour Carefully: Very carefully, carry the kettle to your patio and slowly pour the boiling water directly over the remaining roots. The extreme heat will shock and kill the plant material.
- Wait and Remove: Let the water cool and soften the roots for about 10 minutes. Then, use your hand weeder to pry out the now-weakened roots.
- Check After 48 Hours: After two days, check to see if any green has reappeared. If the weed is gone for good, you’re all set! If not, you may need a second application or consider calling a landscaping professional for deeply rooted issues.
Method 2: For Widespread Weeds (The Broadcast Approach)
When manual pulling would take all day, it's time for a broader treatment. Here, you have another choice to make: do you prefer a non-chemical solution or are you open to using a commercial herbicide?
- Non-Chemical: Great for households with pets and children or for those who prefer an eco-friendly approach. It's effective but may require reapplication sooner than a chemical option.
- Chemical Herbicide: Often provides longer-lasting results by killing the plant down to the root. Requires strict adherence to safety precautions.
The Non-Chemical Solution: Vinegar and Dish Soap
This popular DIY solution uses household white vinegar to dry out and kill weeds. The dish soap helps the vinegar stick to the weed’s leaves instead of just rolling off.
What You'll Need:
- A stiff broom
- A pressure washer (optional, but helpful)
- A pump sprayer
- White vinegar (standard 5% acetic acid)
- Dish soap
Step-by-Step Instructions:
- Prep the Area: Start by sweeping your patio to remove any loose leaves, dirt, and debris. For a deeper clean, use a pressure washer on a low-pressure fan setting to wash out soil that has accumulated in the joints.
- Let it Dry: Wait about 2 hours for the patio surface to dry completely. You want the weeds to be dry so they absorb the vinegar solution.
- Mix Your Solution: Fill your pump sprayer with white vinegar. For every gallon of vinegar, add about one tablespoon of dish soap. Swirl the sprayer gently to mix—don't shake it, or you'll create too many suds.
- Spray the Weeds: On a dry, sunny day, evenly spray the solution onto all the weeds. Make sure to thoroughly coat them, aiming for the base and leaves.
- Wait 72 Hours: Now, be patient. The vinegar needs time to dehydrate the plants. Do not rinse the solution off.
- Sweep Away the Dead Weeds: After three days, the weeds should be brown, brittle, and dead. Use your stiff broom to sweep them off the patio.
The Chemical Solution: Glyphosate-Based Herbicide
For the most stubborn and widespread weed problems, a systemic herbicide containing glyphosate is highly effective. It works by being absorbed through the leaves and traveling down to kill the entire root system, preventing regrowth.
Safety First: When using any chemical herbicide, it is crucial to read and follow the manufacturer's instructions precisely. Wear protective gear like disposable gloves and safety glasses, and ensure children and pets are kept away from the treated area until it is completely dry.
What You'll Need:
- Disposable gloves
- A glyphosate-based herbicide (look for formulas designed for patios and walkways)
- The provided spray bottle or your own dedicated sprayer
- A stiff broom
Step-by-Step Instructions:
- Read the Label: Carefully read the product label for dilution instructions and safety warnings.
- Mix and Prepare: In a well-ventilated area, mix the herbicide solution according to the directions.
- Apply Carefully: Choose a calm, dry day to apply the herbicide to avoid wind drift. Spray a light, even coat on all the visible weeds, focusing on covering the leaves. Avoid over-saturating the area.
- Let it Dry Completely: Keep everyone, including pets, off the patio surface until the spray has fully dried.
- Wait 14 Days: Be patient. Systemic herbicides need time to work their way through the plant to the roots. It can take up to two weeks to see the full effect.
- Clean Up: Once the weeds are dead and shriveled, simply sweep them away with your stiff broom.
Prevention: The Best Way to Fight Weeds
Removing weeds is great, but preventing them from coming back is even better. Here are a few tips to keep your patio looking clean:
- Sweep Regularly: Make it a habit to sweep your patio once a week. This removes the dirt and seeds that weeds need to grow.
- Fill the Joints: After clearing the weeds, consider filling the gaps between your pavers with polymeric sand. This is a fine sand mixed with a binding agent that becomes firm when wet, creating a durable barrier that locks out weeds.
- Fix Drainage Issues: If you notice standing water on your patio after it rains, you may have a drainage problem. Poor drainage creates a moist environment that weeds love. You may need to consult a hardscape contractor to regrade the area.
How Much Does It Cost to Fix?
- DIY: Fixing patio weeds yourself is very budget-friendly. A hand weeder costs around $10-$20, while a large bottle of vinegar or a container of herbicide typically ranges from $15-$30.
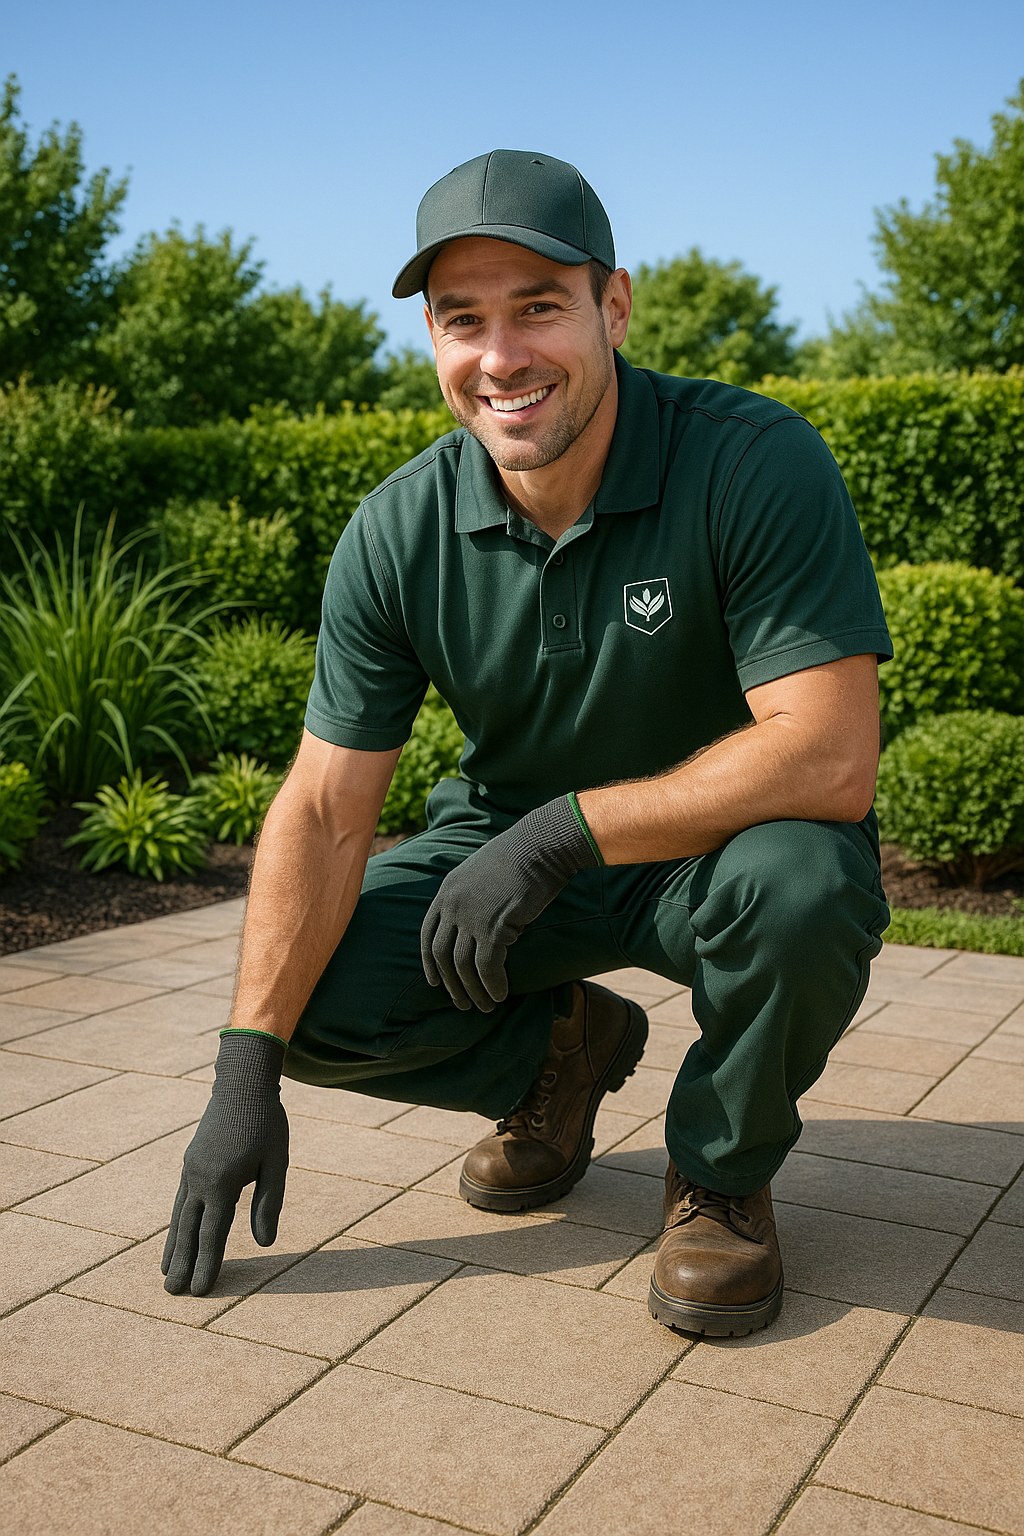
- Hiring a Professional: If the job is too big or you'd rather leave it to an expert, hiring a landscaper or gardening service can cost between $50 and $100 per hour, according to Forbes Home.
Take Back Your Patio
A weed-free patio is well within your reach. By correctly identifying the scale of the problem and choosing the right method, you can effectively clear out unwanted growth and get back to enjoying your beautiful outdoor space.
And if you ever run into a home maintenance issue that feels too big to handle on your own, Casa is here to help. Download the Casa app today for more easy-to-follow DIY guides, maintenance reminders, and a simple way to connect with trusted, vetted professionals for all your home improvement needs.


