
Looking for more guidance? Take a look at our Maintenance overview.
OCT 6, 2025
How To Safely Remove Bathroom Mold

OCT 6, 2025
Looking for more guidance? Take a look at our Maintenance overview.
That tell-tale musty smell. Those unsightly black, green, or white spots creeping into your shower grout or along the ceiling. Finding mold in your bathroom is a common problem for homeowners, but it’s one you should never ignore. Bathrooms are the perfect breeding ground for mold, thanks to the constant combination of moisture, warmth, and organic materials (like soap scum or even the paper on drywall).
While it’s an unwelcome guest, the good news is that tackling a small mold issue is often a manageable DIY project. The key is to act safely, use the right methods, and address the underlying moisture problem to ensure it doesn’t return.
In this guide, we’ll walk you through everything, step-by-step, just like we’re on the phone with you. We'll cover how to assess the problem, clean it up safely, and make your bathroom an unwelcome place for mold for good.
Before we jump into removal, let's quickly understand why mold showed up in the first place. Mold spores are everywhere, but they only grow into a visible colony when they land on a damp spot. In a bathroom, this could be:
Identifying the cause is just as important as cleaning the mold itself. Don’t worry, we’ll get to that. First, let's talk about safety.
Even if you’re only dealing with a small area, you should never tackle mold without the proper personal protective equipment (PPE). Disturbing mold can release spores and other particles into the air, which can cause allergic reactions or respiratory issues.
Here’s your essential safety checklist before you even think about scrubbing:
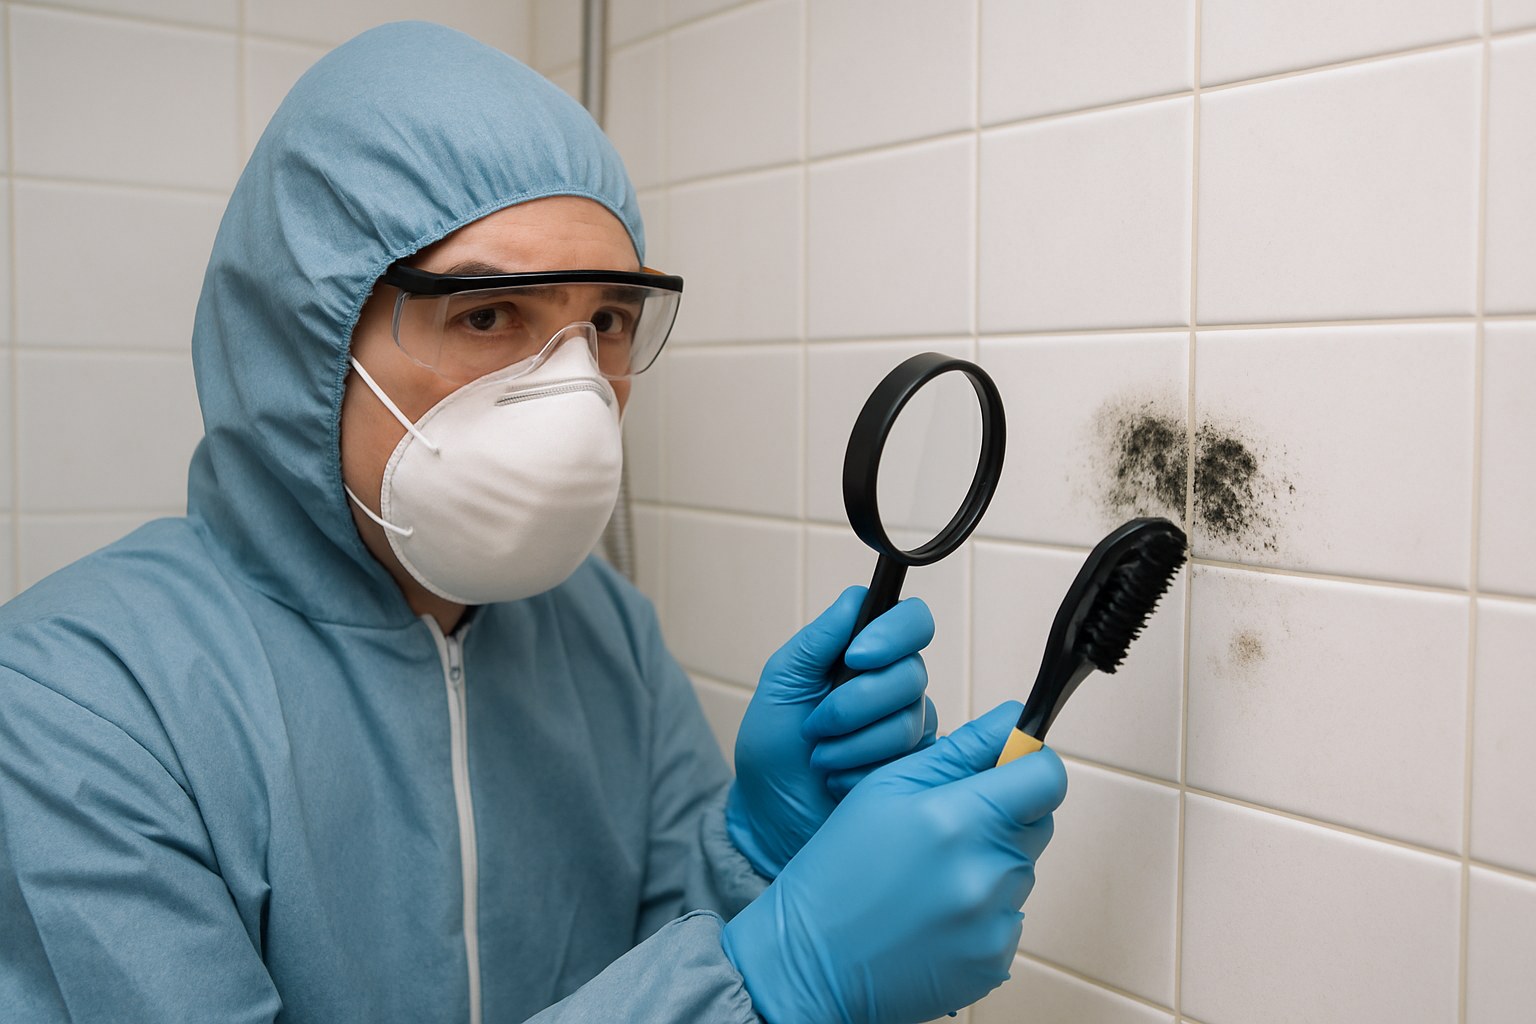
Once you’re geared up and the air is flowing, you’re ready to get a closer look at the problem.
Not all mold problems are created equal. Your next step is to figure out if this is something you can handle yourself or if you need to call in a professional mold remediation service. Here’s how to tell the difference.
The U.S. Environmental Protection Agency (EPA) advises that if the moldy patch covers more than 10 square feet (roughly a 3-foot by 3-foot area), you should call a professional. A large infestation can be a sign of a much bigger, hidden moisture issue that requires specialized equipment to resolve safely. Grab a measuring tape to get an accurate idea of the size.
Next, determine what the mold is growing on.
If you’re unsure, press on the area with a gloved finger. If it’s hard and smooth, it’s likely non-porous. If it’s soft, papery, or crumbly, it’s porous.
Use a flashlight to inspect dark corners, under the sink cabinet, around the base of the toilet, and along the edges of your tub and shower. If you smell a strong musty odor but can only see a tiny spot of mold, you may have a larger, hidden colony behind a wall or under the floor. This is another clear sign to call for expert help.
The Verdict:
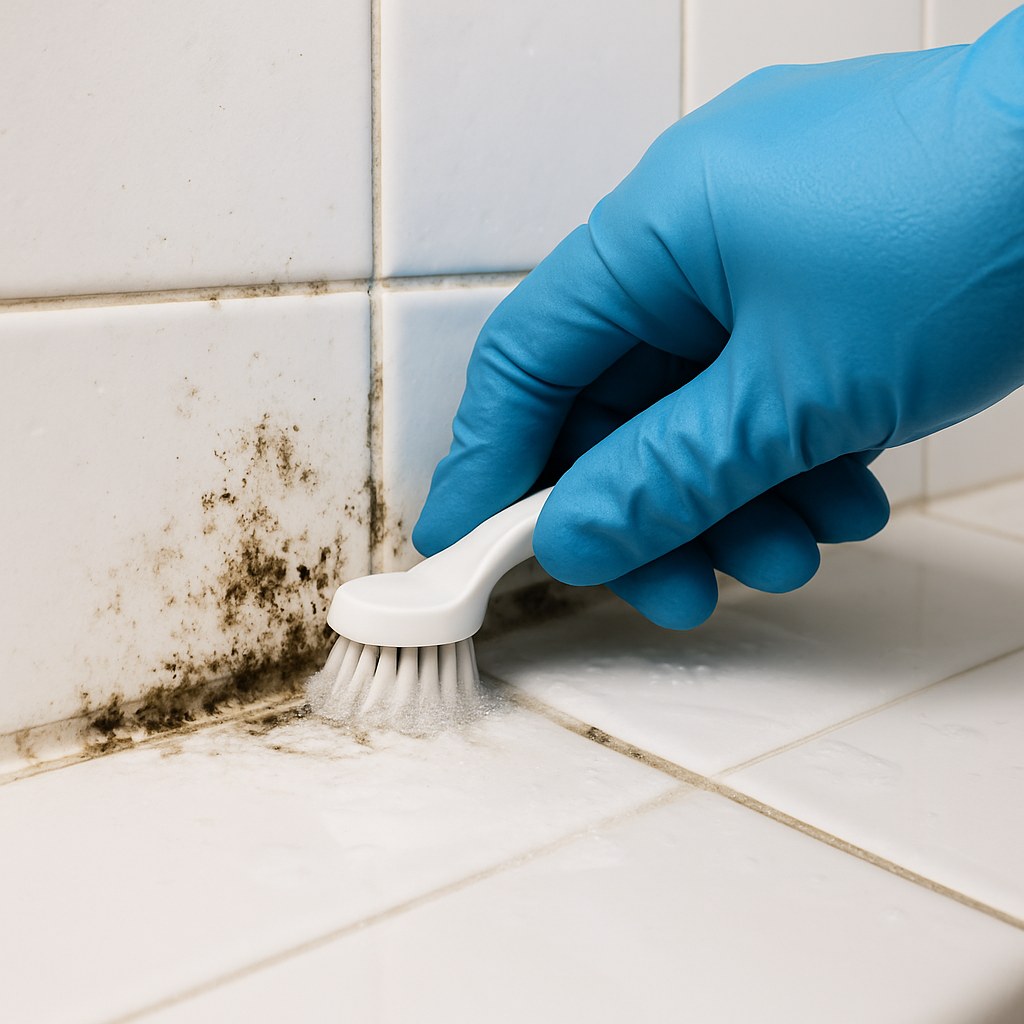
Ready to get scrubbing? Let’s get that mold out of here. While many people reach for bleach, we recommend using hydrogen peroxide. It's an effective antifungal, antiviral, and antibacterial agent that kills mold at its roots without the harsh fumes of bleach.
After the area is completely dry, inspect it again. If you still see visible mold, the infestation may be deeper than you thought, and it might be time to call a pro. If it’s clean, congratulations! Now let’s make sure it stays that way.
You’ve won the battle, but now it’s time to win the war. Preventing mold is all about controlling moisture. Here’s a checklist to make your bathroom a no-go zone for mold.
A slow, steady drip is a mold colony’s best friend. Regularly check for leaks:
For simple fixes like a loose pipe fitting, you can often tighten it with a wrench. For more complex issues, it’s best to call a plumber. A small repair bill is much better than a large mold remediation bill later.
Inspect the caulk and grout lines around your tub, shower, and sink. If you see any cracks or gaps, that's an open invitation for water to get behind your walls. Scrape out the old, damaged material and apply fresh, bathroom-grade silicone caulk to create a watertight seal.
According to Forbes Home, the national average cost for professional mold remediation is around $2,255. While DIY is great for small spots, investing in a professional for a larger problem protects your home and your health.
Remember, call a professional if you encounter:
Fixing a small bathroom mold problem is a rewarding project that protects your home and improves its air quality. By following these steps for safe removal and prevention, you can keep your bathroom clean, fresh, and mold-free.
Feeling empowered? Home maintenance doesn't have to be overwhelming. For more expert guides, maintenance reminders, and a direct line to trusted, vetted professionals for the jobs you can’t handle alone, download the Casa app today! We’re here to help you manage your home with confidence.


